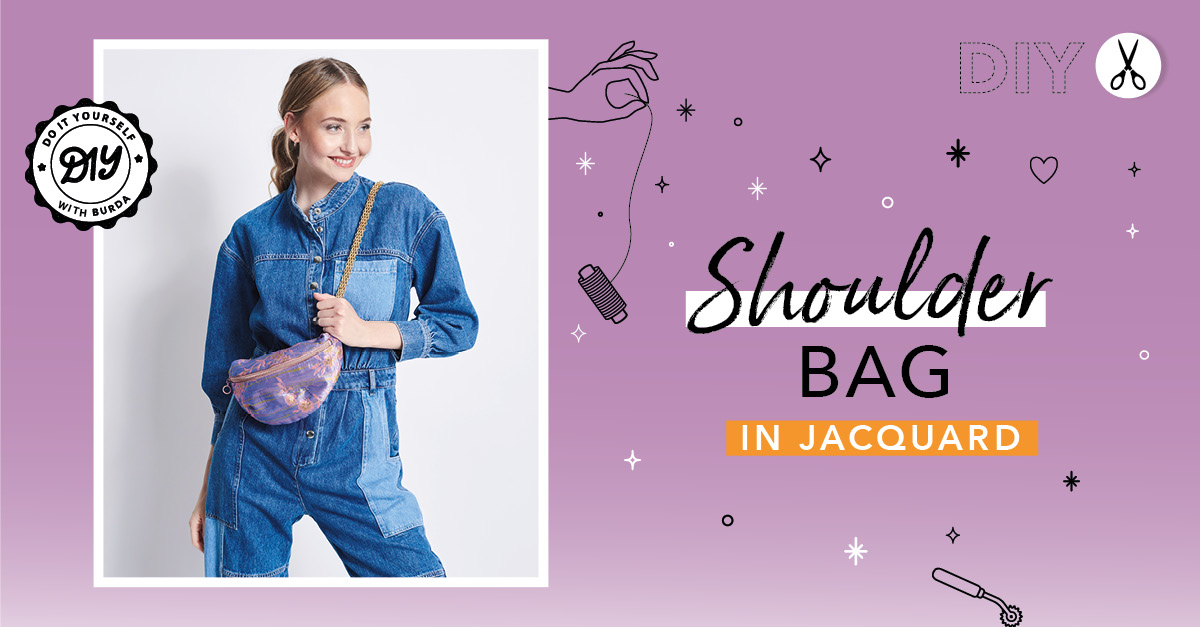
The fanny pack makes a triumphant comeback and it has all the trendy features of a stylish bag. It can be worn over your shoulder or across your chest. Everything is within reach, and besides being practical, the fanny pack adds a very sharp fashion touch to any look. Made here in jacquard with its golden chain, this bag is an accessory that exudes style and glamour. However, it can be crafted in various fabrics for a multitude of styles! Now, this is a piece to sew without further ado and customize it to your heart's desire!
In this DIY tutorial, we will guide you step by step so you can create your own homemade fanny pack.
SUPPLIES

-
jacquard (Fabric House)
-
cotton lining
-
Vliesofix (Vlieseline Freudenberg)
-
thread (Gütermann)
- cotton bias binding, grosgrain ribbon 16 mm (5/8 in) (Rico Design)
- trim ribbon 16 mm
- zip fastener 30 cm (11 7/8 in) long
- 2 D-rings, bar width 20 mm (3/4 in) (both Stoff&Stil/Selfmade®)
- chain (my-decoration.de)
- chalk pen
- straight pins
- seam gauge
- fabric scissors
- clips (all Prym)
- tape measure (Burda Style)
You will find the fanny pack pattern on pages 25 to 27 of the sewing notebook in your February 2023 issue of Burda Style or available for free download at the end of this article.
CUTTING OUT
Cut out all pieces from the outer fabric, lining and vliesofix
- A (back bag piece) 1 x on fold
- B (front bag piece) 1 x on fold
- C (facing) 1 x on fold
HERE’S HOW
STEP 1
Use Vliesofix to iron the lining onto the wrong side of the pieces of the outer fabric.
STEP 2
Use bias binding to bind facing C 7 mm (1/4 in) wide at the curve.
STEP 3
Stitch the darts. Pin facing C to B, right sides together, and stitch along the zipper edge across the corners to the top edge. Clip the seam allowances at the corners at an angle. Turn the facing to the inside. Press the edge.
STEP 4
Stitch the lower zipper tape and the side zipper ends close to the edge, underneath the reinforced edge of B. Stitch piece A to the top zipper tape, right sides together, and continue stitching between the notches on B. Bind the allowances with bias binding.
STEP 5
Pin the remaining bag edges right sides together, keeping the zipper open to turn inside out later. Close the open side seam, catching the two D-rings with grosgrain ribbon at the side.
STEP 6
Now bind the side seam with bias binding too, and attach the chain to the D-rings.
It's finished!

Get ready to turn heads with this accessory that is both chic and glamorous, essential for all your outings!
And if you want to find the instructions for this DIY in PDF format or print this DIY to do it later, feel free to download it for free by clicking the button below: