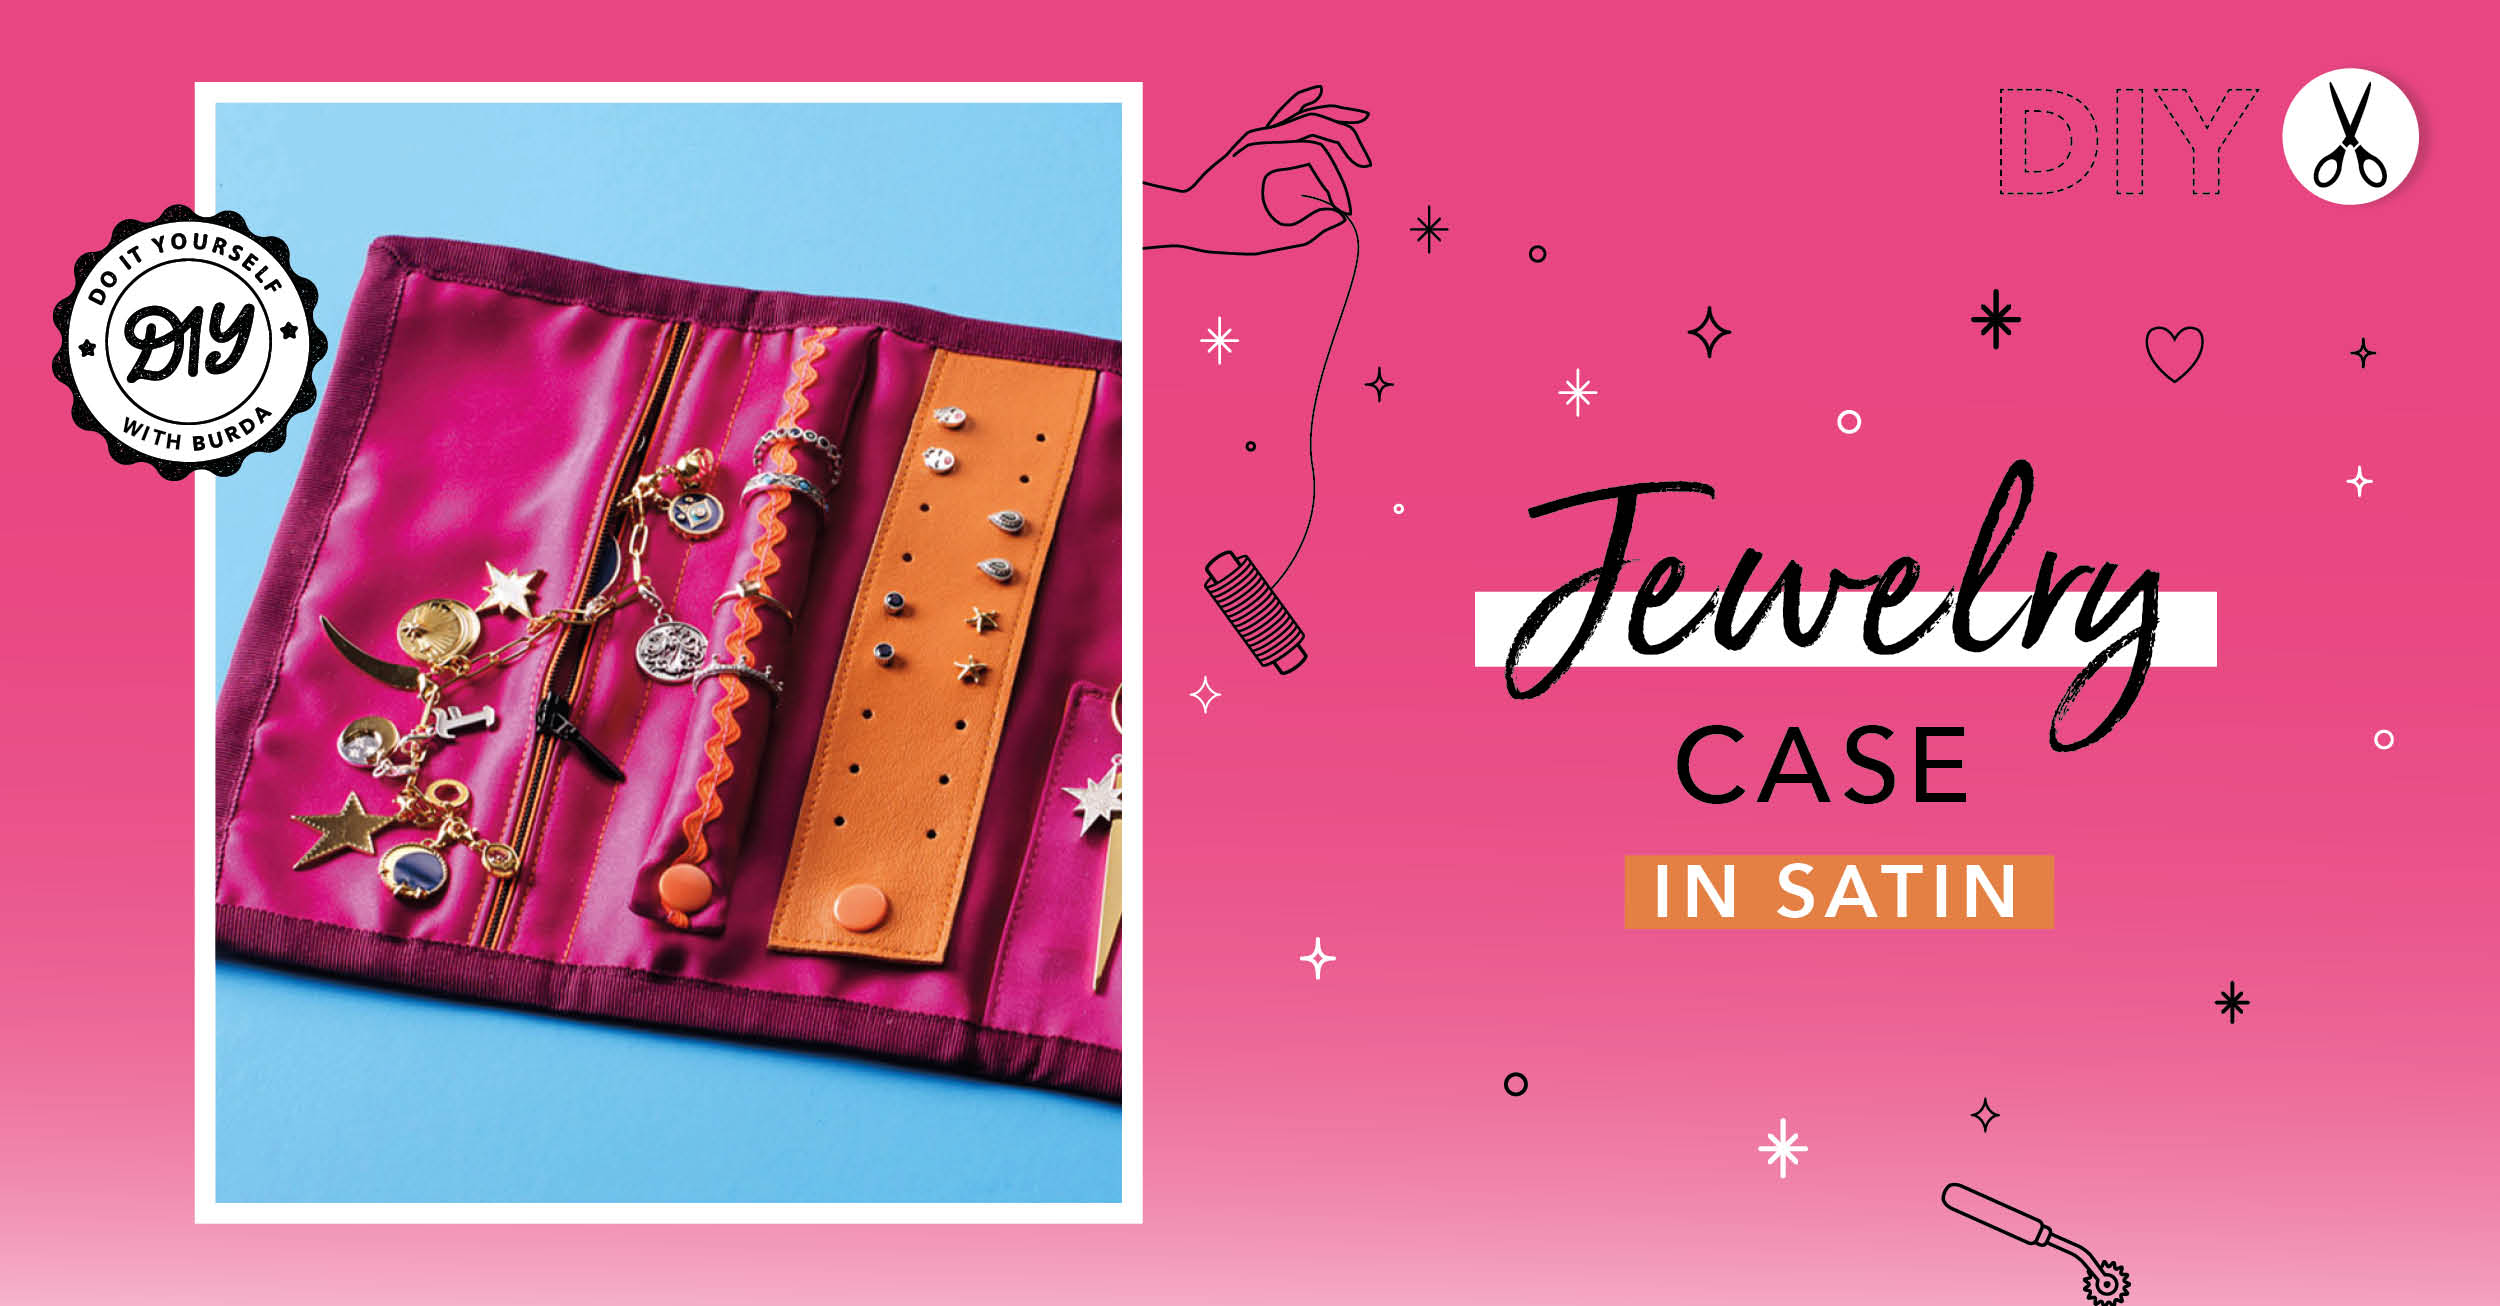
Are you tired of finding your jewelry tangled up at the bottom of a bag or scattered among your belongings when you travel? This DIY project is for you!
Sew a jewelry case that's as pretty as it is practical with Burda. With its well-designed compartments and compact size, it will keep necklaces, earrings, bracelets, and rings perfectly organized. No matter whether you use it every day, to take on trips, or to give as a handmade gift, this accessory combines practicality and elegance.
Supplies
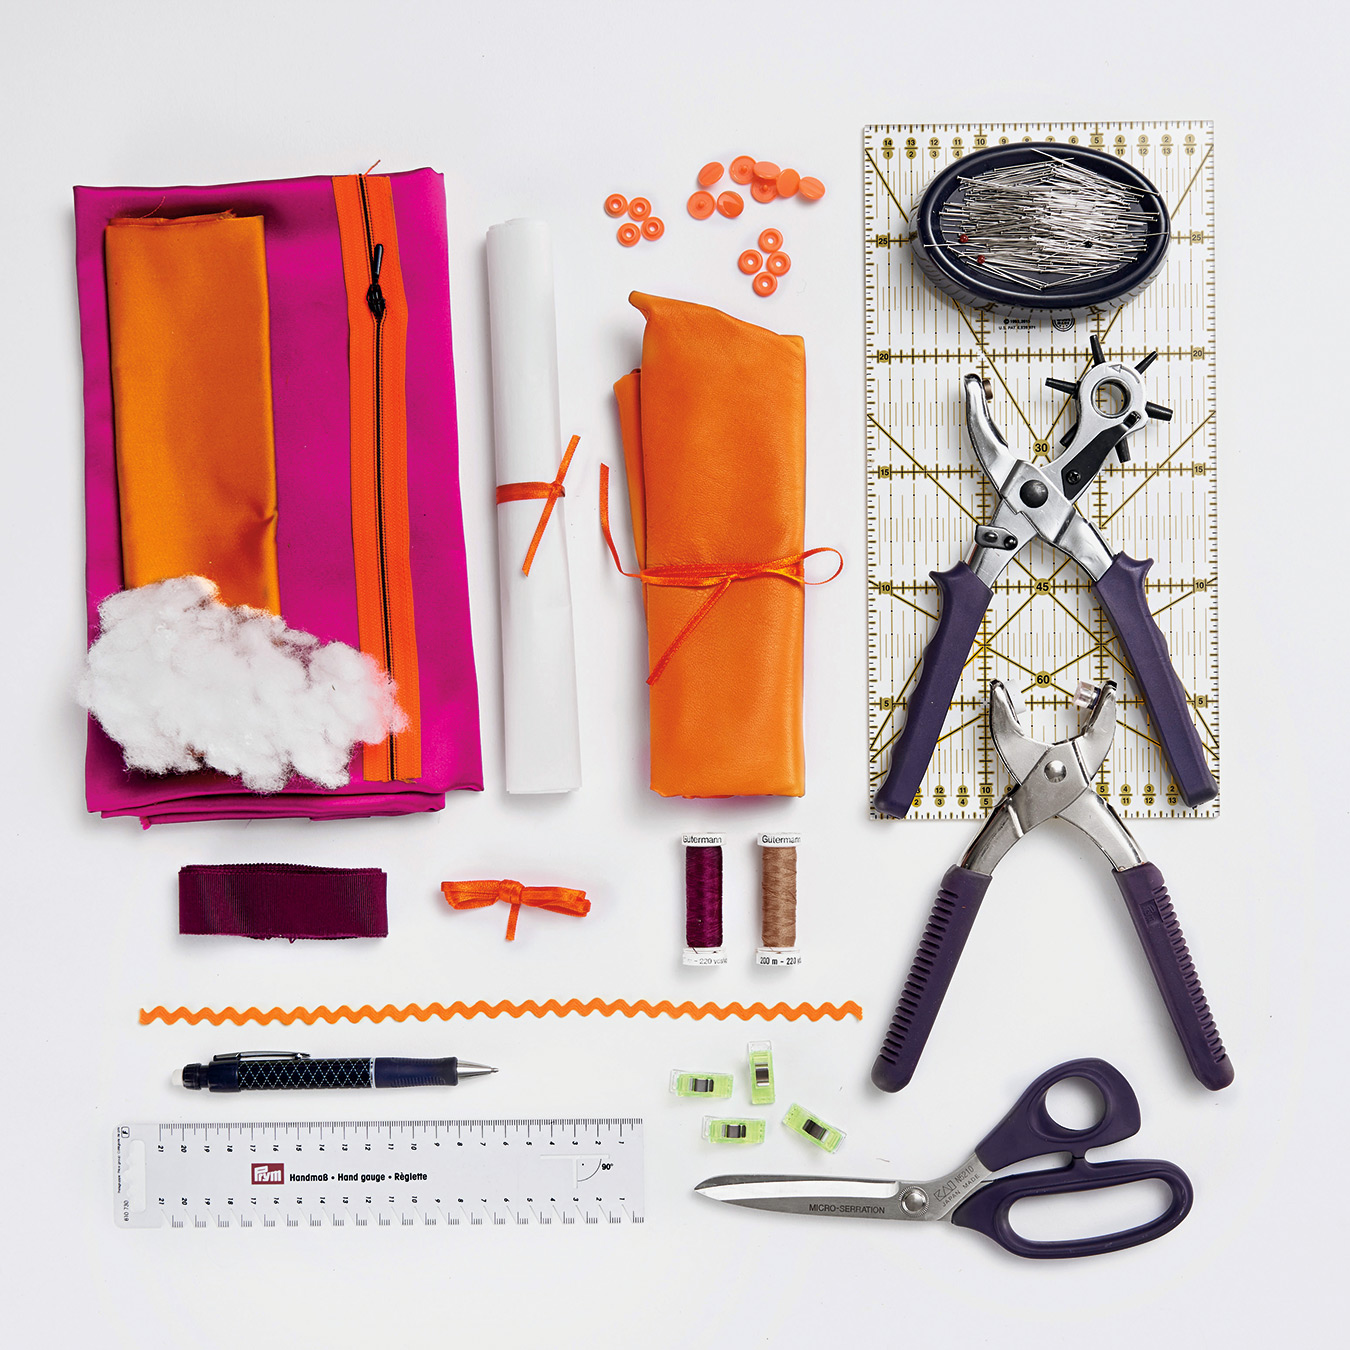
- Fabrics
- Leather
- Zipper
- Stuffing
- Fusible web
- Snap fasteners and attachment pliers
- Hole punch
- Straight pins
- Quilters ruler
- Scissors
- Ruler
- Chalk (all Prym)
- Thread (Gütermann)
- Clips
- Rickrack
- Satin and petersham ribbons
Creation
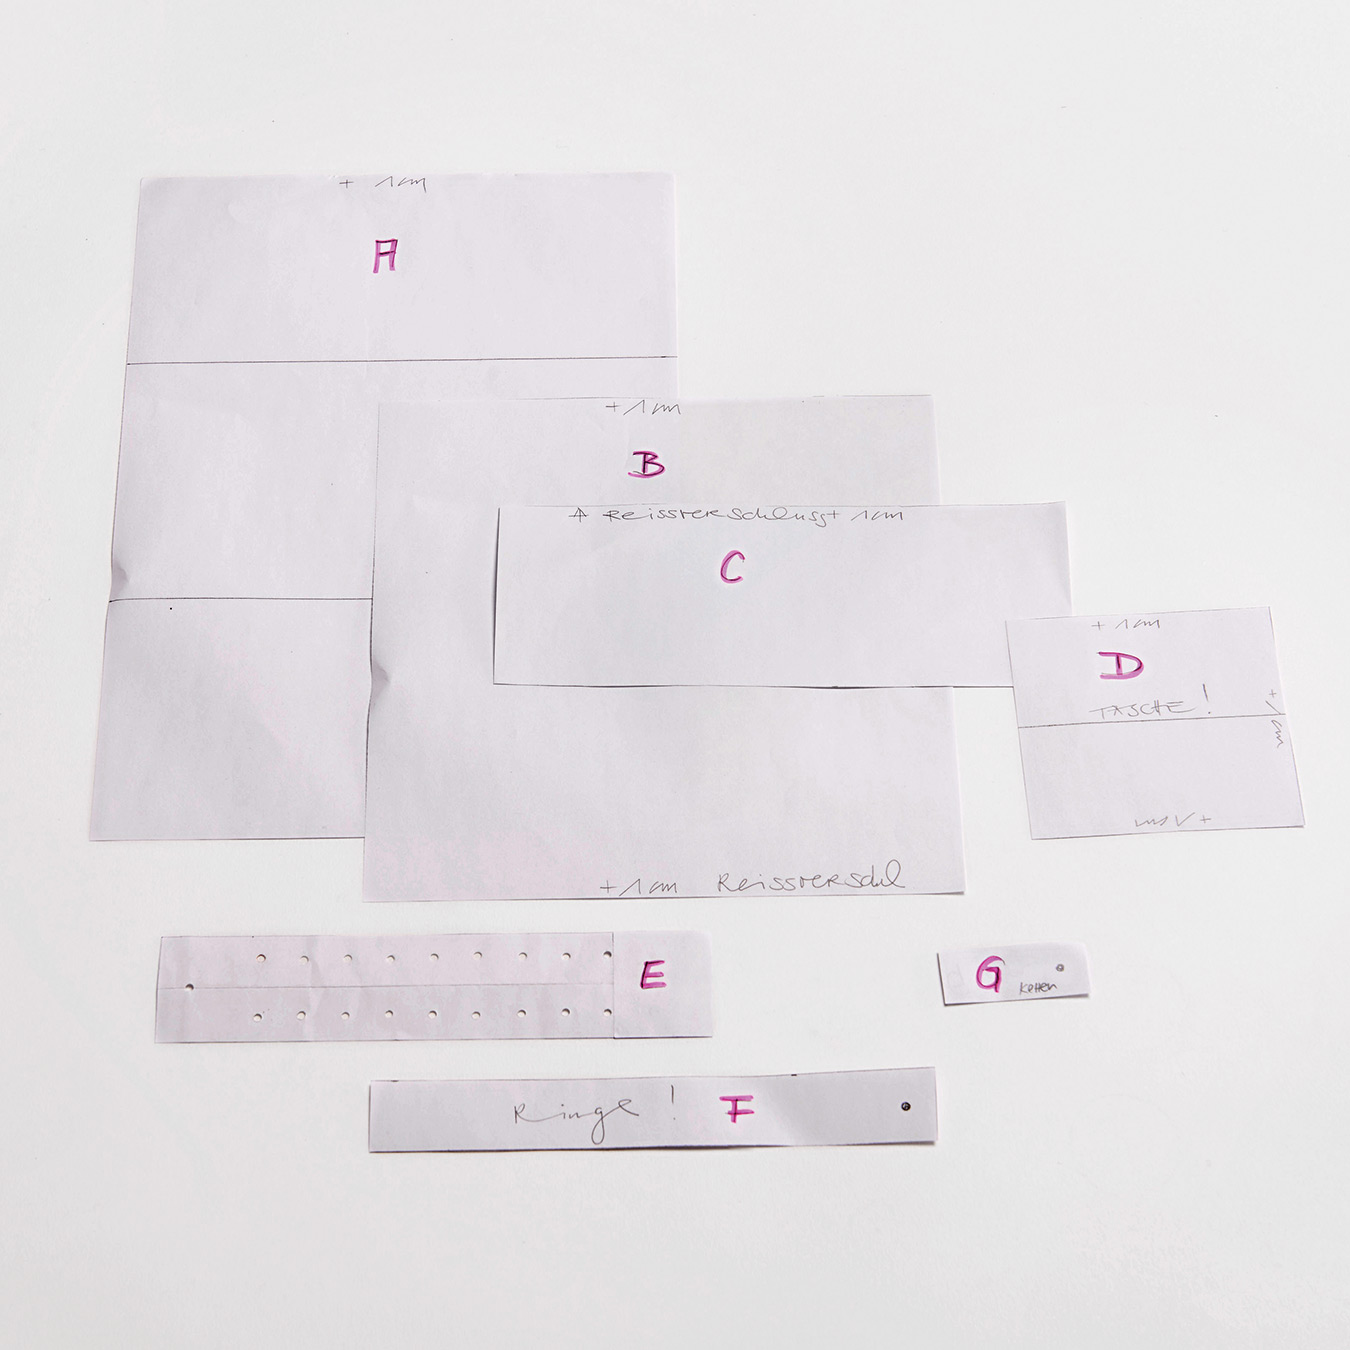
STEP 1
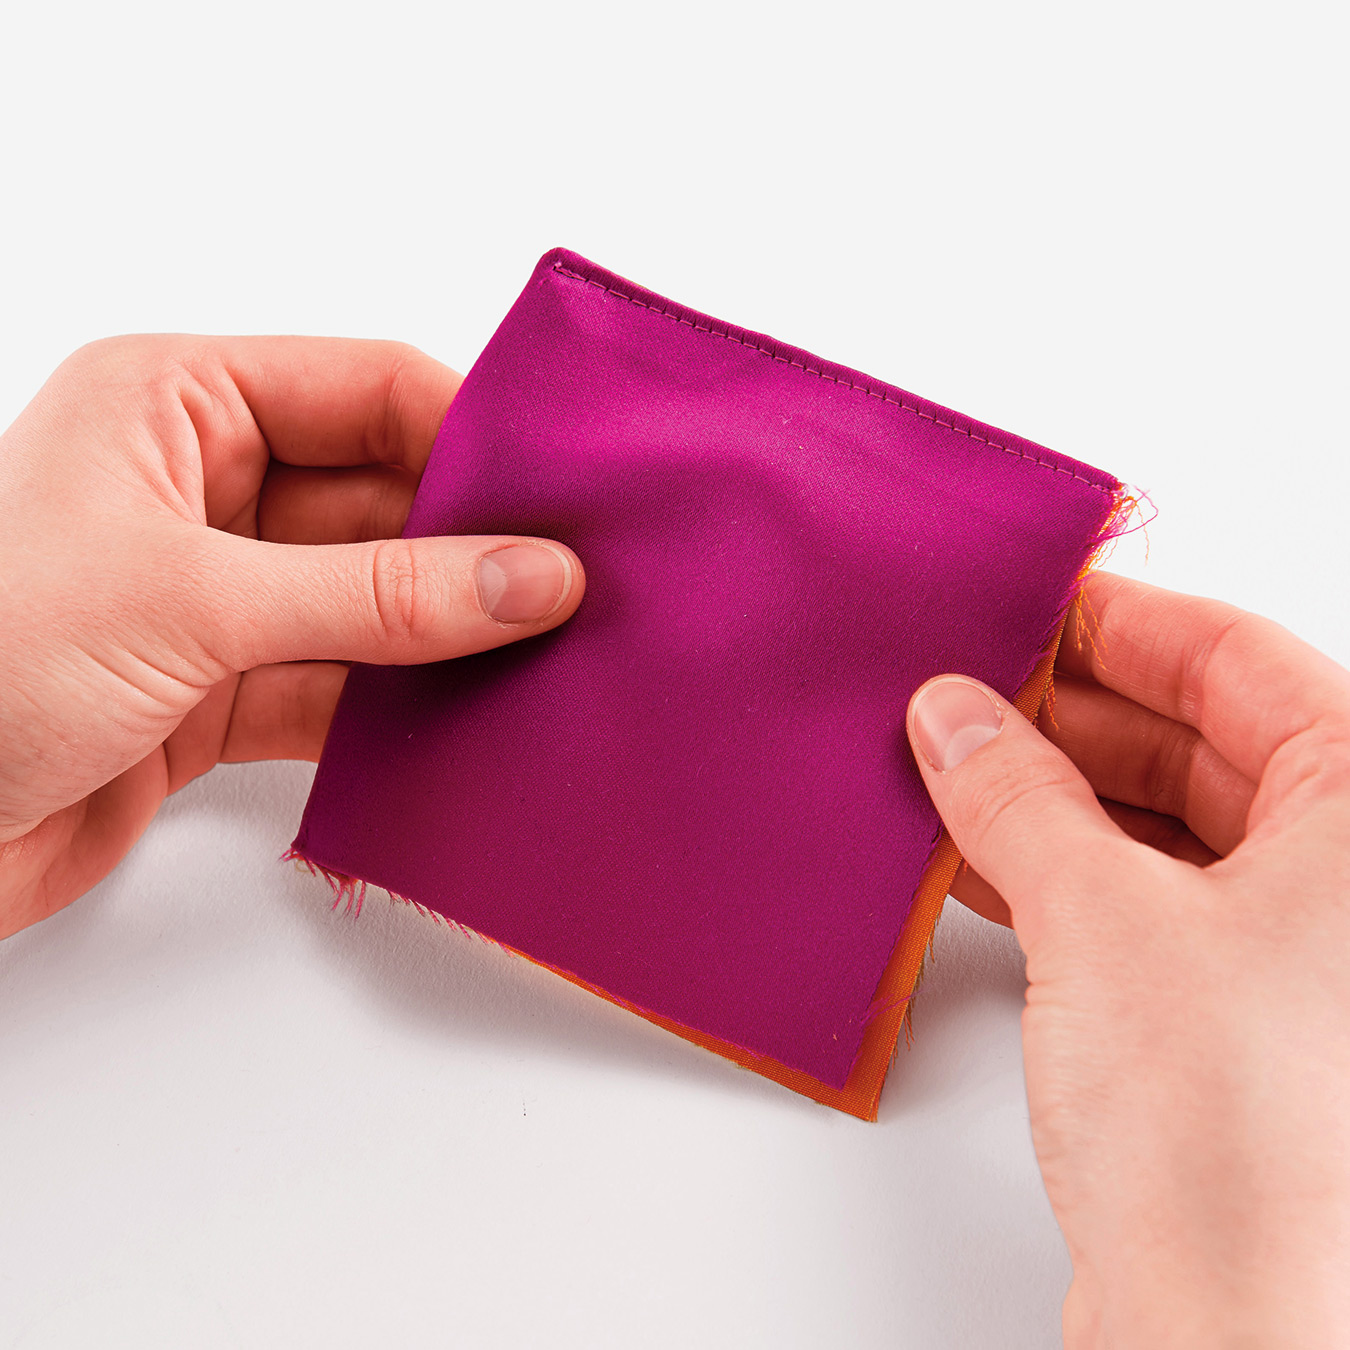
Fabric pieces:
- A: 21 x 31 cm (cut 3)
- B: 21 x 23 cm (cut 1)
- C: 21 x 9 cm (cut 1)
- D: 11 x 11 cm (cut 2)
- E: 19 x 4 cm (cut 1)
- F: 19 x 4.5 cm (cut 2)
- G: 5 x 2 cm (cut 4)
2.5 cm = 1 inch
STEP 2
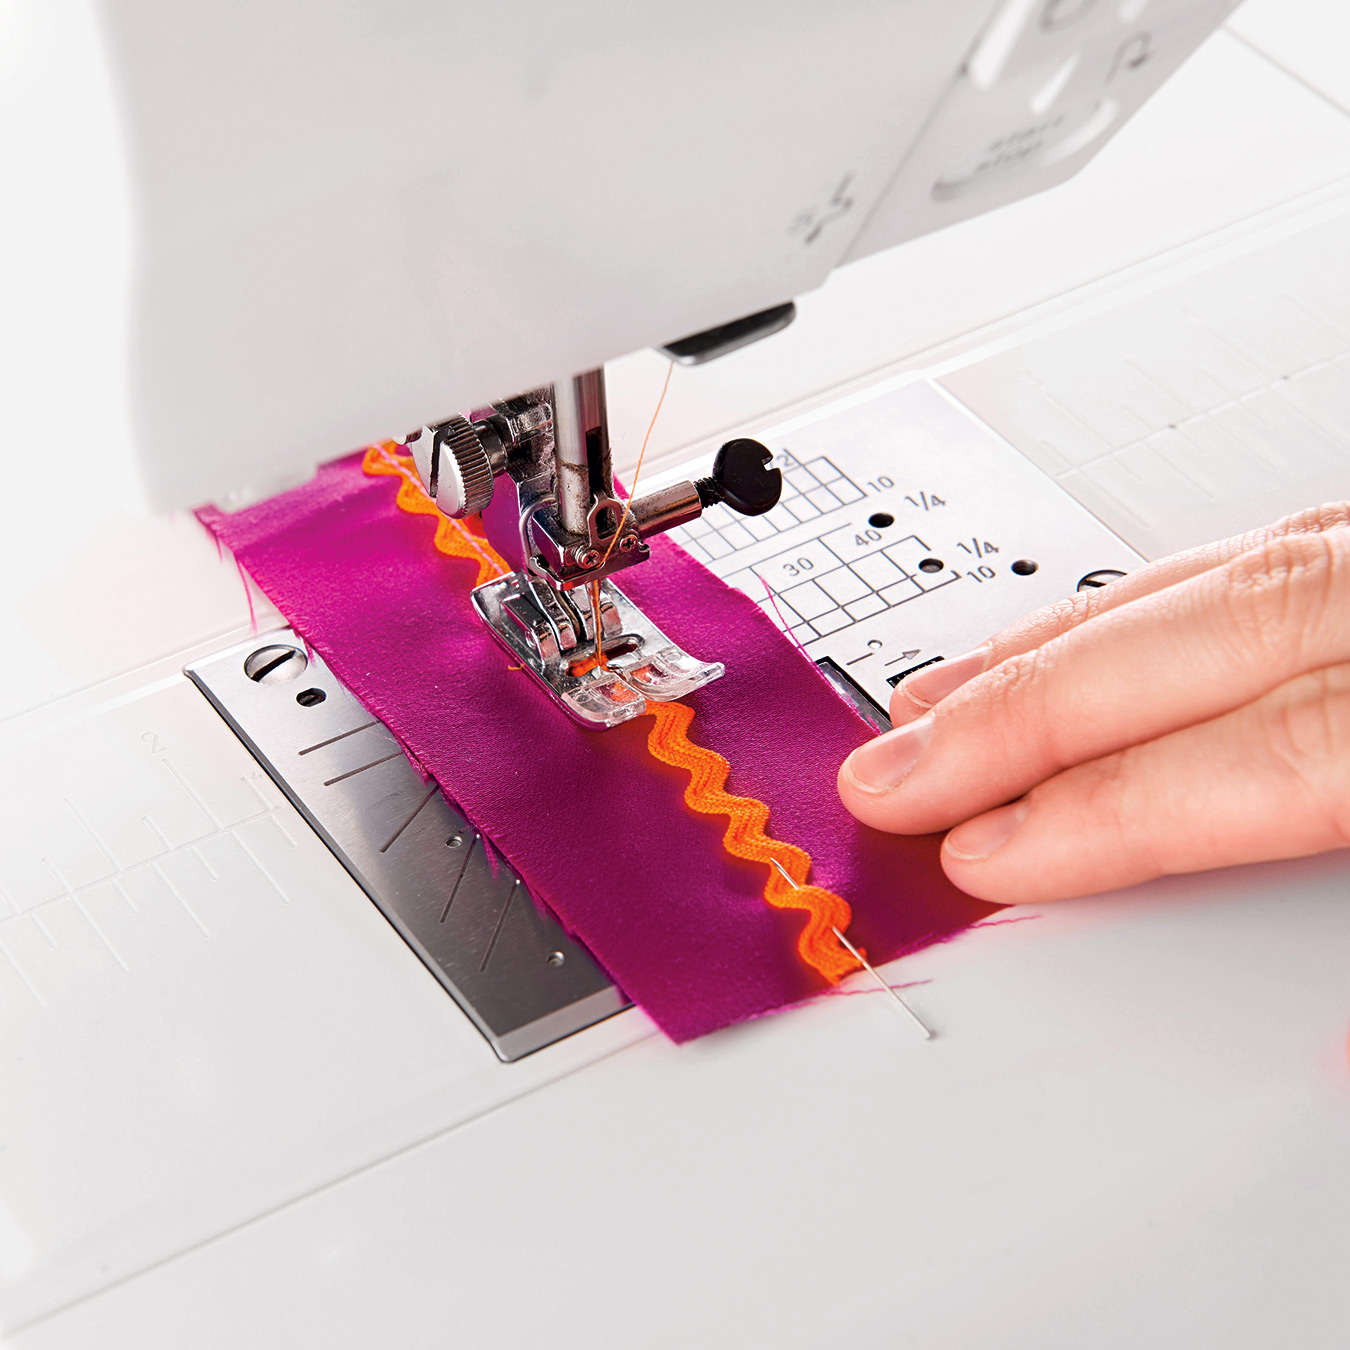
Ring holder (2 F pieces): Stitch rickrack along centre of right fabric side of one F piece. Lay F pieces together, right sides facing. Stitch 1 cm (3/8") from long edges and one narrow end.
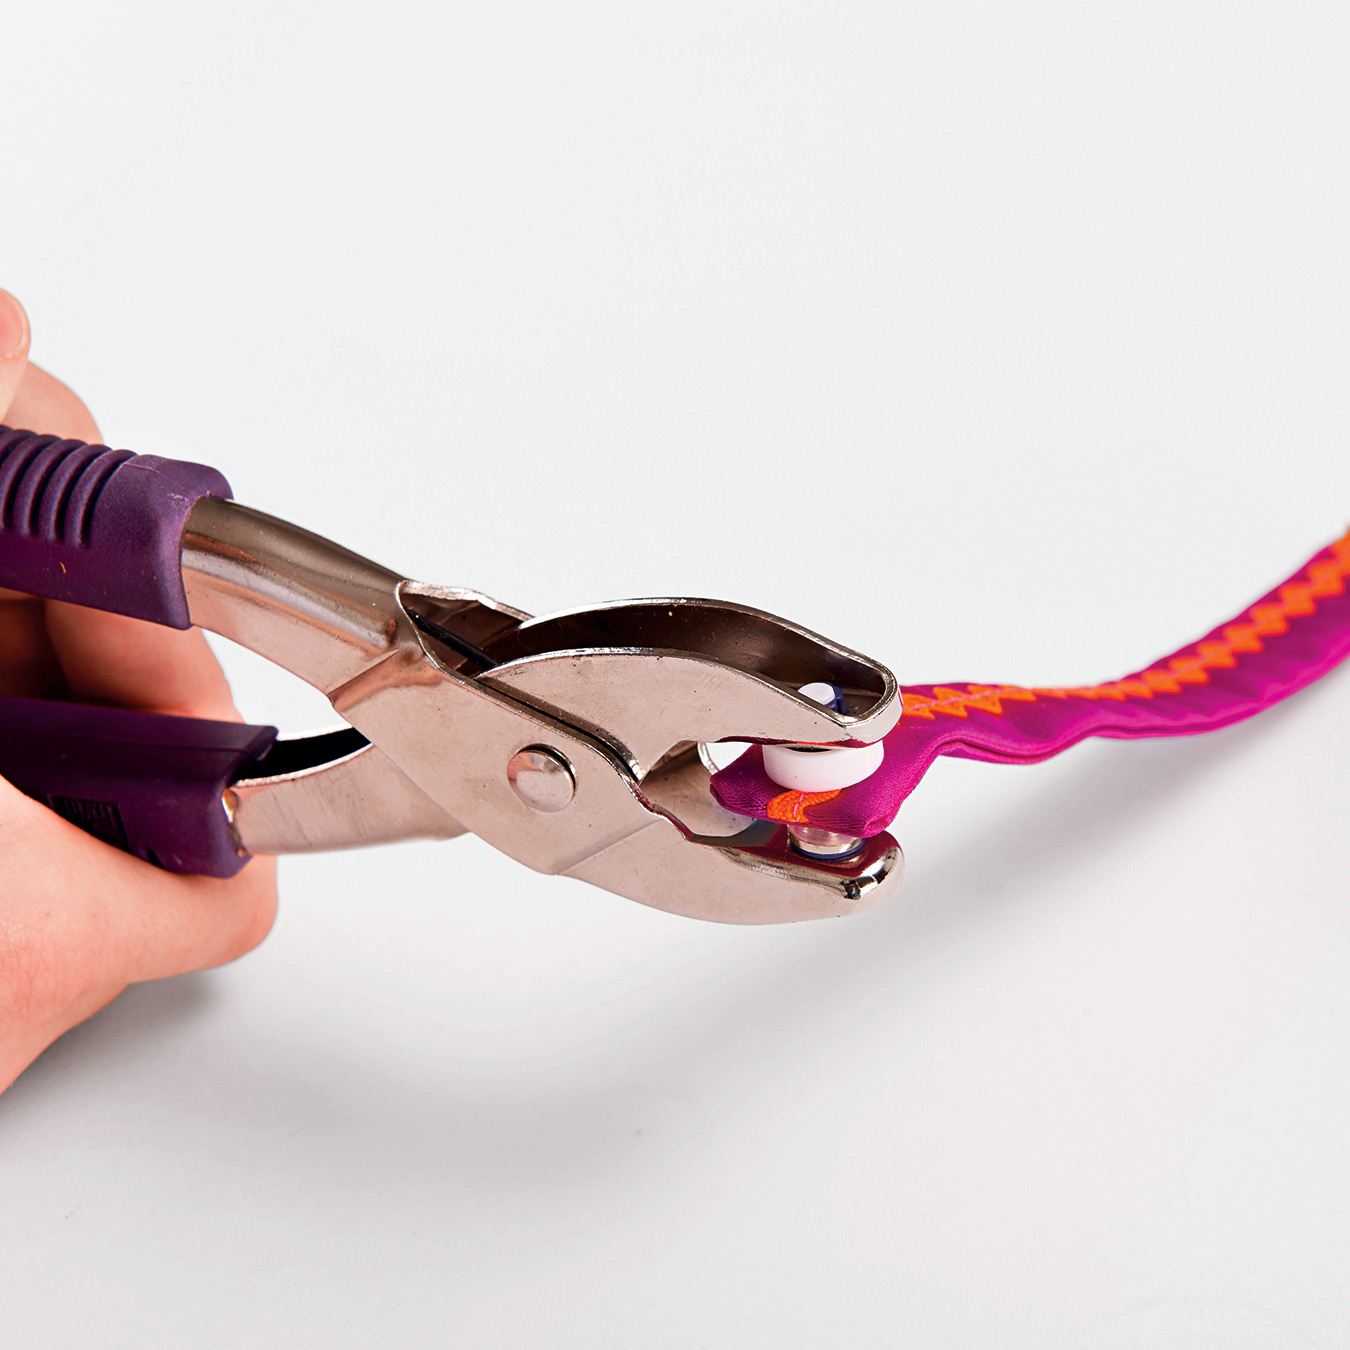
STEP 3
Trim corners diagonally. Turn ring holder right side out. Mark position of snap fastener on closed end. Attach snap, with the help of the pliers.
STEP 4
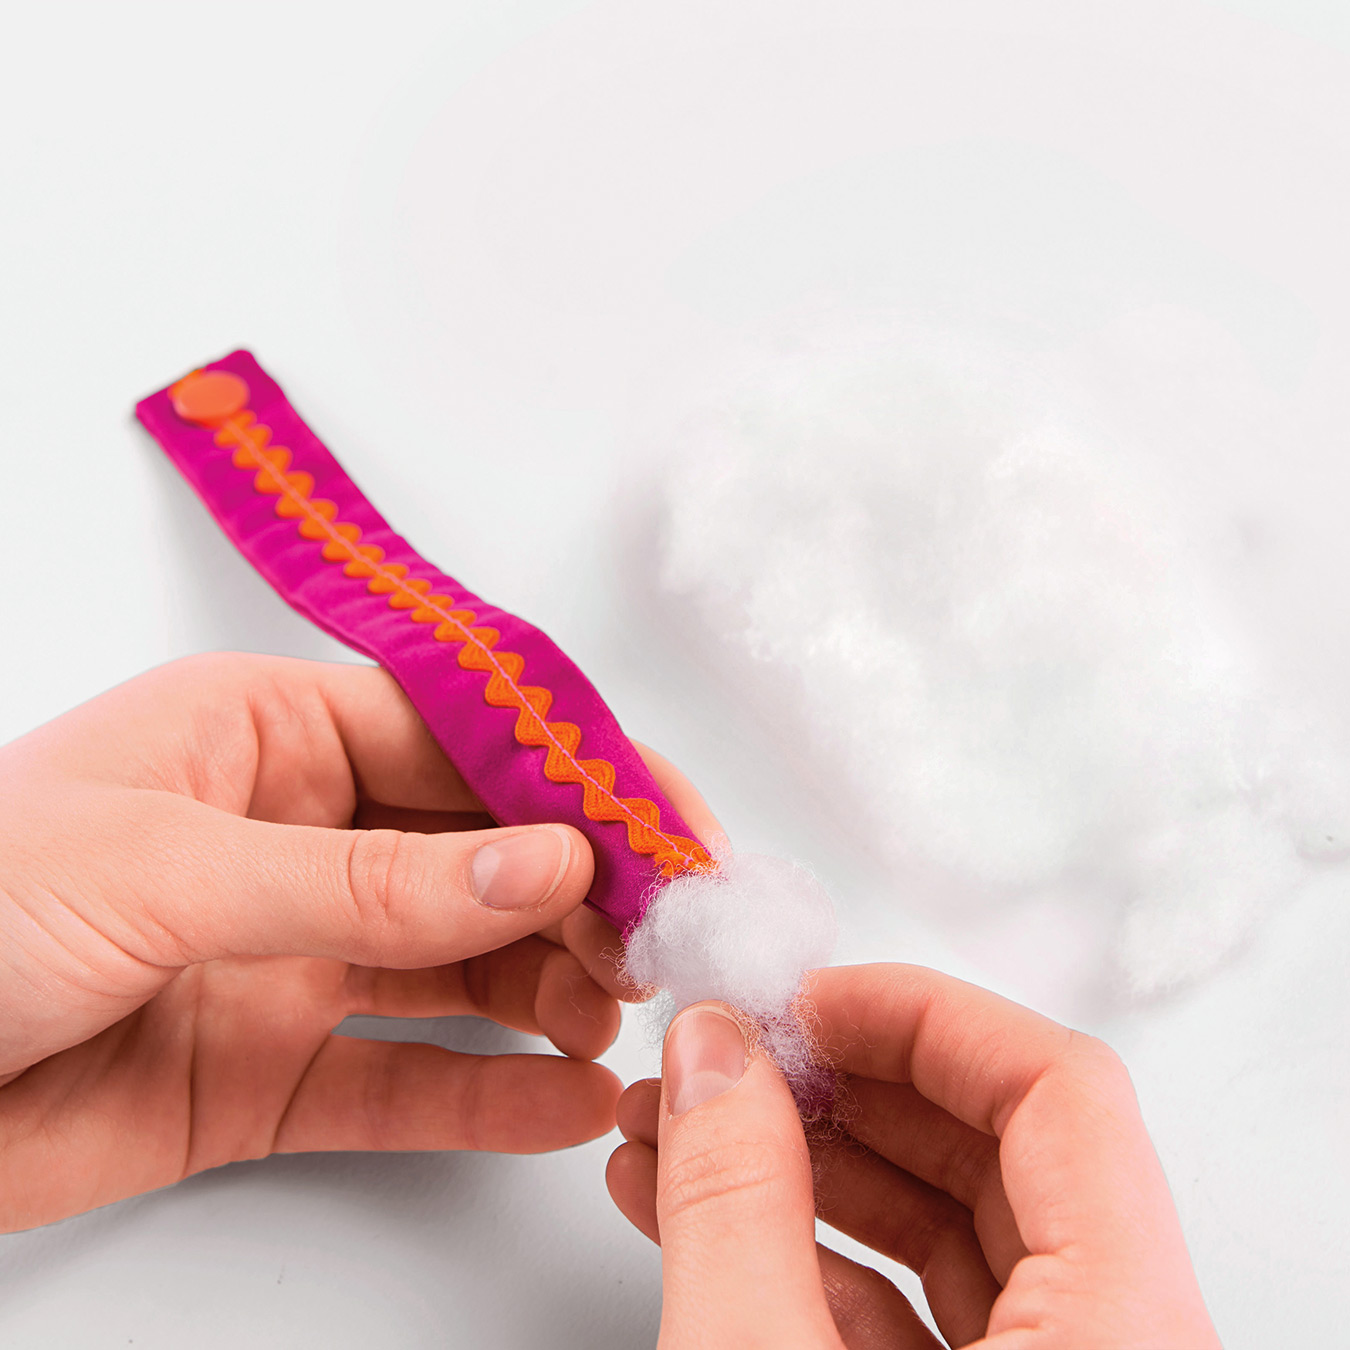
Now fill the ring holder with stuffing material, using a pencil or knitting needle as a stuffing tool.
STEP 5
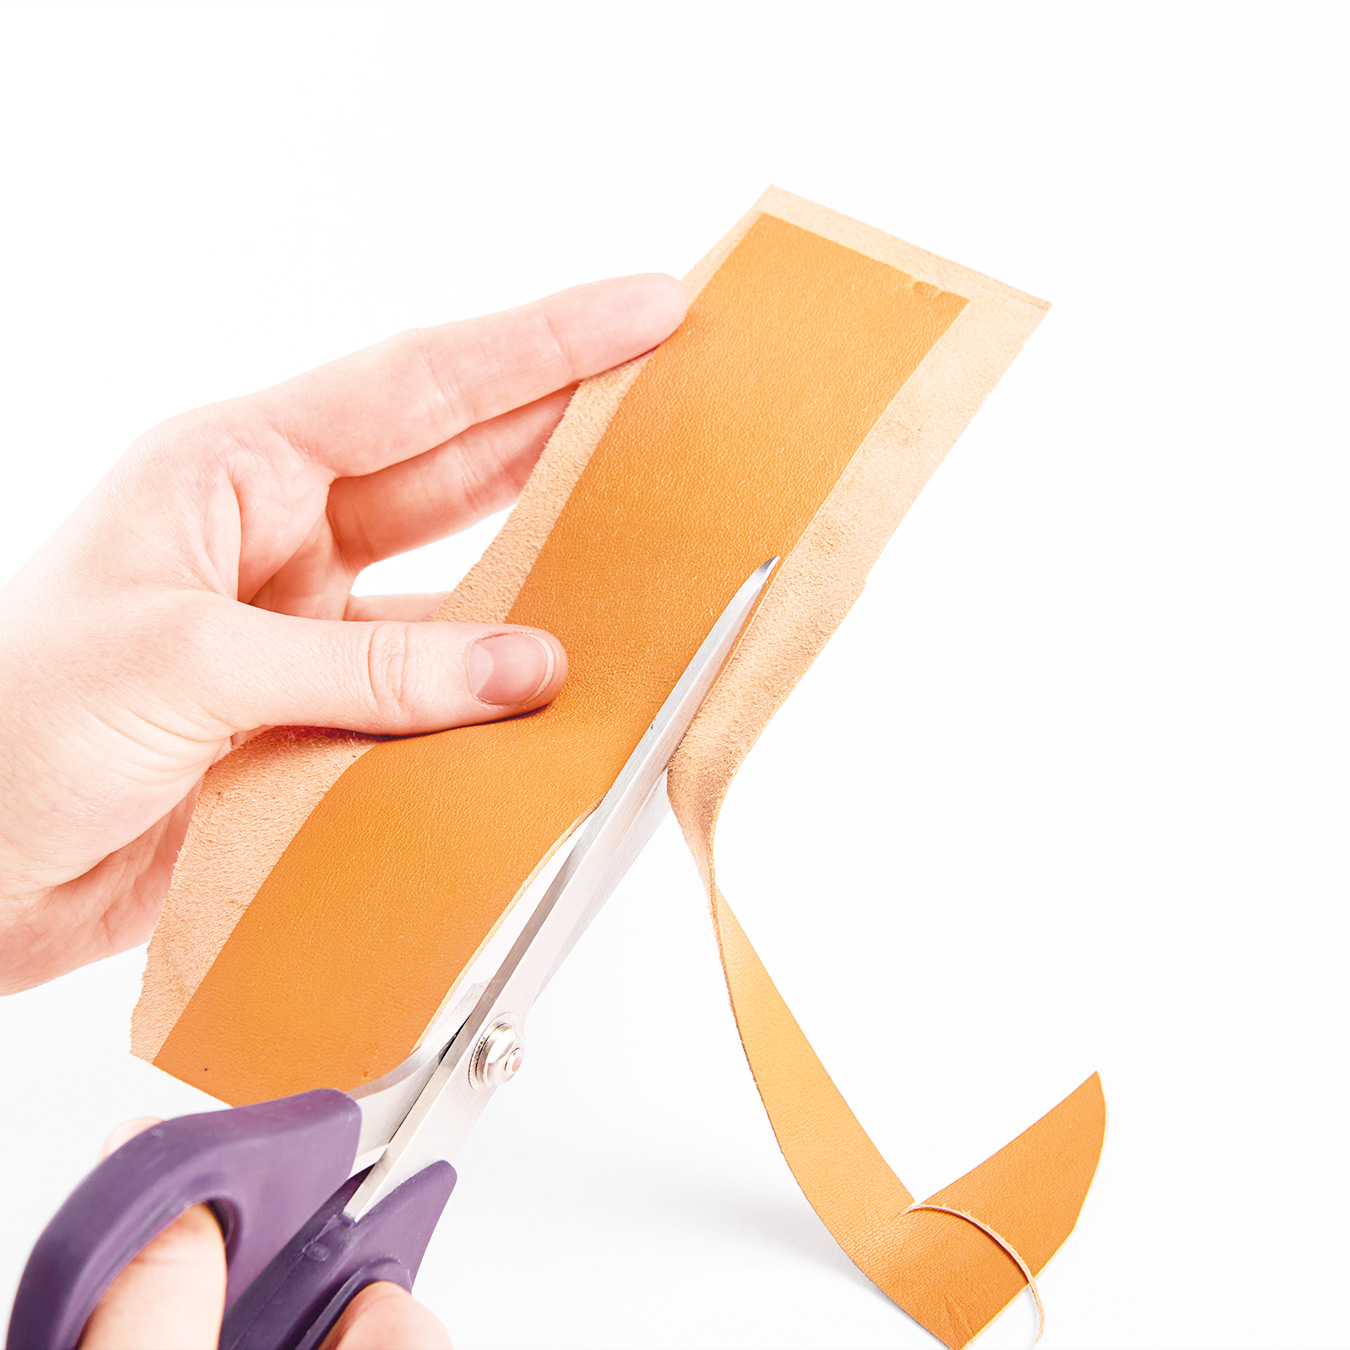
First cut piece E (stud earring flap) once from leather. With fusible web, adhere the fabric E piece to the leather piece, wrong sides facing. Trim leather along fabric edges.
STEP 6
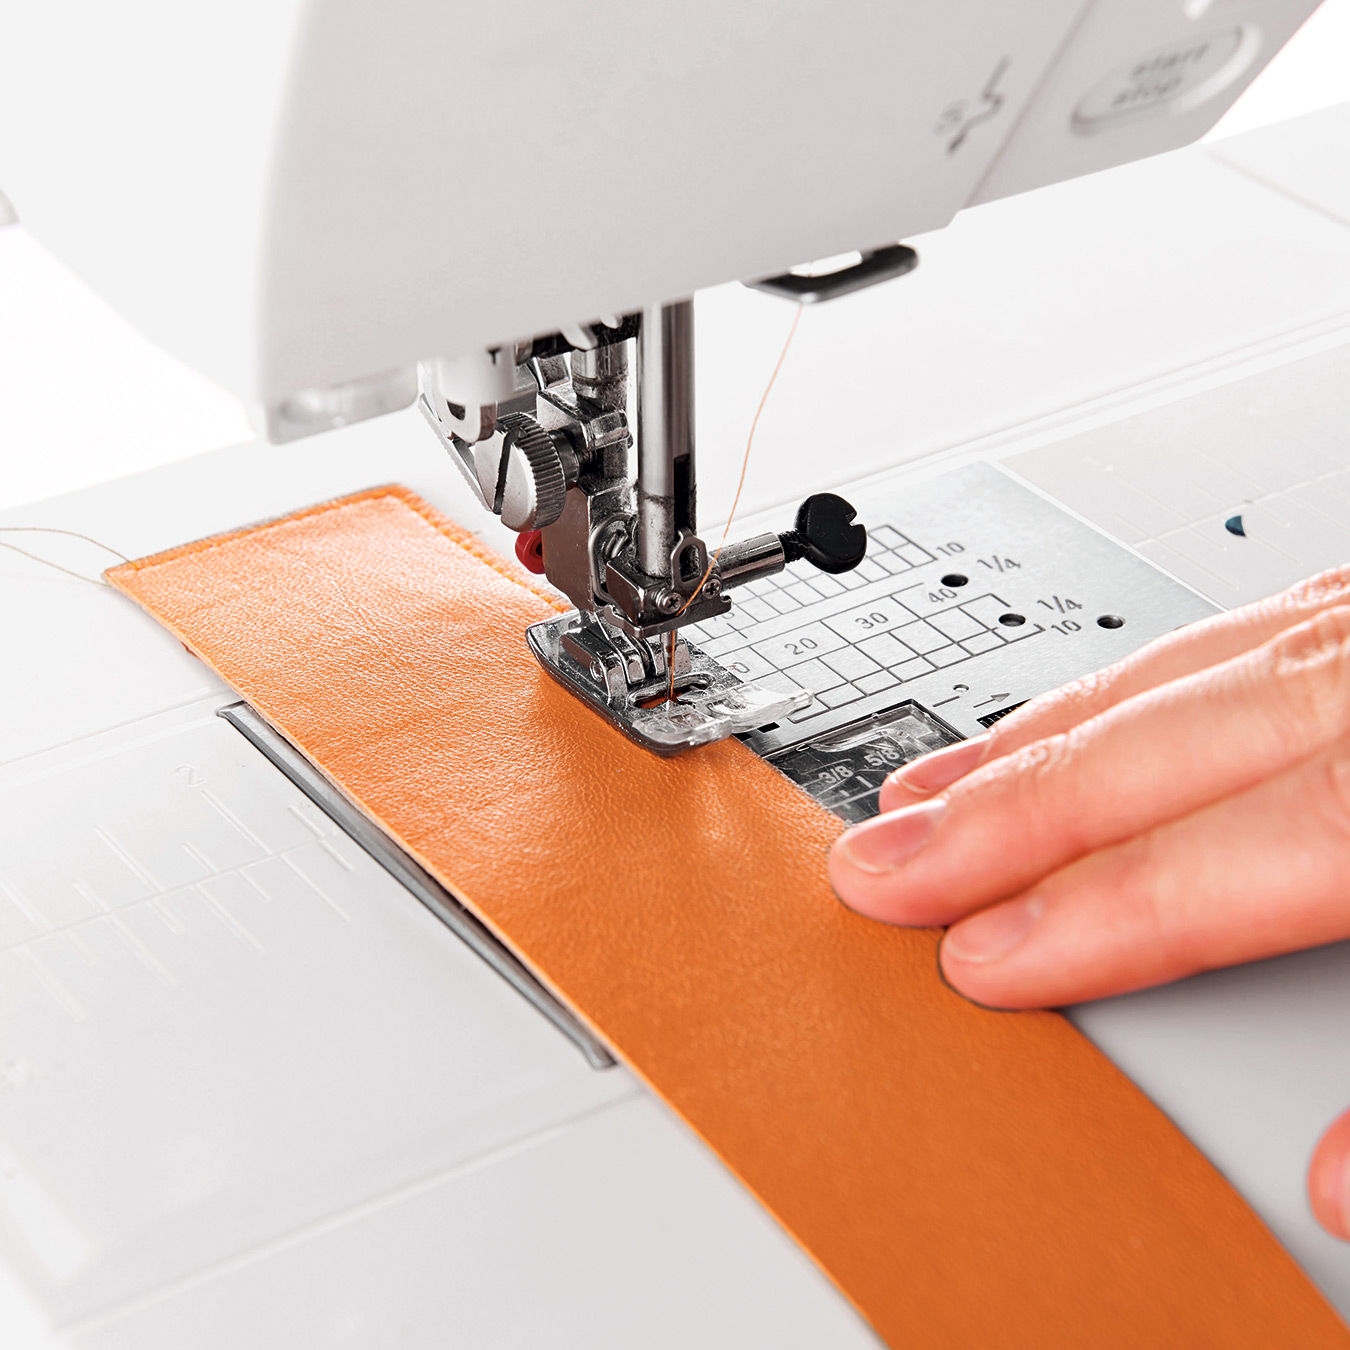
Topstitch close to all edges of stud earring fl ap. With fusible web, adhere pairs of G pieces (necklace holders) together. Topstitch close to all edges and attach snaps.
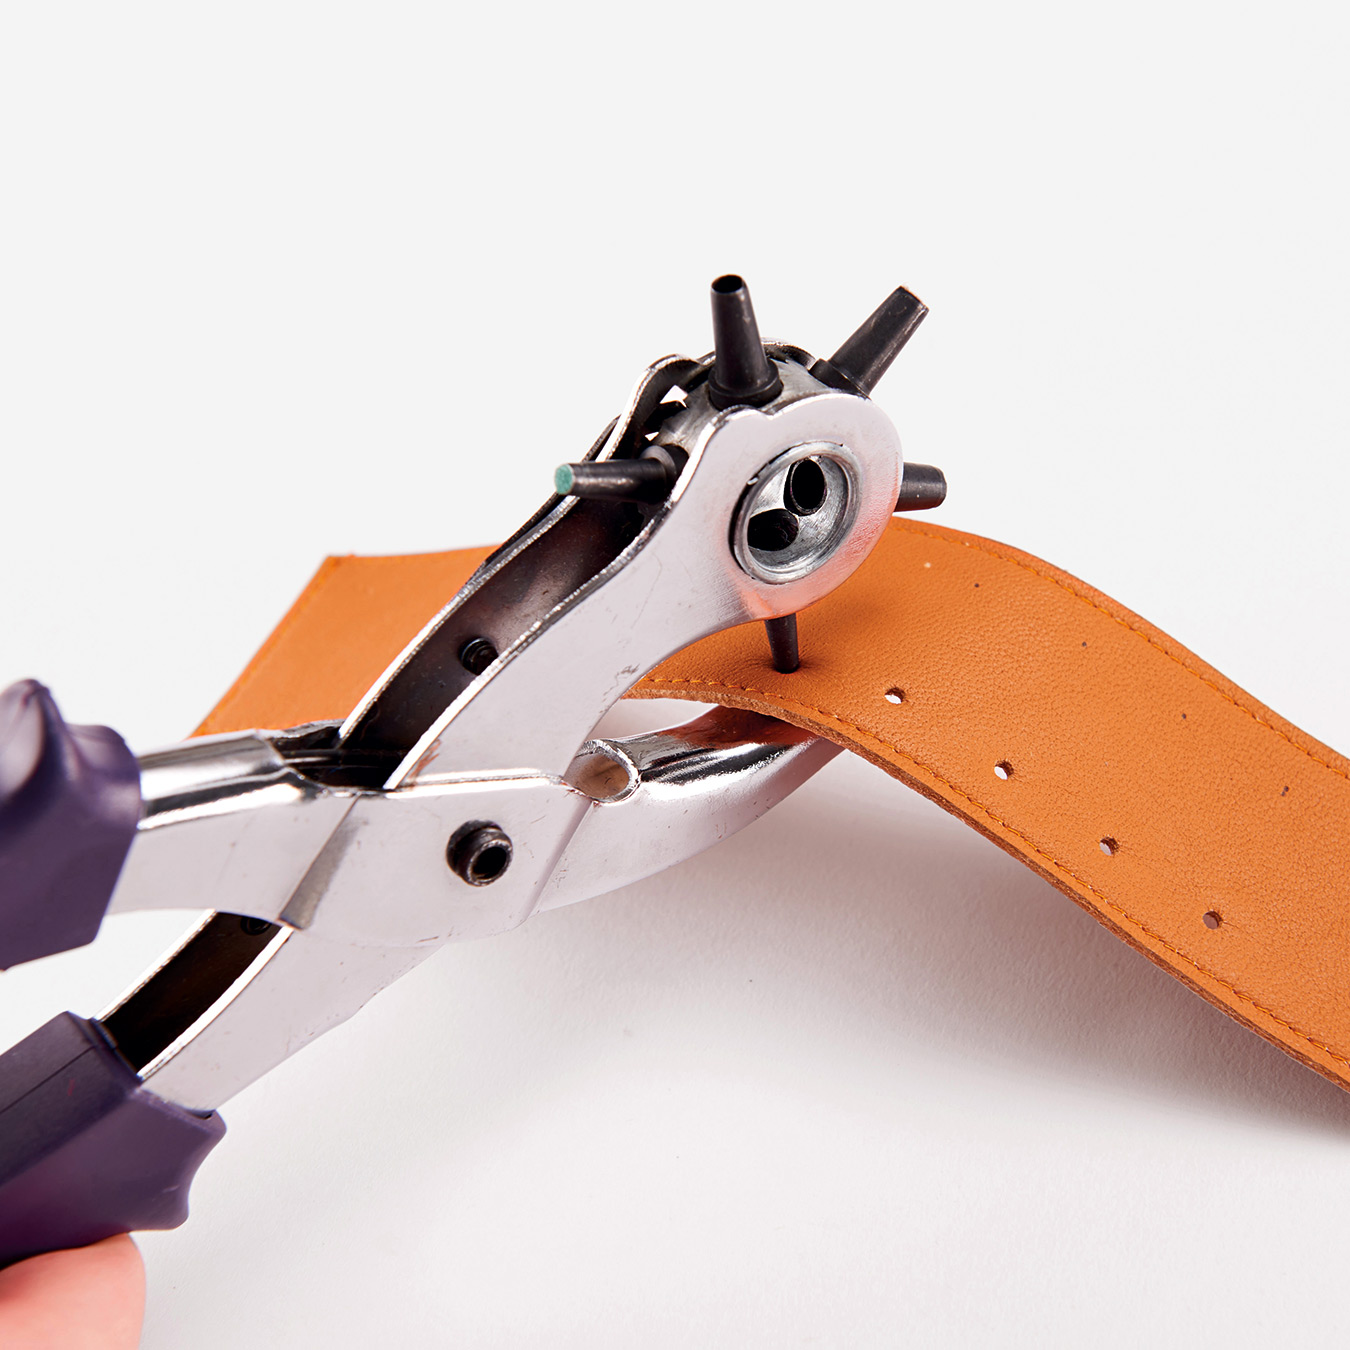
STEP 7
On stud earring fl ap, mark positions of holes, with chalk pencil. Punch holes as marked. Attach snap to lower end (as described for Step 3).
ÉTAPE 8
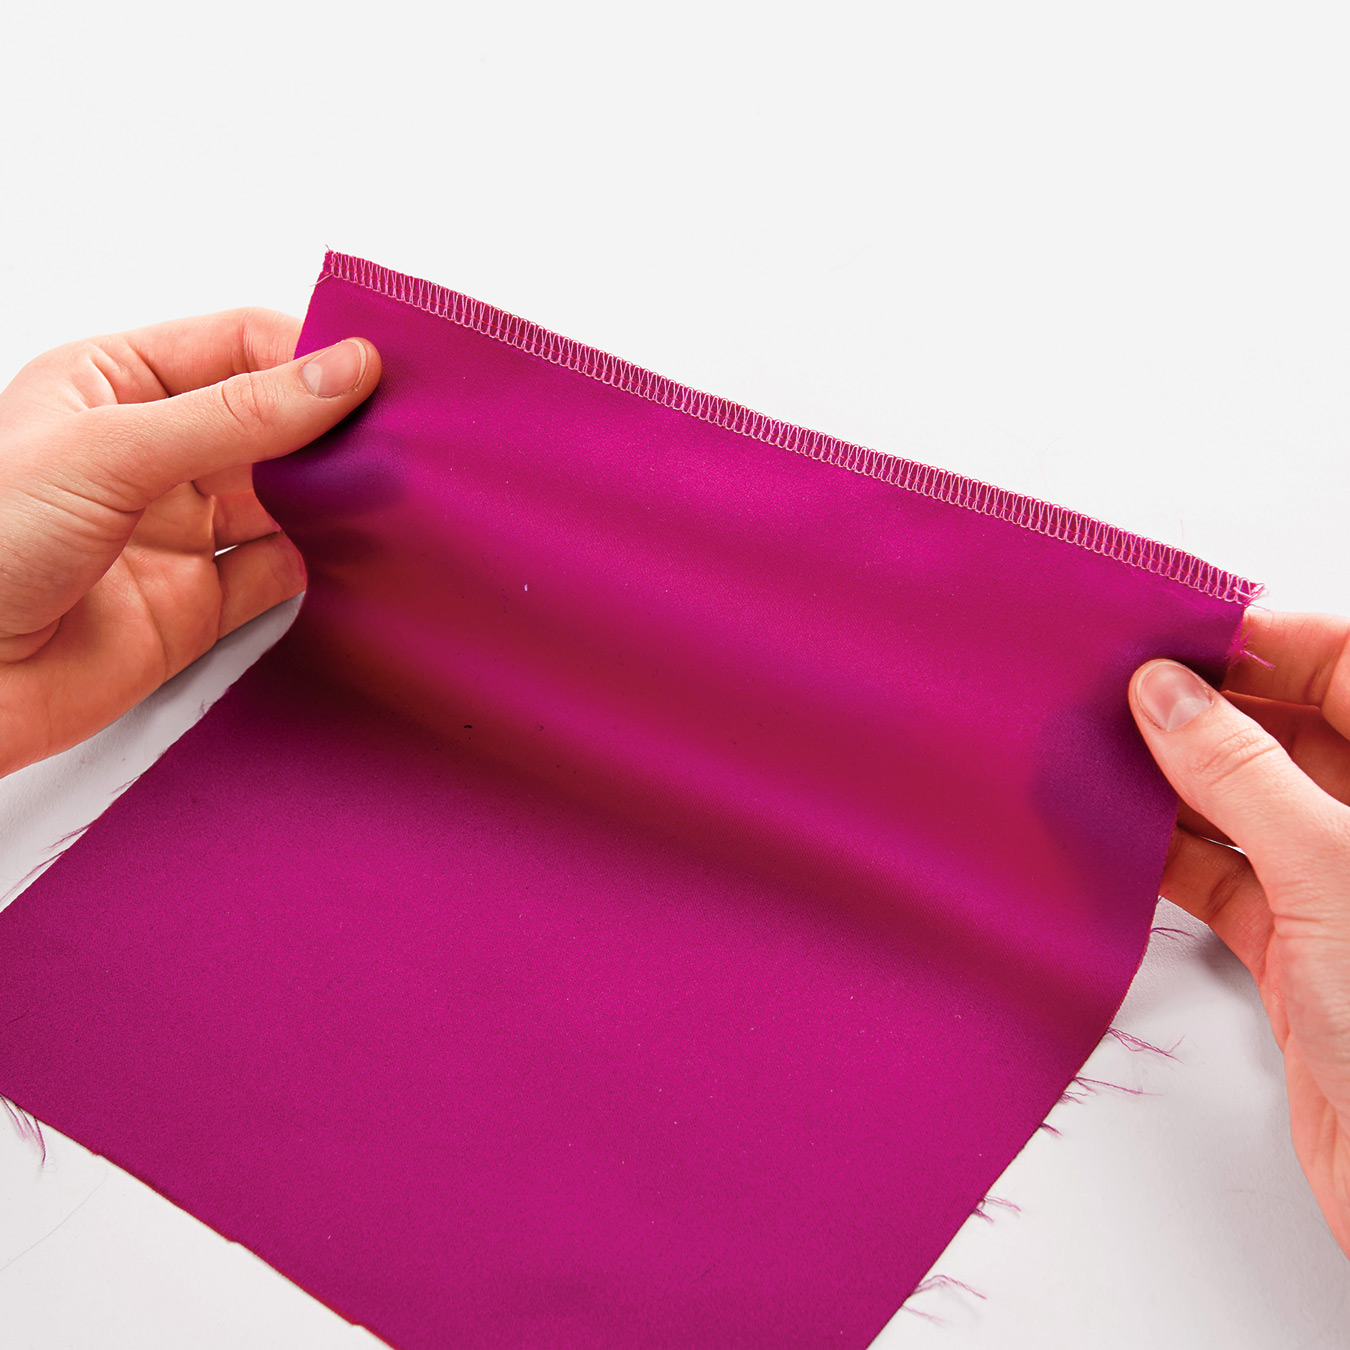
On each of fabric pieces B (large inside pocket) and C (zipper pocket) fi nish one 21 cm edge, with a serger.
STEP 9
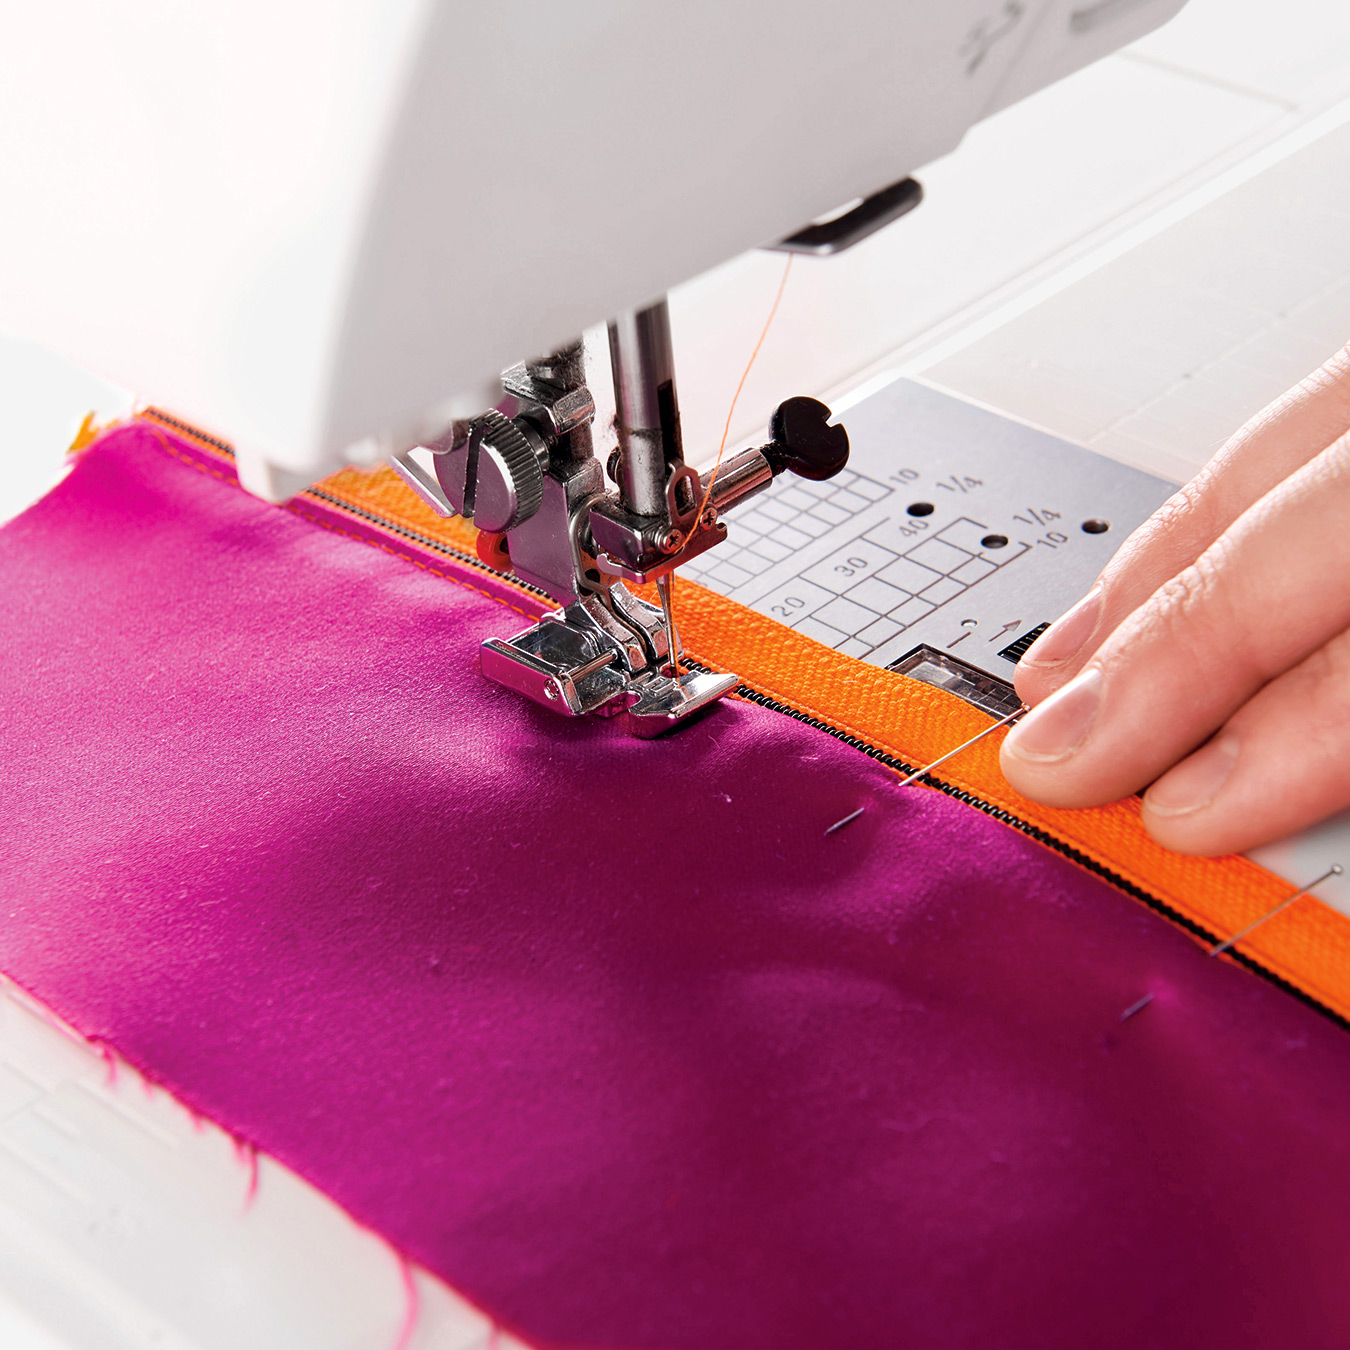
Press each serged edge to wrong side, 1 cm (3/8") wide. Stitch these fold edges to the zipper tapes.
ÉTAPE 10
Press each serged edge to wrong side, 1 cm (3/8") wide. Stitch these fold edges to the zipper tapes.
STEP 11
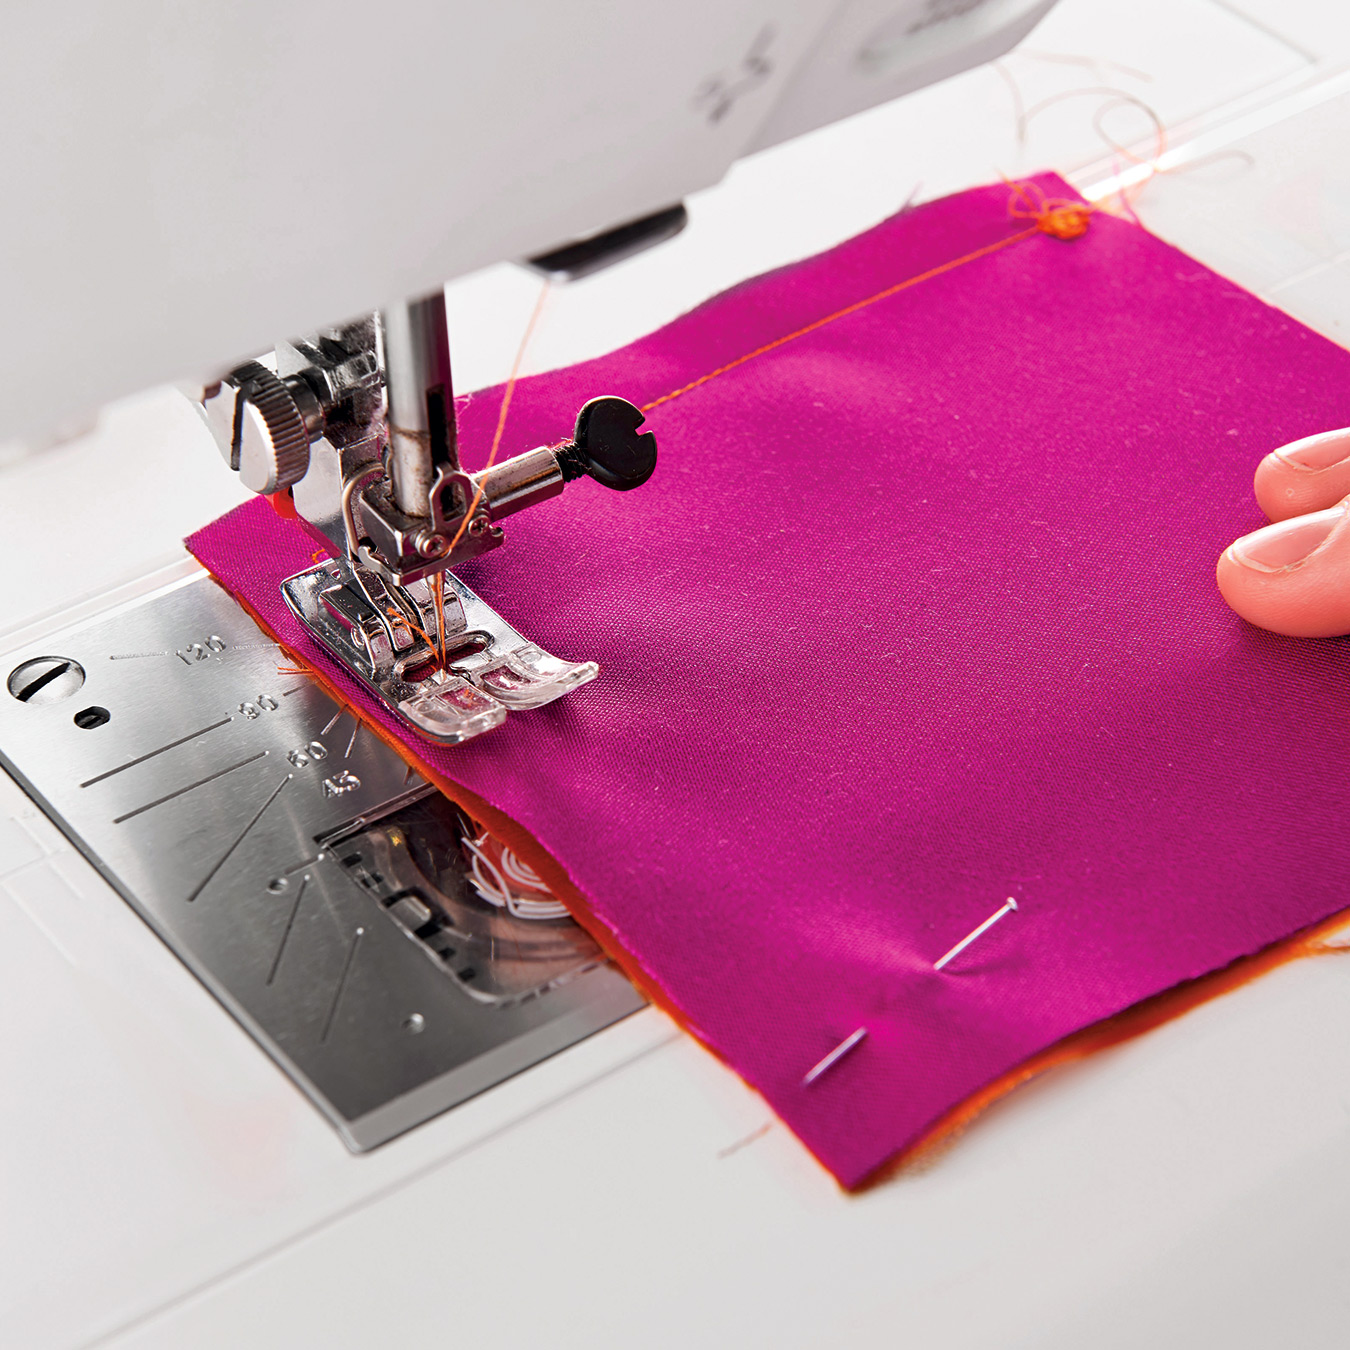
Press seamed edges. Topstitch close to one of the seamed edges.
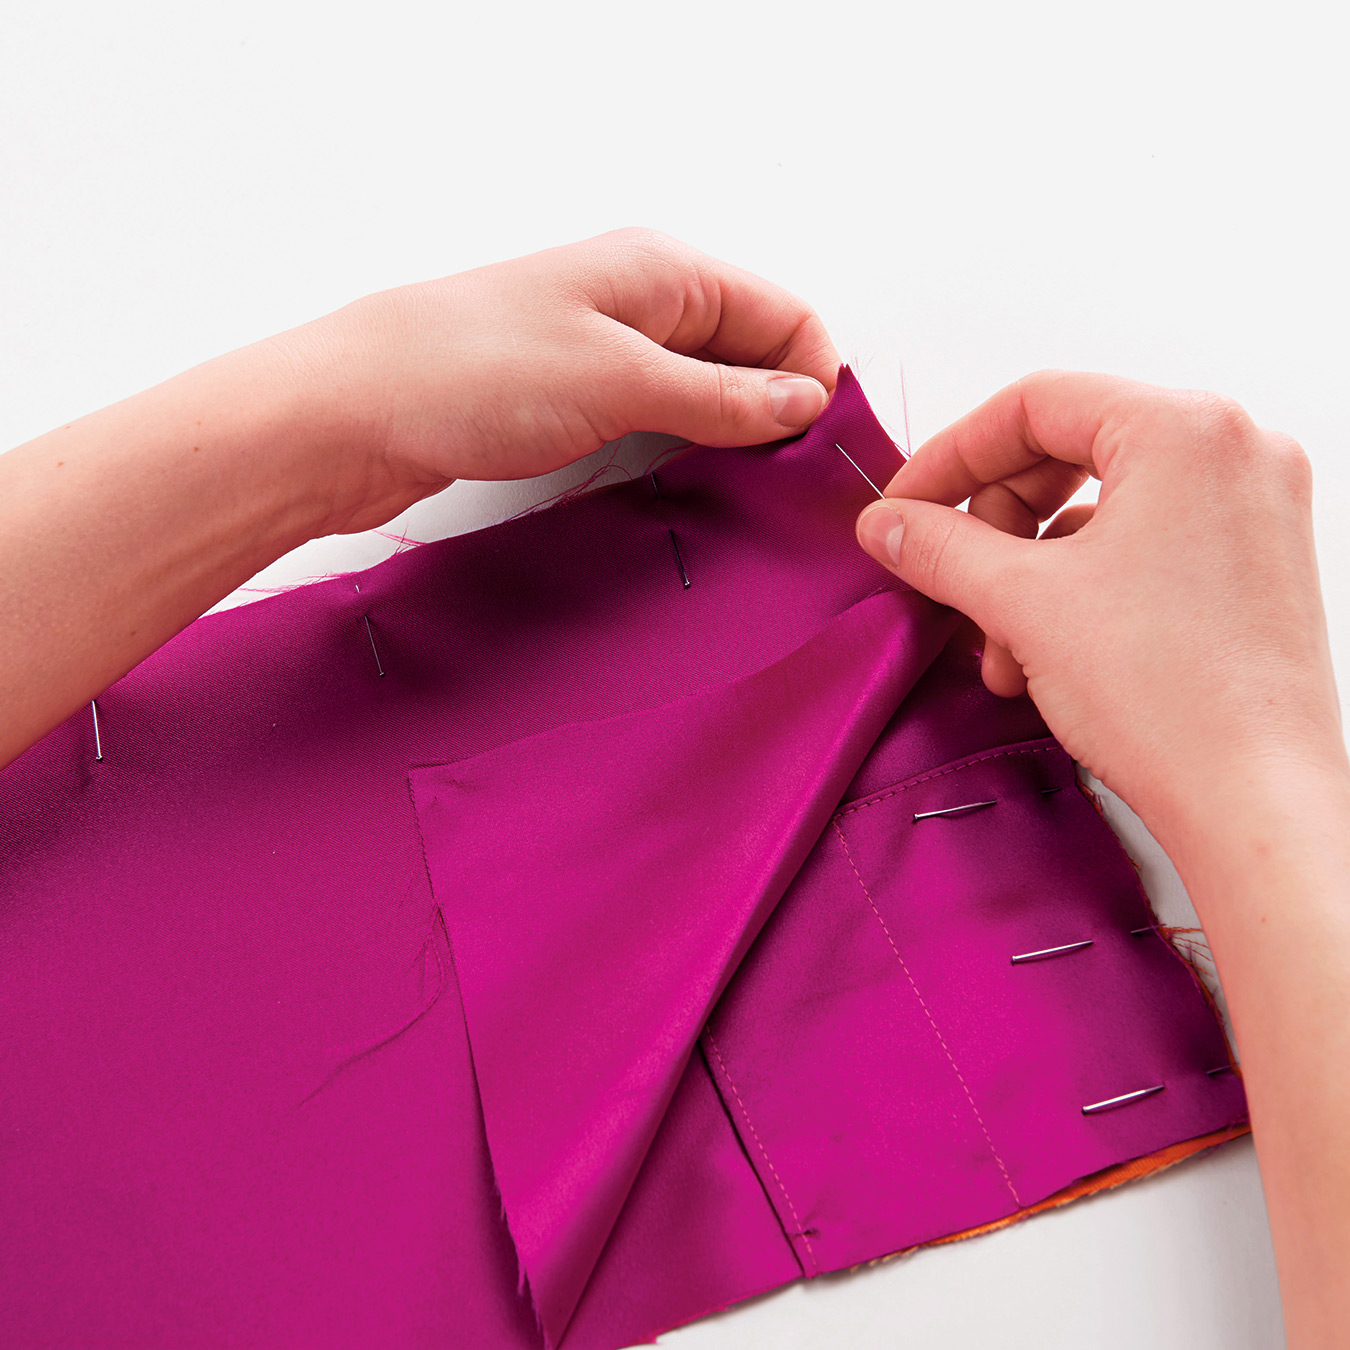
STEP 12
Lay D on right lower corner of B/C unit, matching raw edges. Edgestitch left seamed edge in place. Stitch along vertical centre. Lay 1 A
piece on this edge of B/C, right sides facing. Stitch side edge.
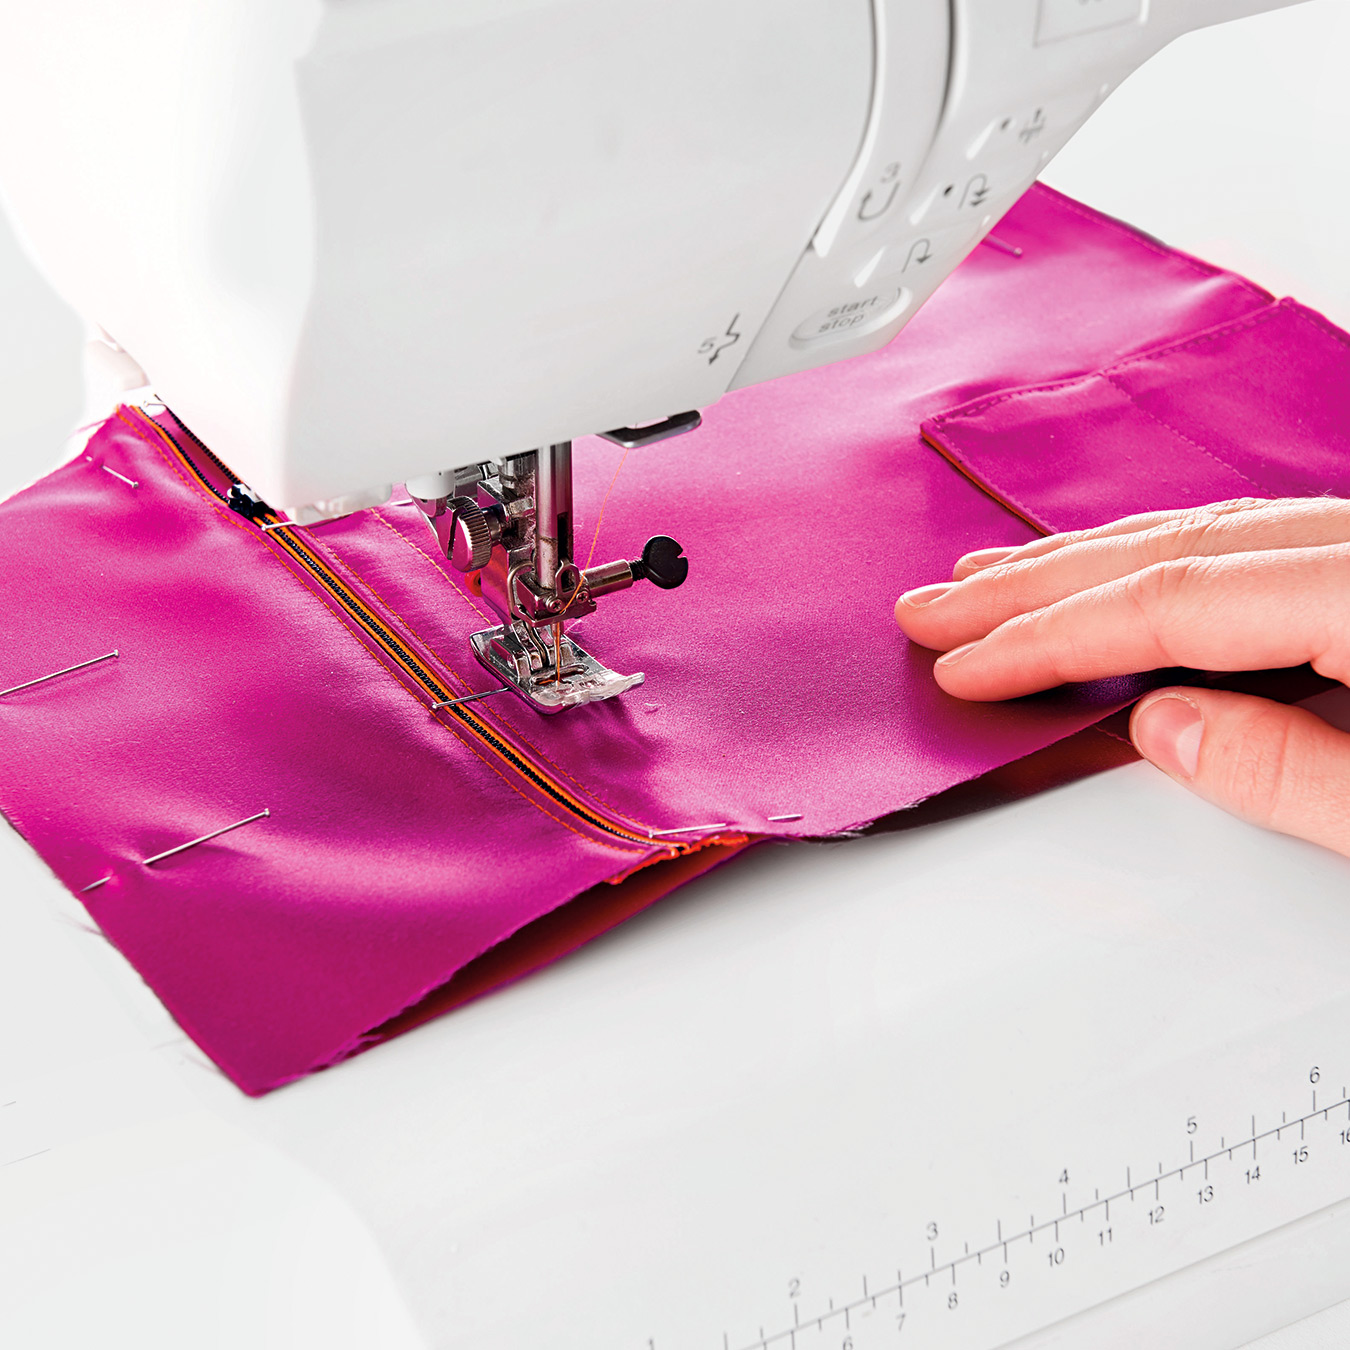
ÉTAPE 13
Turn right side out. Topstitch close to seamed side edge. Now topstitch approx. 2 cm (3/4") to right of zipper, as shown, to separate the
two pockets.
STEP 14
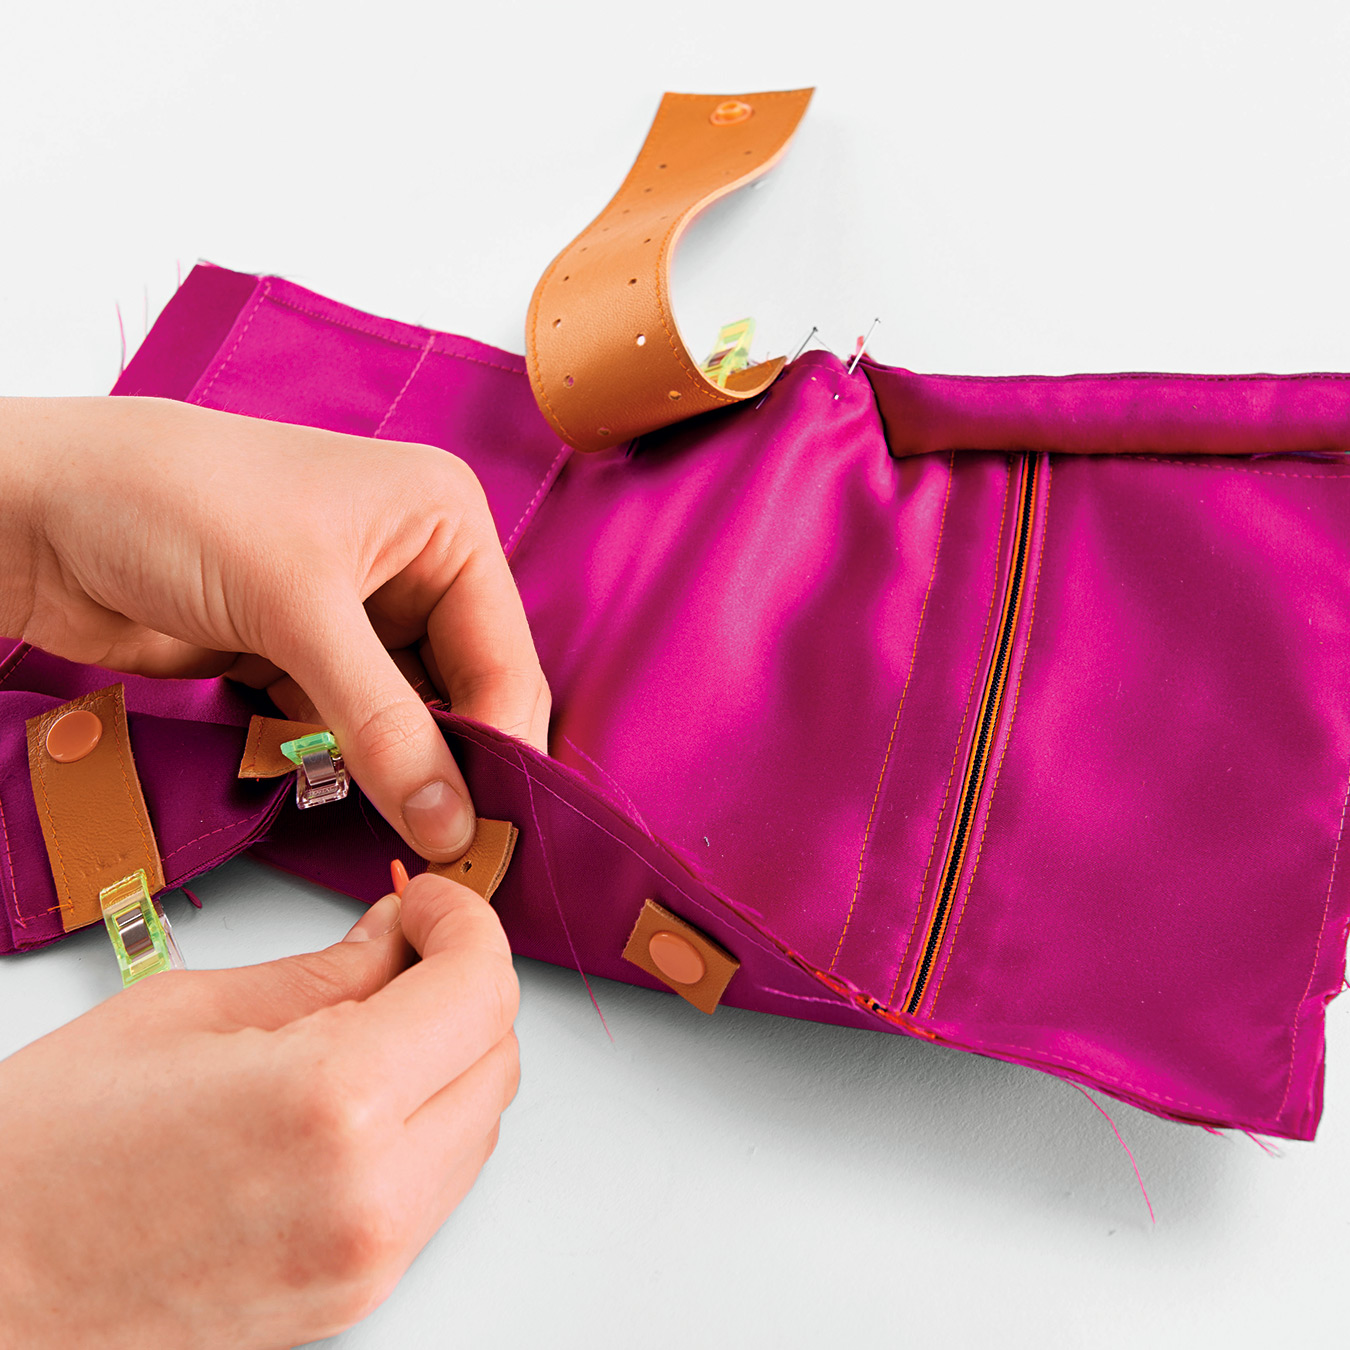
Pin or clip pieces E (stud earring flap), F (ring holder), and G (2 necklace holders) to pocket unit, as shown. Mark and insert snaps in pocket unit, catching small pieces of leather on wrong side, as reinforcement.
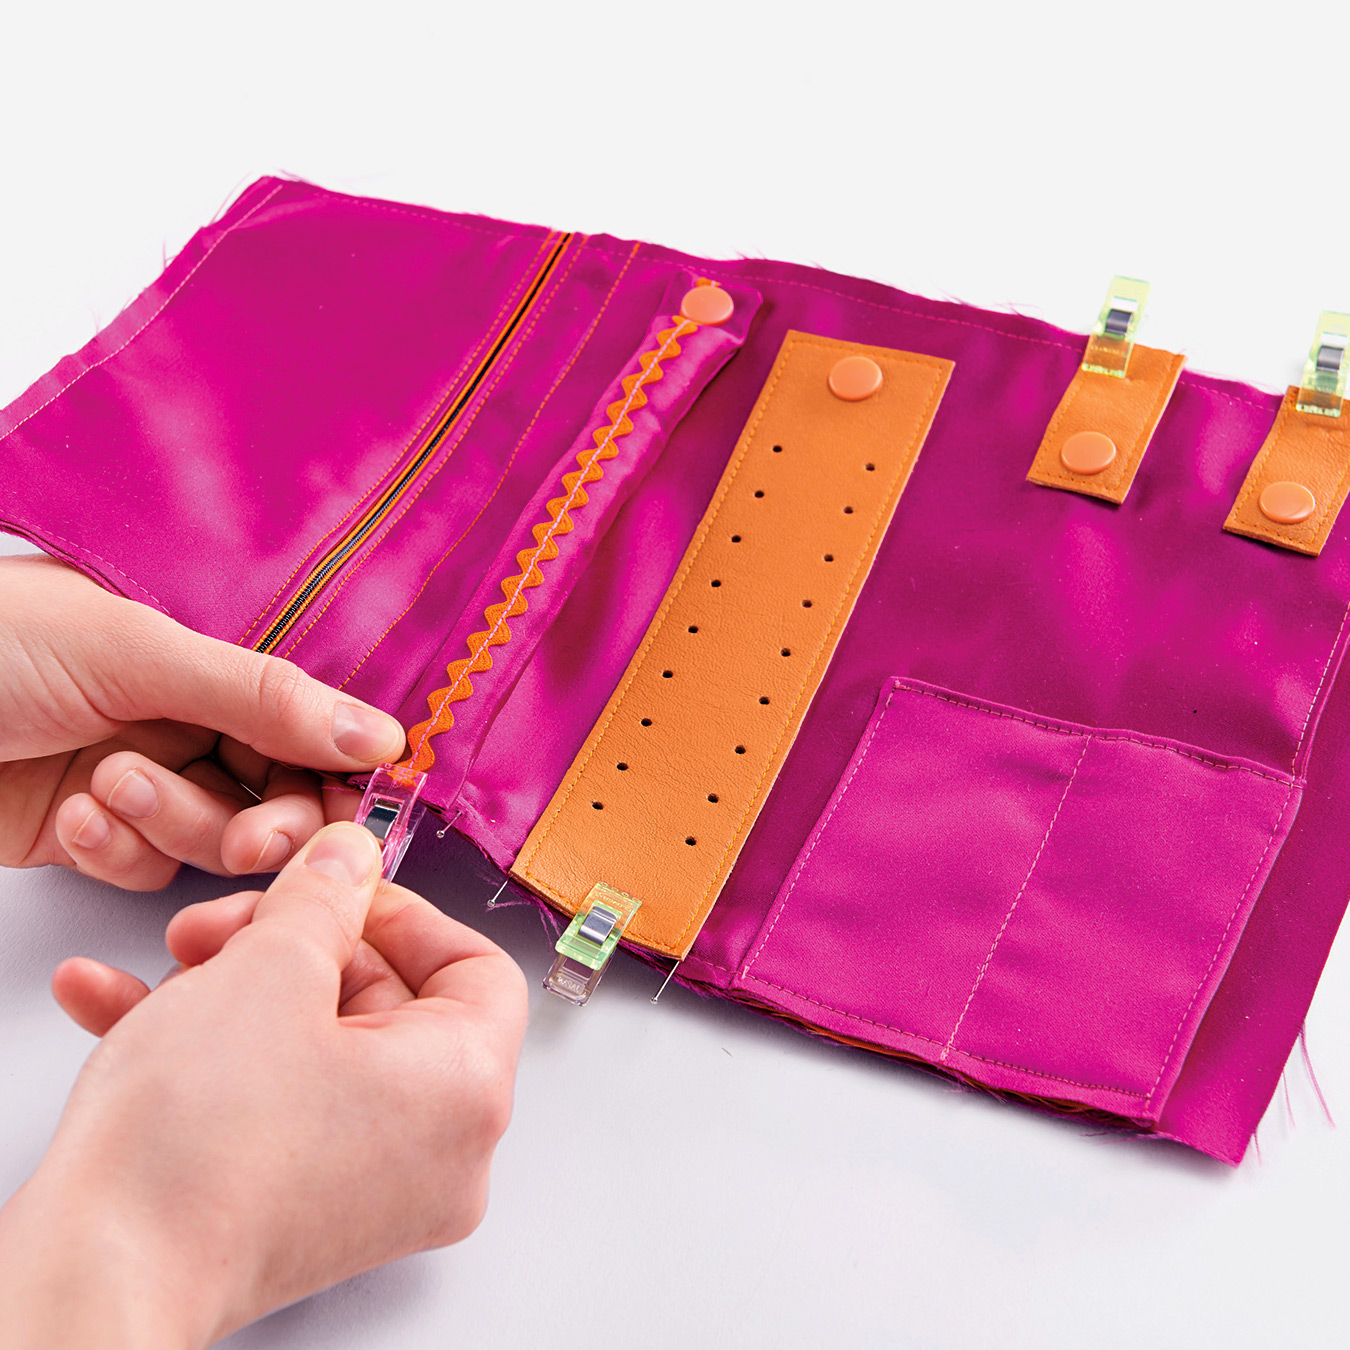
STEP 15
Topstitch close to long edges of pocket unit, thereby catching ends of E, F, and G pieces.
STEP 16
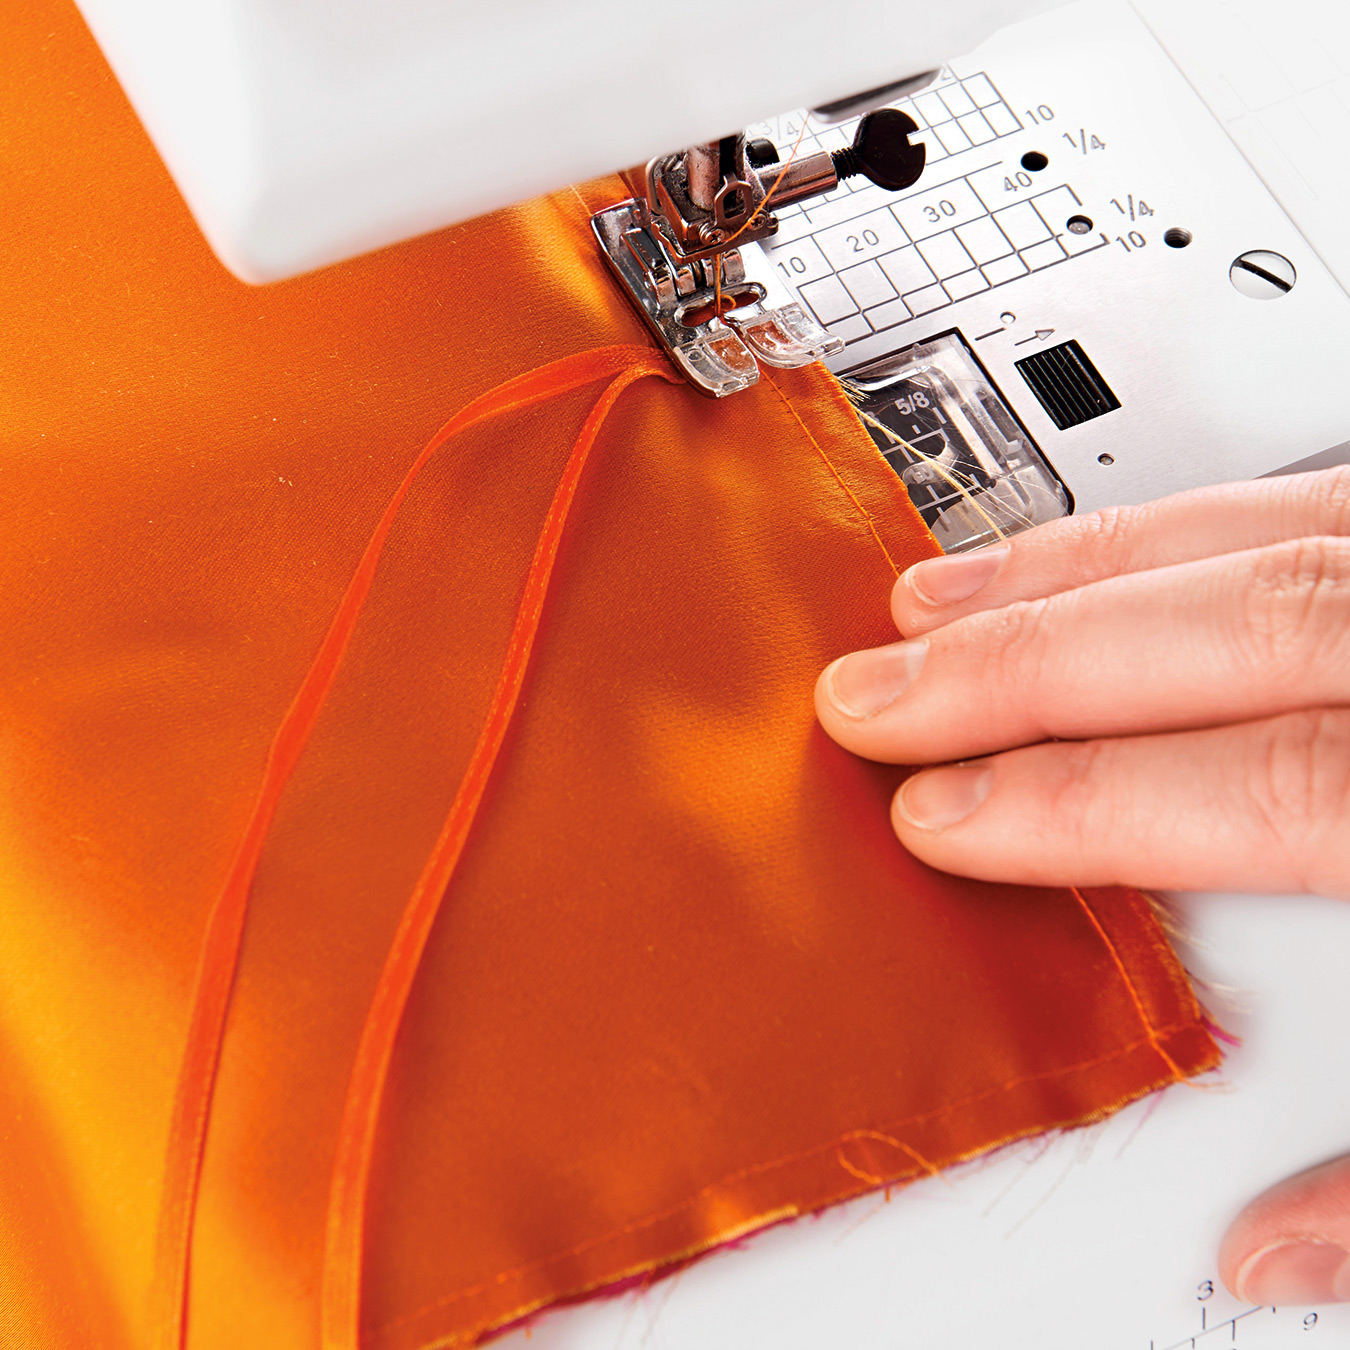
Lay remaining 2 A pieces together, wrong sides facing. Lay inside pocket unit on top, matching raw edges. Stitch close to all edges, catching 2 satin ribbons at center of one narrow edge.
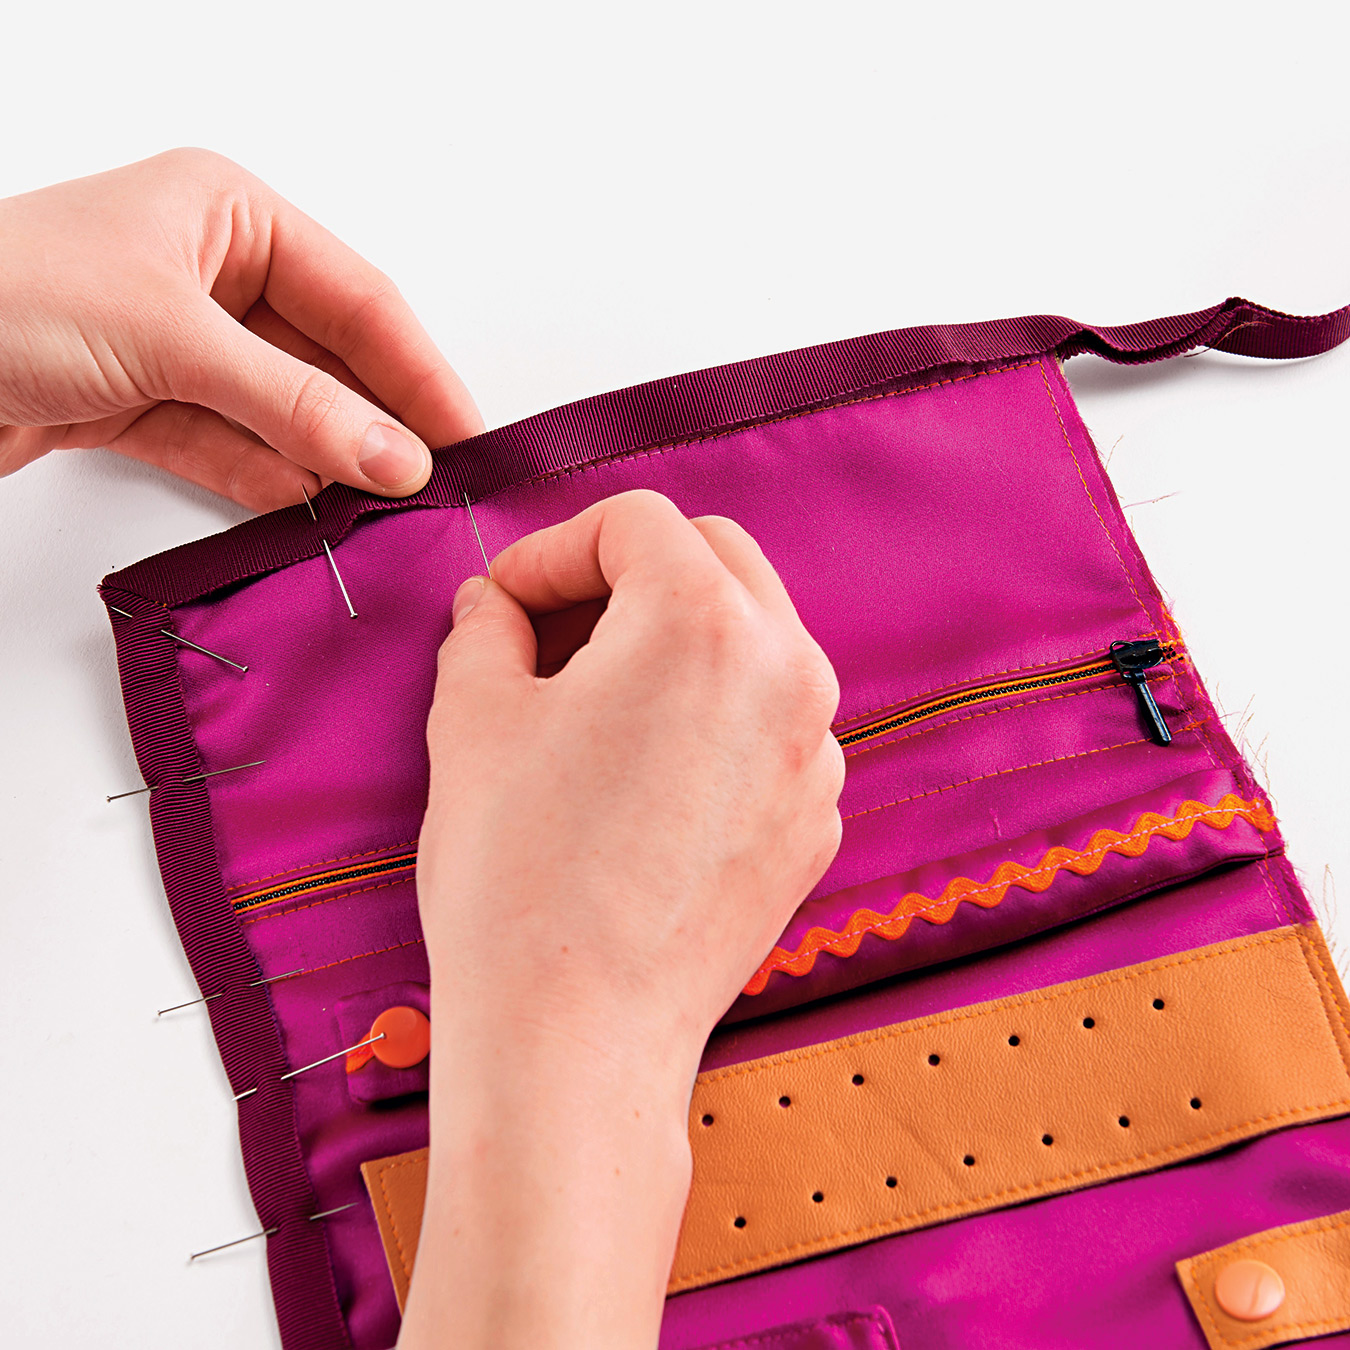
STEP 17
Finally press petersham ribbon in half lengthwise. Measure lengths of edges between corners. Stitch corners in ribbon. Pin ribbon over
all edges and edgestitch in place.
It's finished!
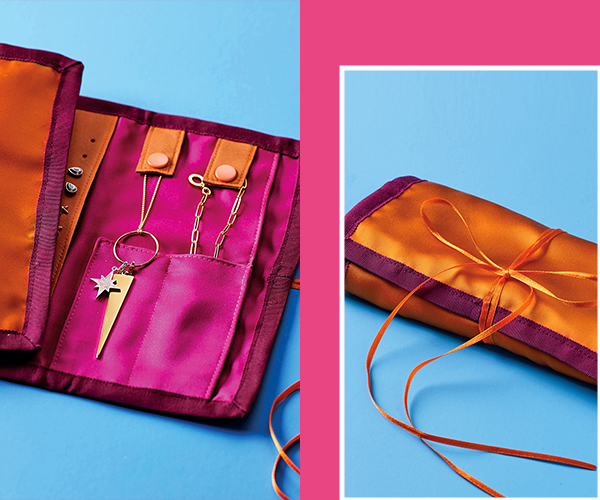
There you have it—now you know how to make this practical and elegant jewelry pouch. This handmade accessory will keep your necklaces, earrings, and bracelets tidy for both at home and when you're traveling. Easy to customize with your favorite fabrics, this creation can also be a beautiful, unique, and thoughtful gift idea.
And if you would like to find the instructions for this DIY project in PDF format or print it out to do it later, feel free to download it for free by clicking on the button below:
