Quilted fabric is one of the oldest upholstery textiles in the world, with a history intertwined with that of bedding, fashion, and body protection.
The term “quilted” comes from the French verb “matelasser,” itself derived from “matelas,” which refers to the idea of a padded layer.
For your sewing project, choose a quilted fabric with regular stitching that is not too thick to make sewing easier.
Discover how to work with quilted fabrics cleverly to create ultra-stylish pieces suitable for all seasons!
✄ - - - - - - - - - - - - - - - - - - - - - - - - - - - - - - - - - - - - - - -- - - - - -
1. Work all layers together and bind with piping
This is actually the simplest option:
• The outer fabric, (the finished quilted fabric) and the lining are worked as a single layer, and the edges are then bound with braid.
• The lining can either be sewn at the same time (in this case, bind the seam allowances on the inside with bias tape), or it can be assembled first and then placed inside out on the quilted jacket.
• Whichever method you use, you must then bind the edges of the jacket with braid. Be sure to cut the edges and hems of the pattern pieces WITHOUT seam allowances. Patch pockets are also simply bound with braid (in this case, cut them without seam allowances as well).
2. Cut the pieces
Yes, even quilted fabric can have a “pattern direction” that needs to be taken into account, especially when it comes to topstitching lines.
To do this:
• Refer to the cutting marks on the armholes and sleeves that you will find on our patterns. This ensures that the topstitching on the sleeve continues uninterrupted on the front and back.
The cut
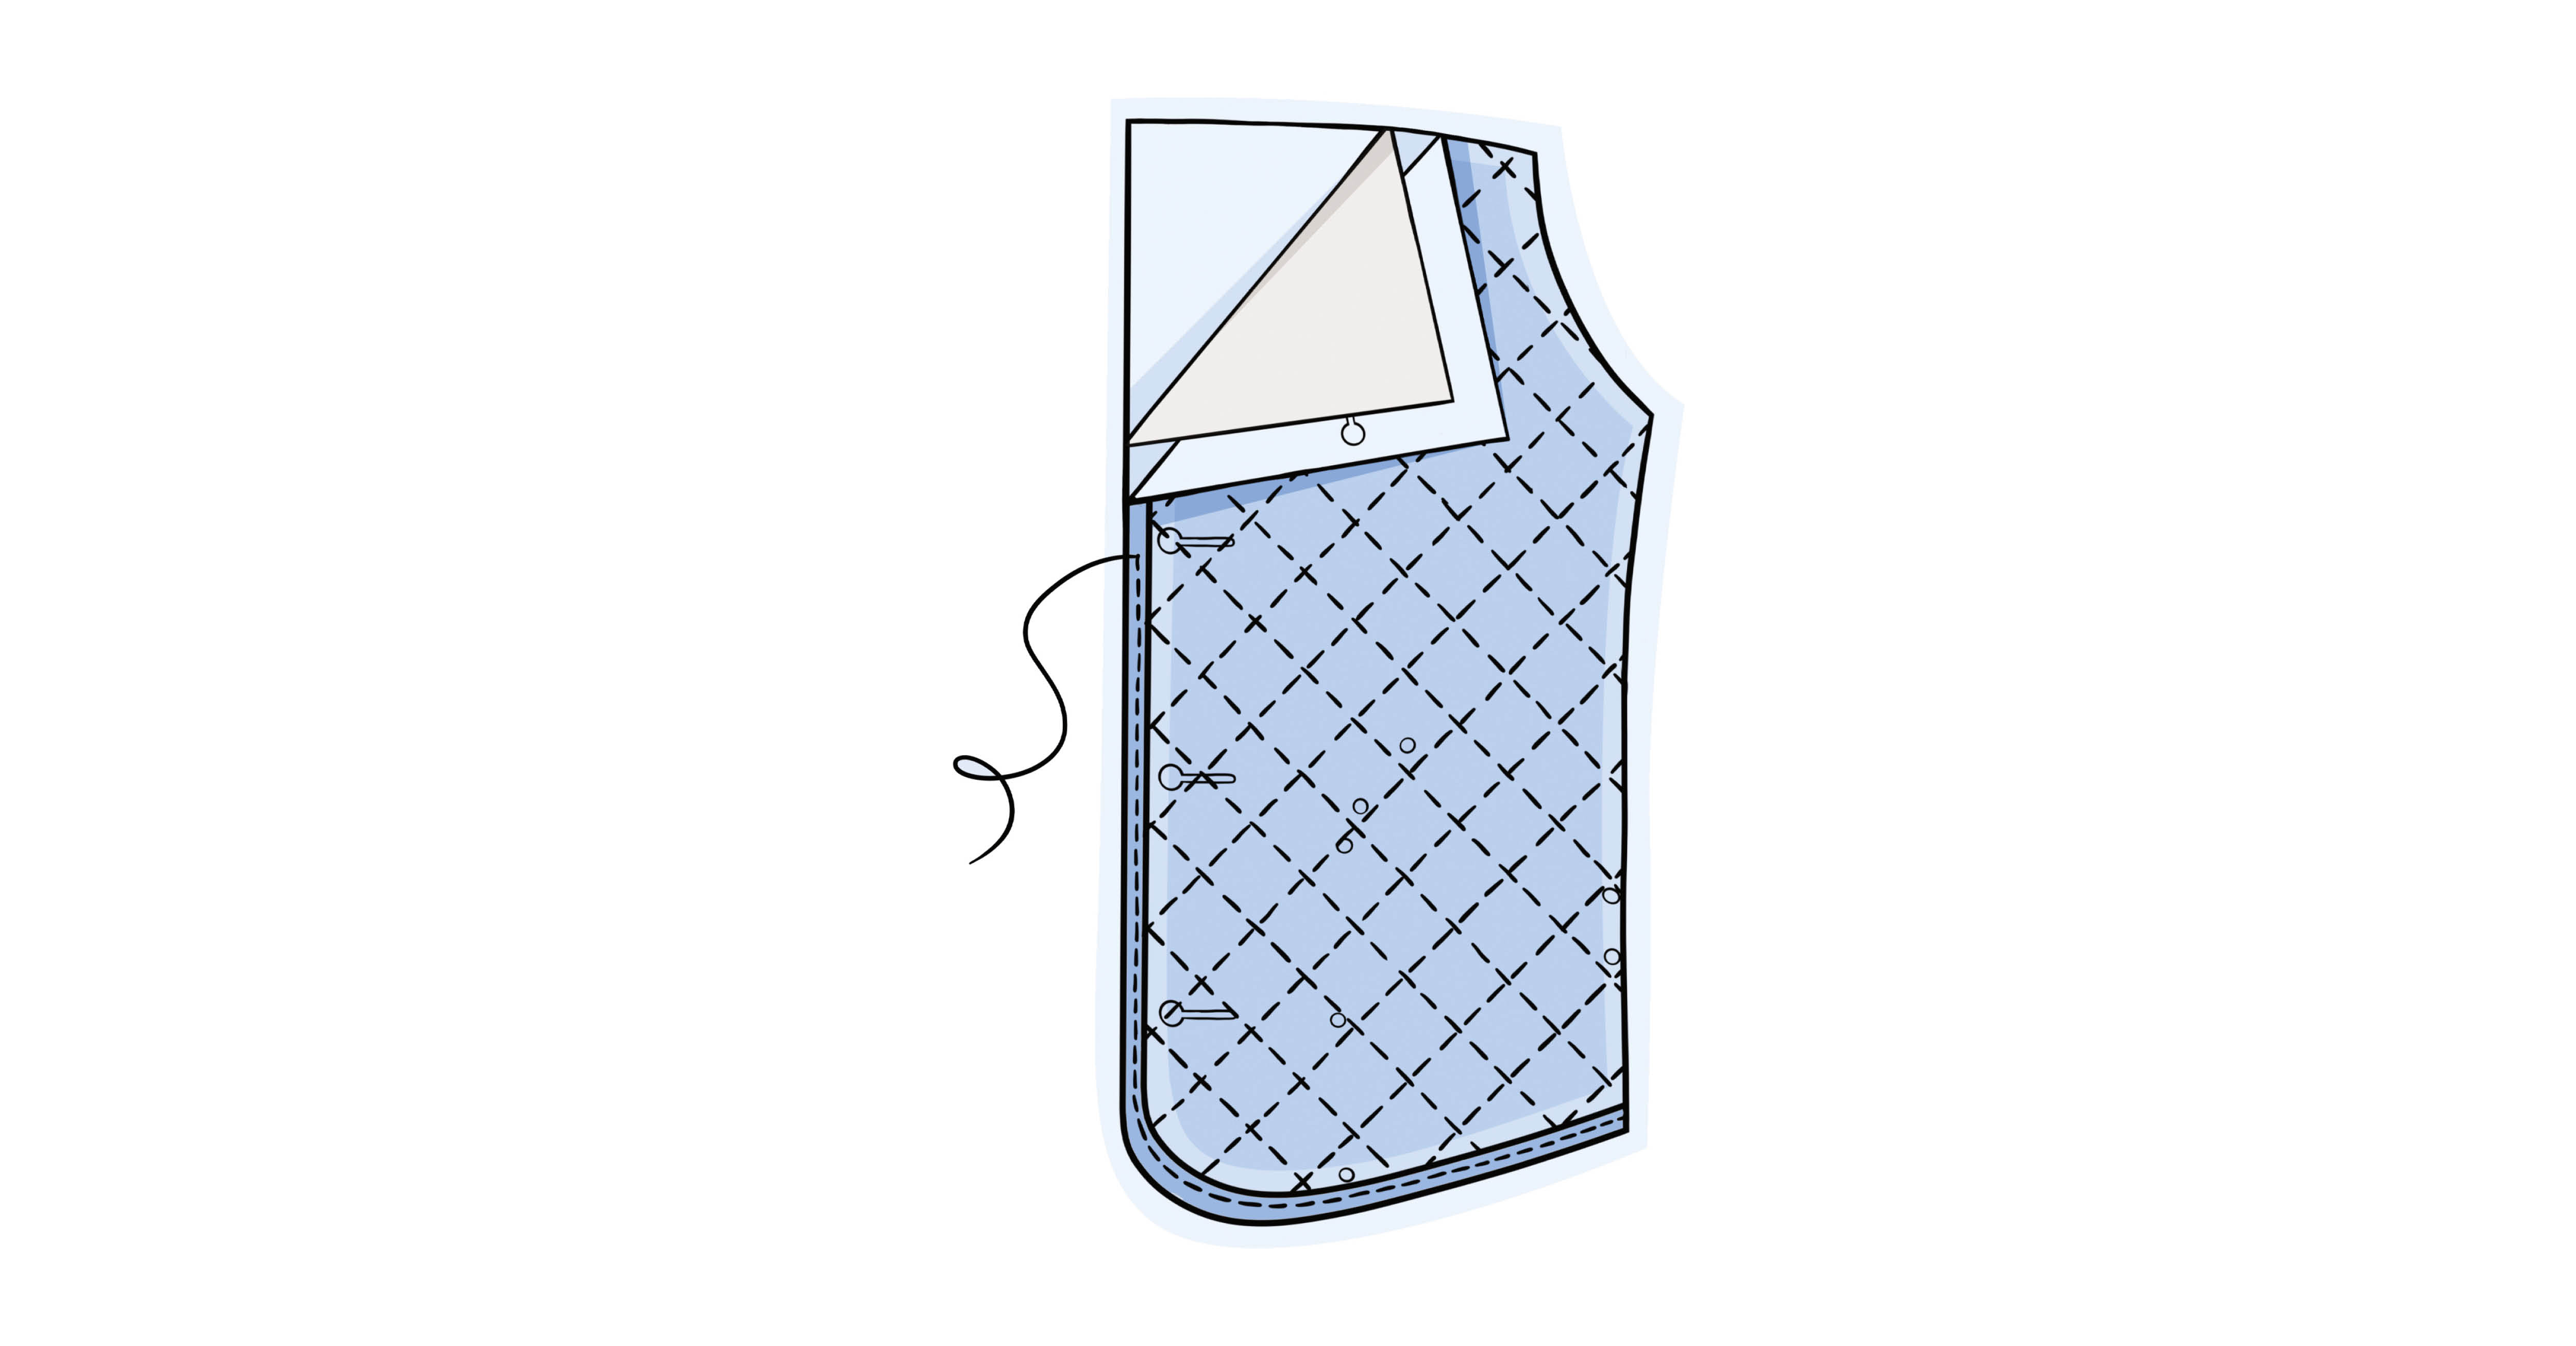
Bulky non-woven batting often “puffs up” under the outer fabric when cut and is more difficult to sew and neaten later. To avoid this:
• Pin the pattern pieces to the quilted fabric and mark the seam allowances (only where necessary, of course; see also step 1).
• Baste along the contour line of the pieces, close to the edge.
• Cut the pieces only after this step, as the basting stitches hold the layers of quilted fabric together and will not be visible afterwards, as they will be inside the seam allowances.
3. Quilting fabric: preparation
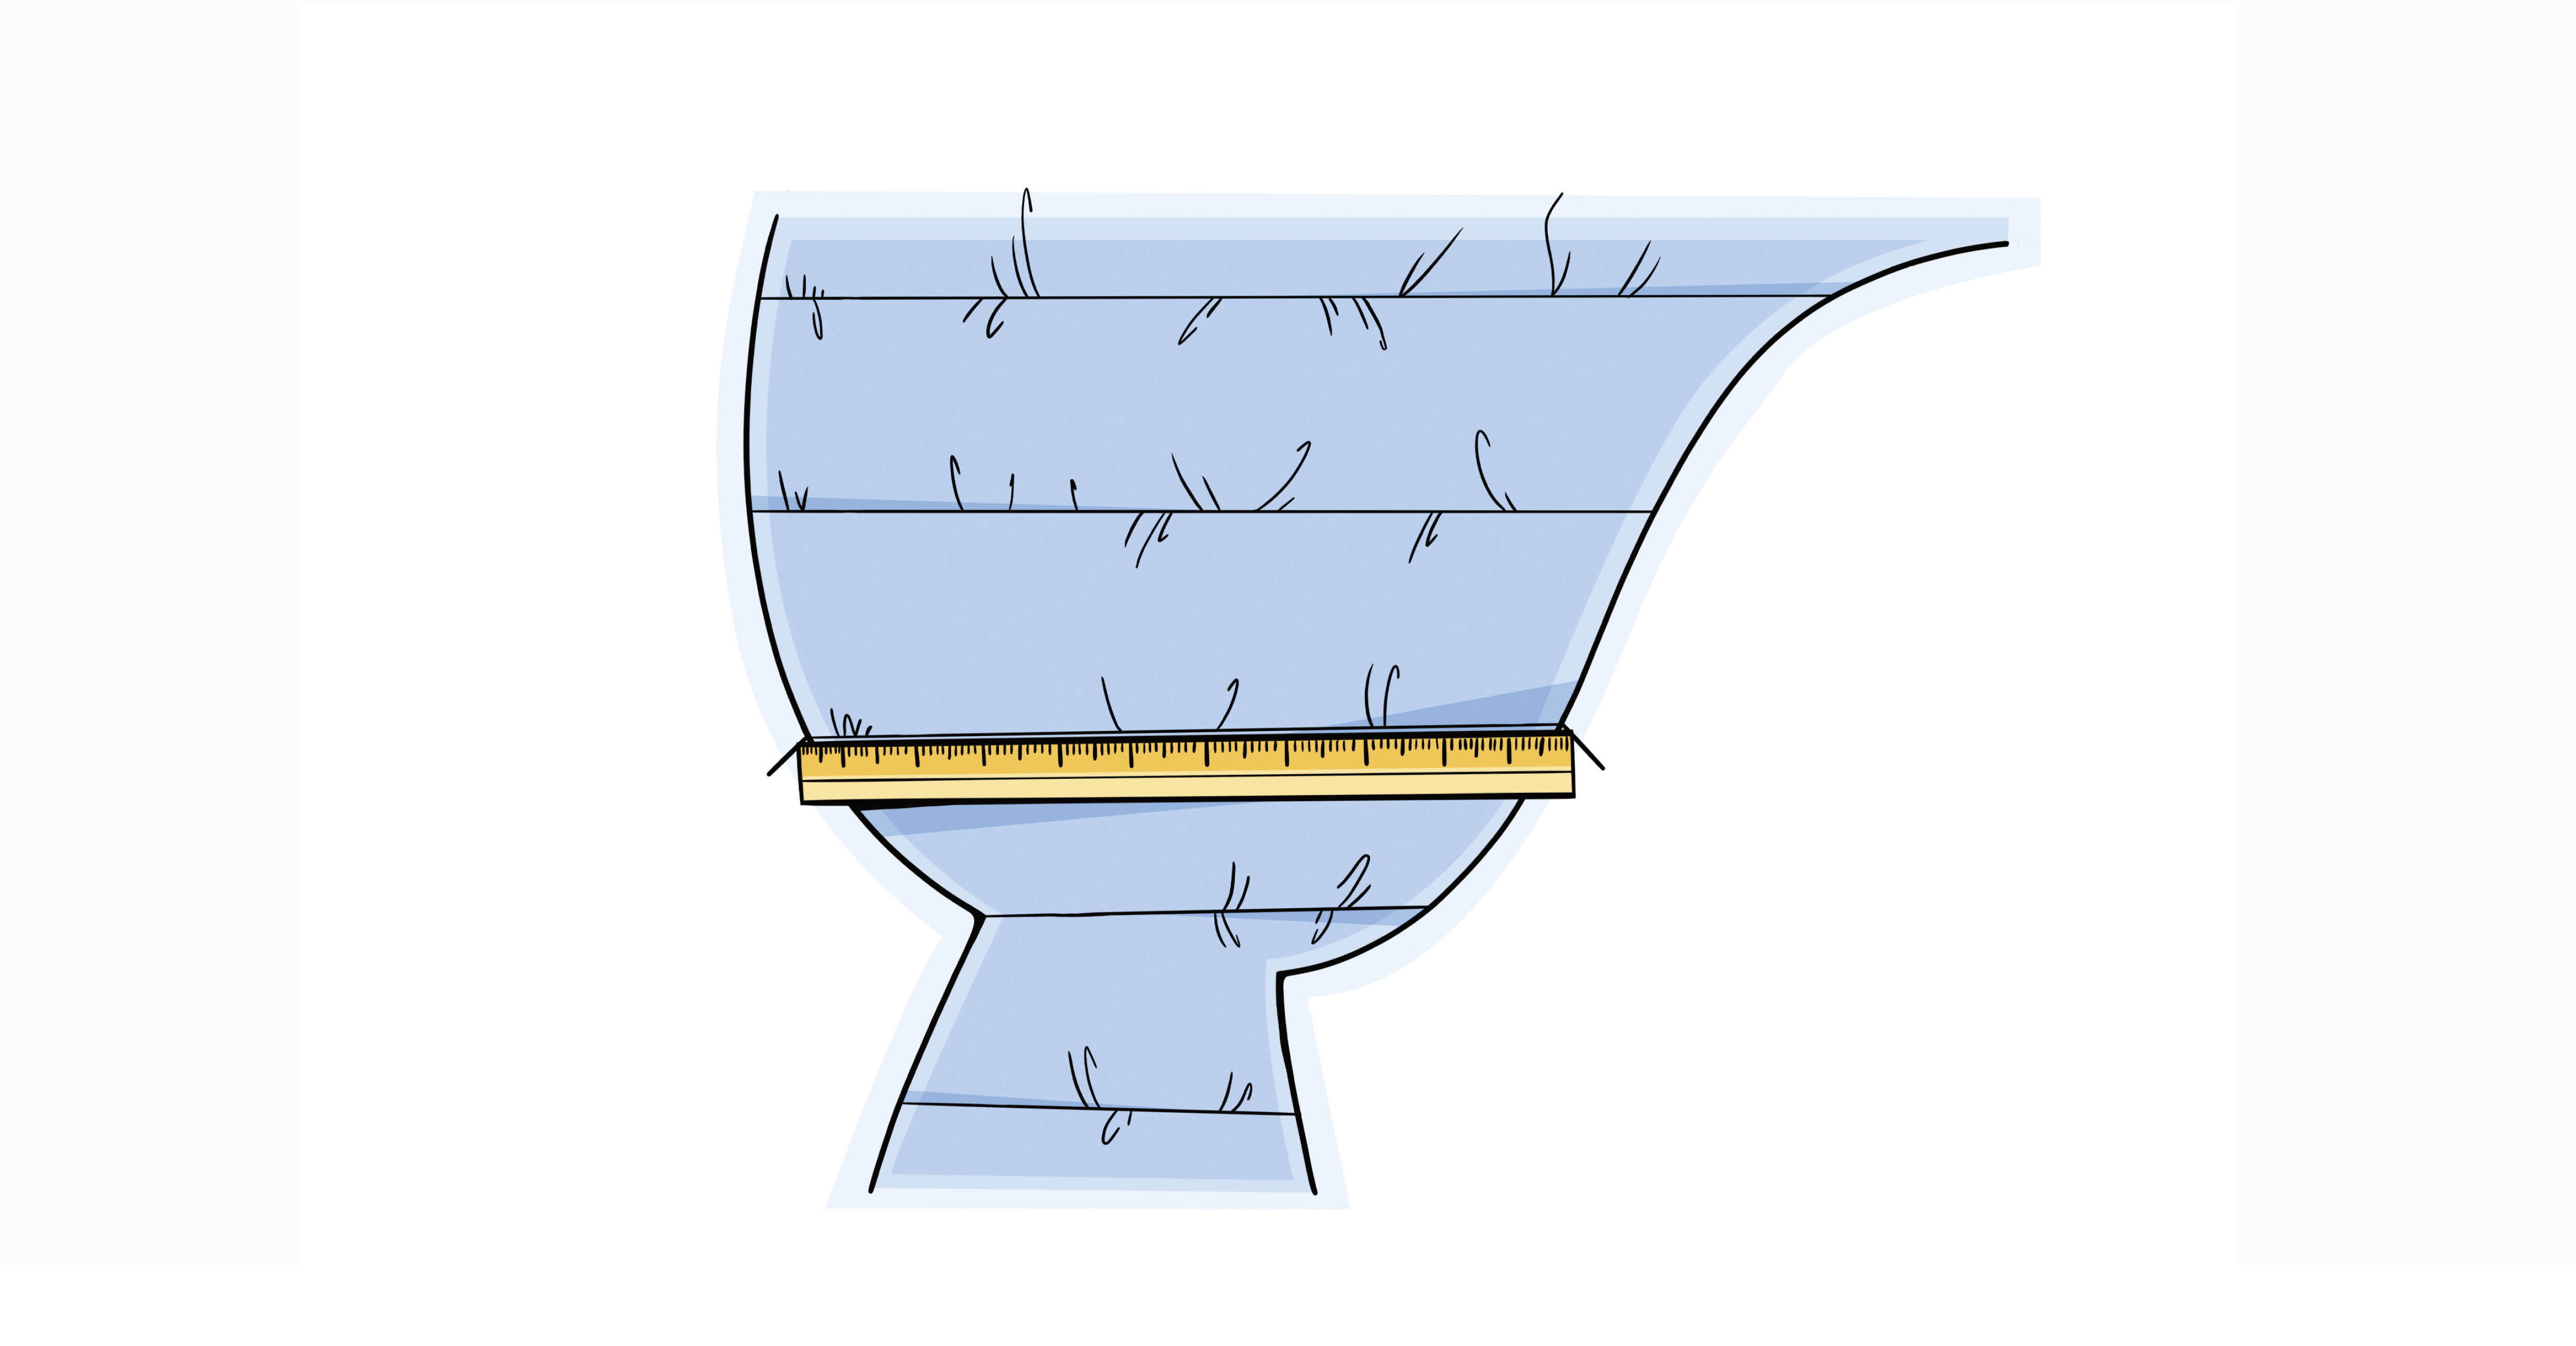
• Pin the fabric to the right side of the thick interfacing.
• Trace your pattern (stripes, checks, completely freehand) with chalk.
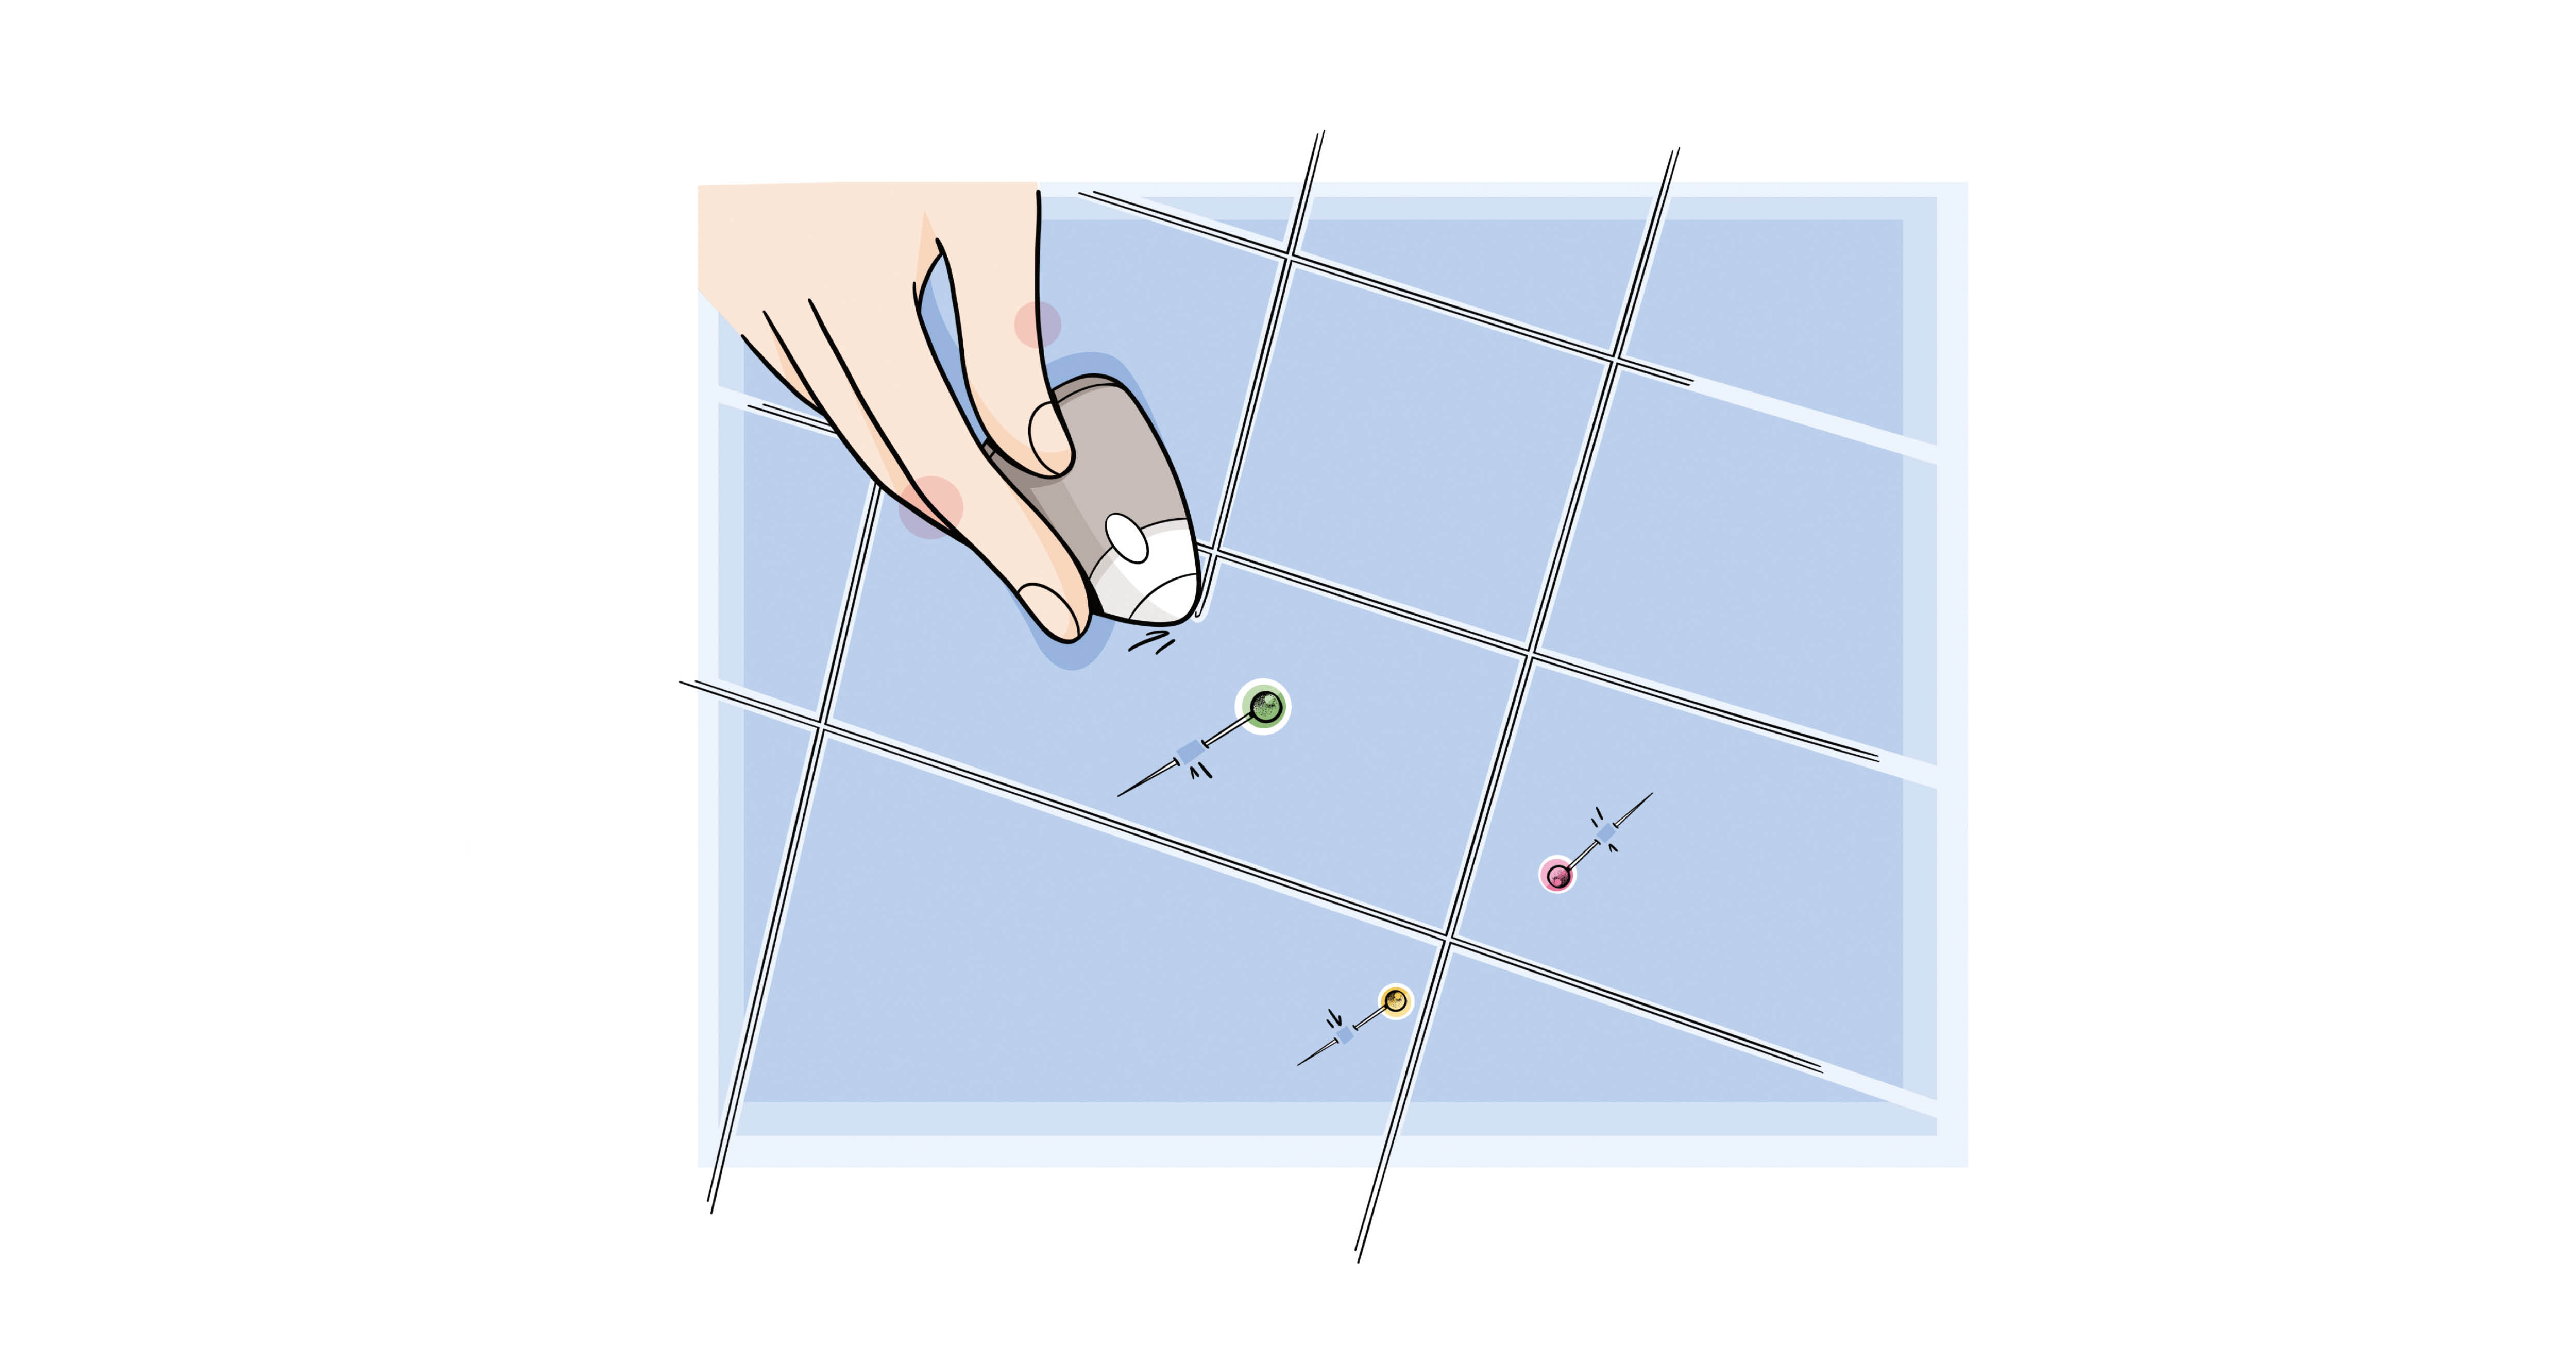
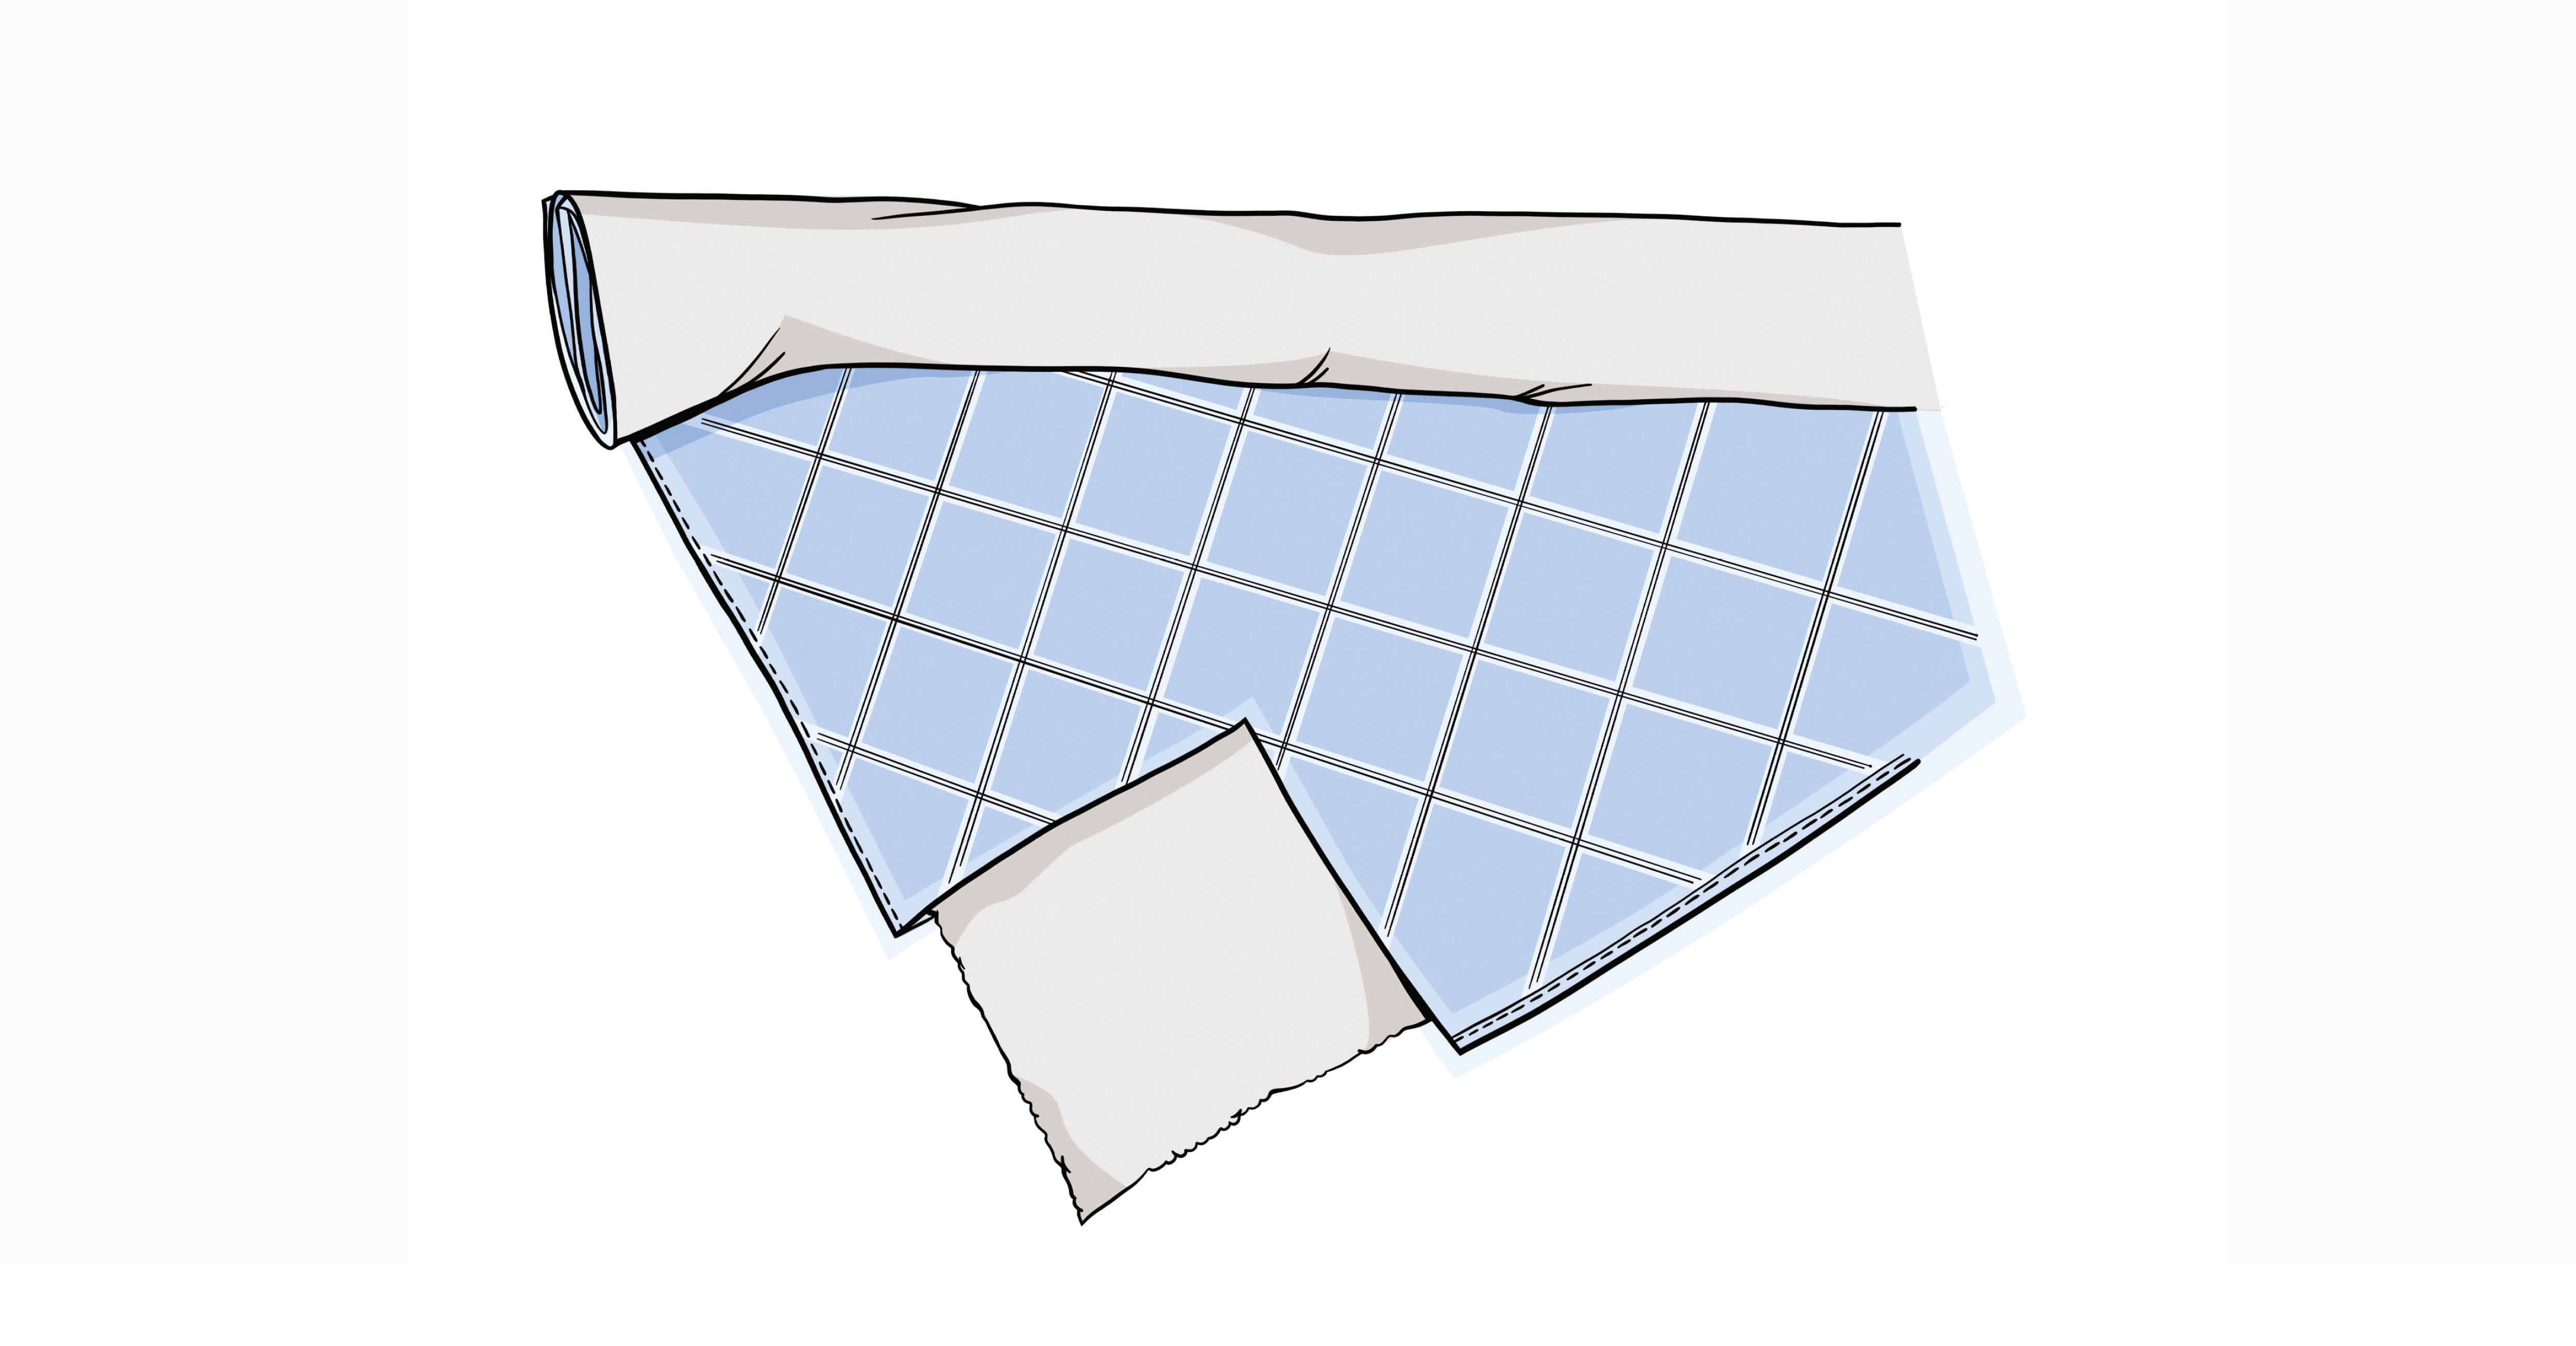
4. Roll up the fabric
Once you have finished tracing the pattern, it is best to roll up the fabric so that it is easier to feed through the sewing machine.
If your pattern pieces are very large (for example, for a maxi coat), you can also work in stages by stitching a new piece of fabric for each pattern piece.
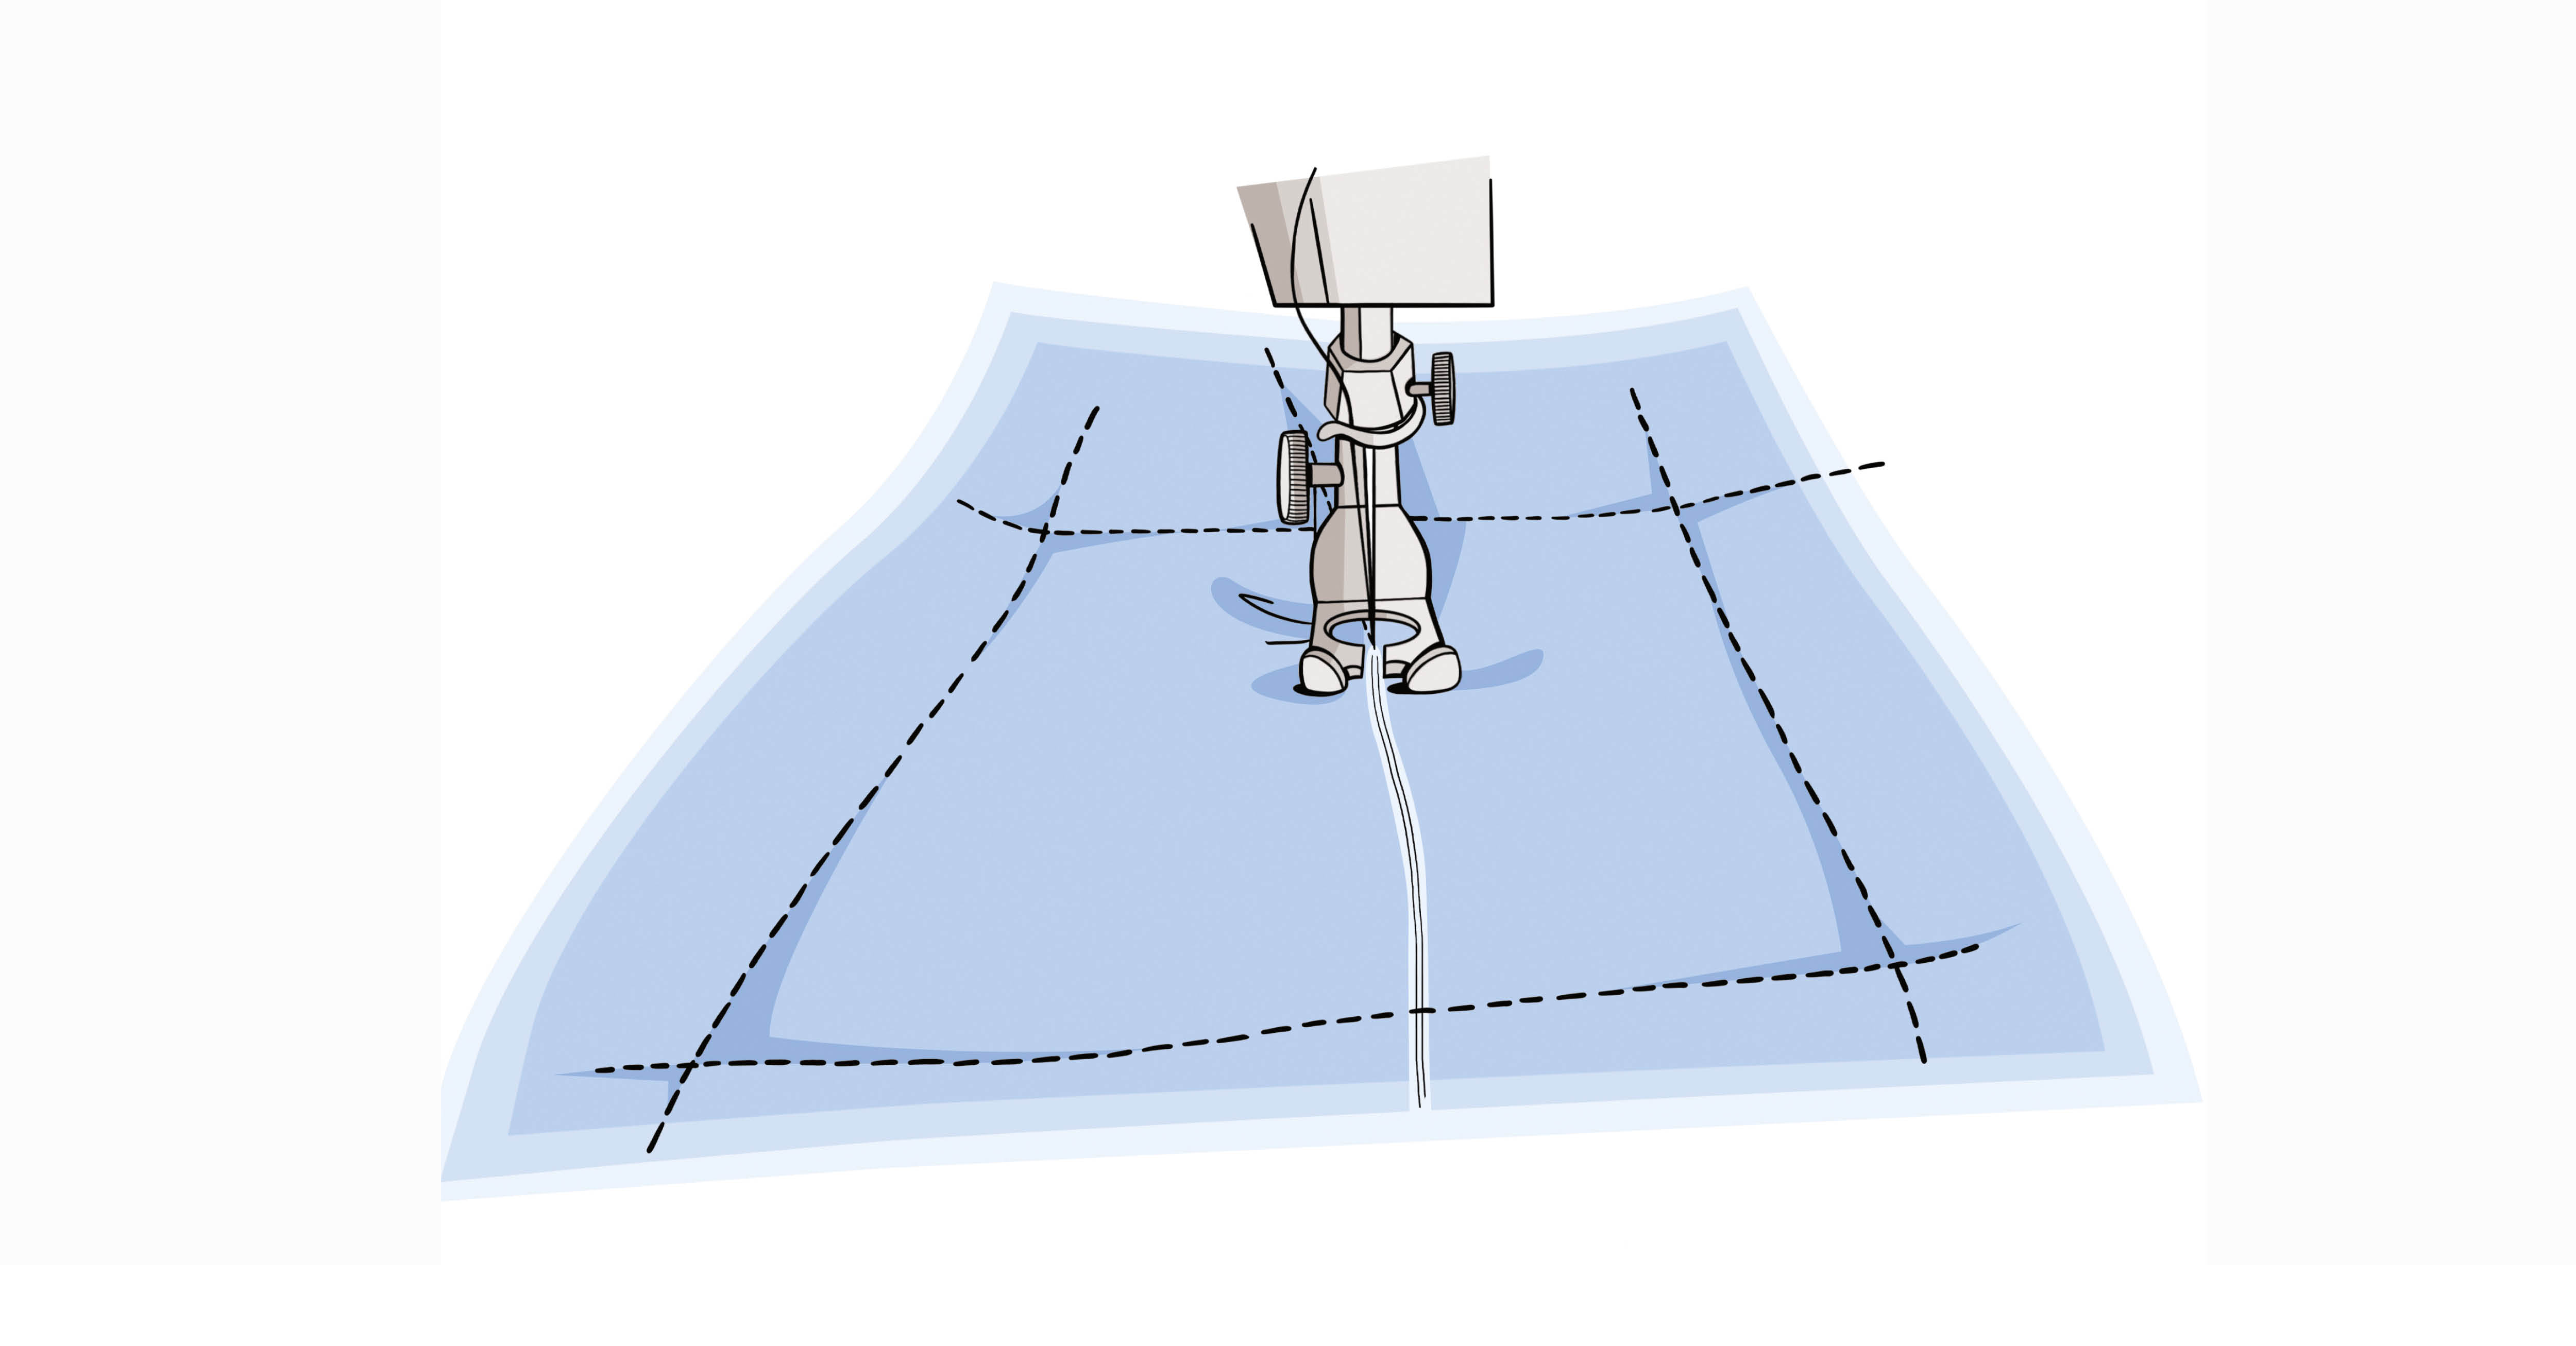
5. Prick
You can now stitch along the topstitching lines, making sure that the fabric does not shift or crease (especially coated fabrics); in this case, you can use a sliding sole presser foot.
Stitch length and needle:
• Since you are sewing two layers of fabric, or even three with the lining, set the stitch length slightly longer than usual.
• When choosing needles, base your choice on the outer fabric used; if in doubt, quilting or Microtex needles are always a good choice, especially with nylon fabrics. Be sure to test the stitching on a scrap piece of your quilted fabric.
And to find all the sewing basics and beginner-friendly patterns in one single book: