Ready to add a touch of sunshine to your wardrobe? This summer, create your own pair of sandals that are as comfortable as they are stylish. With just a few colorful fabric scraps and a bit of creativity, you'll be all set to stroll the beach or browse vacation markets in style!
In this article, we guide you step by step to sew your own sandals—quick and easy to make!
Supplies
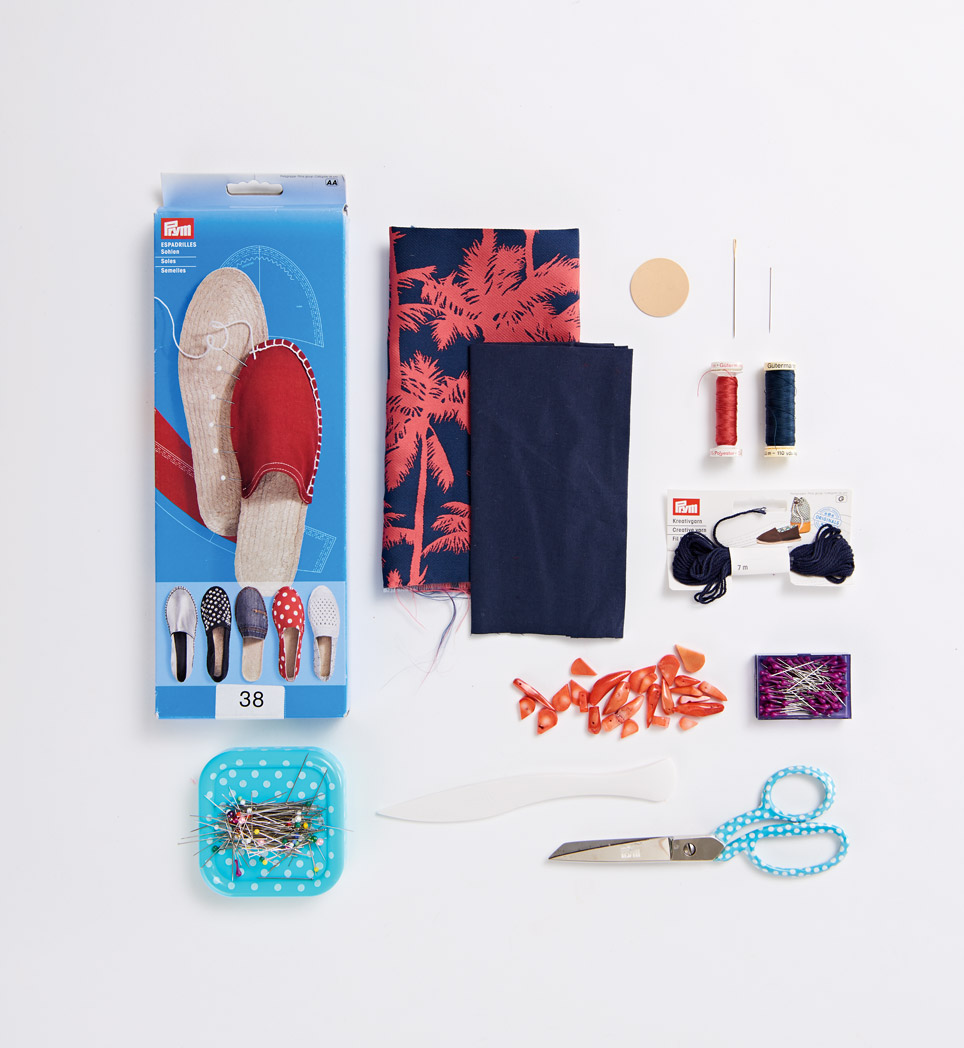
- Exterior fabric
- Soles
- Creative threads
- Darning needle
- Needle grabber
- Pins
- Scissors
- Hand sewing needle (all by Prym)
- Corner shaper (Clover)
- Cotton fabric for lining
- Beads in coral look (found at Etsy.com)
- Size chart for template in the sewing supplement p. 25 and 26: pattern pieces A, B and C prepared with a 1 cm/ 3/8 in seam allowance
Cutting Out
Print the template at 100%.
The 1 cm seam allowances are not included in the pattern. You will find the instructions and the pattern available for free download at the end of this article.
Creation
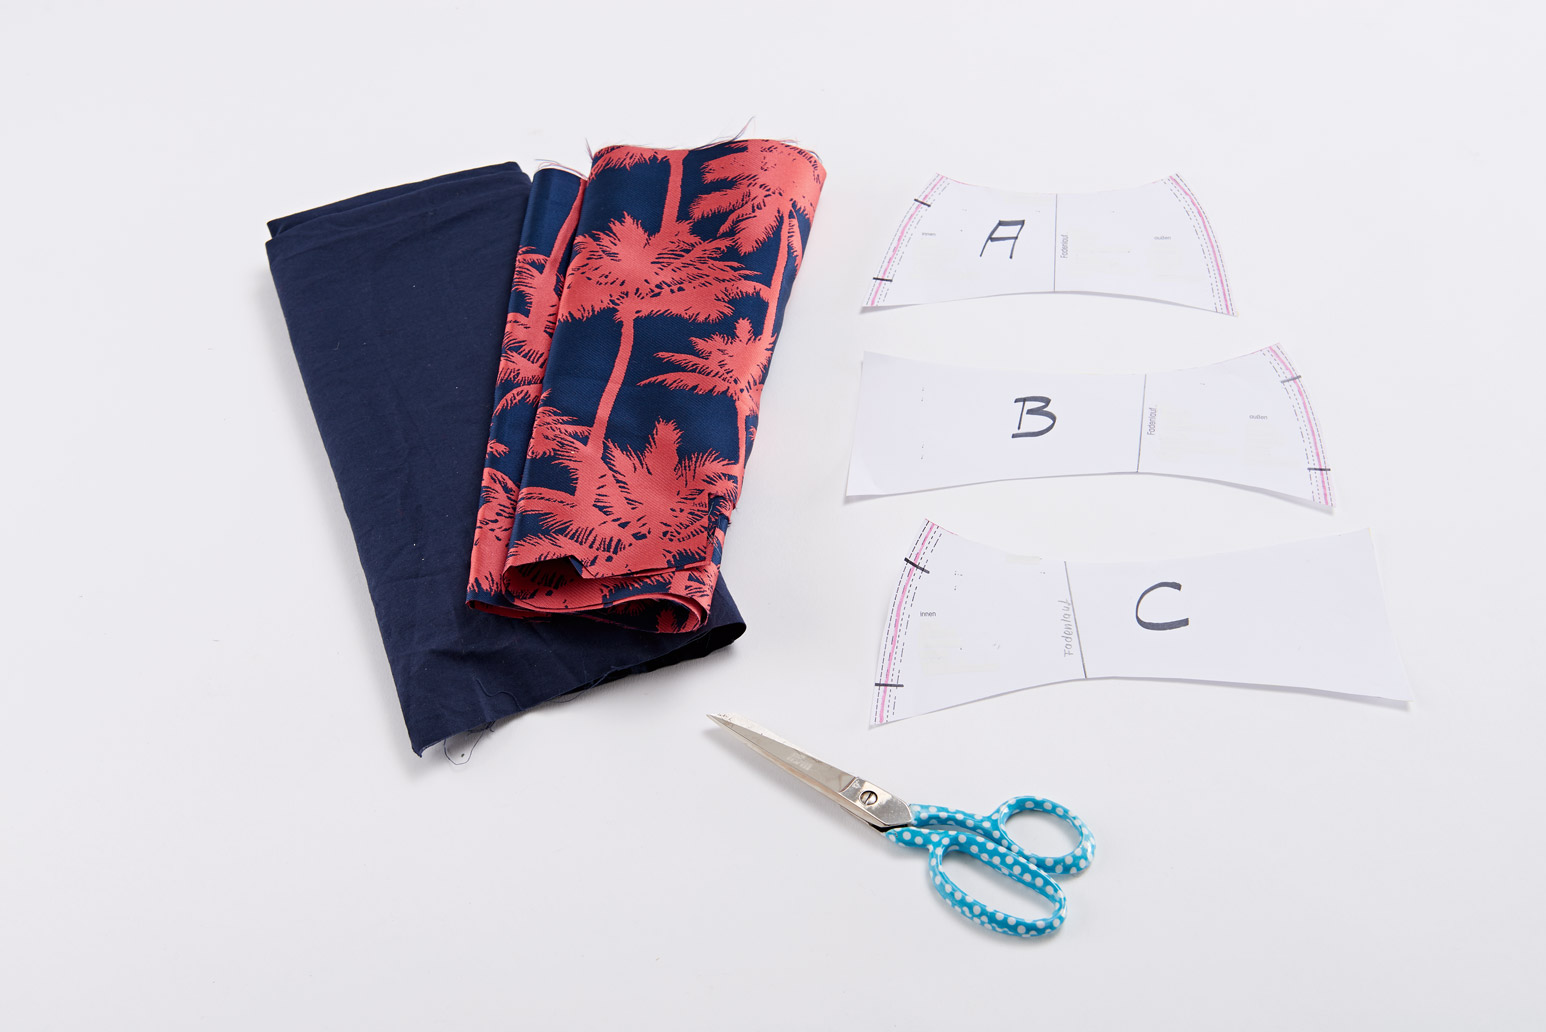
STEP 1
Cut pattern pieces, adding 1 cm of seam allowances:
- A: 2-x exterior fabric, 2-x lining fabric
- B: 4-x exterior fabric
- C: 4-x exterior fabric (mirror cuts to match for the right and left foot).
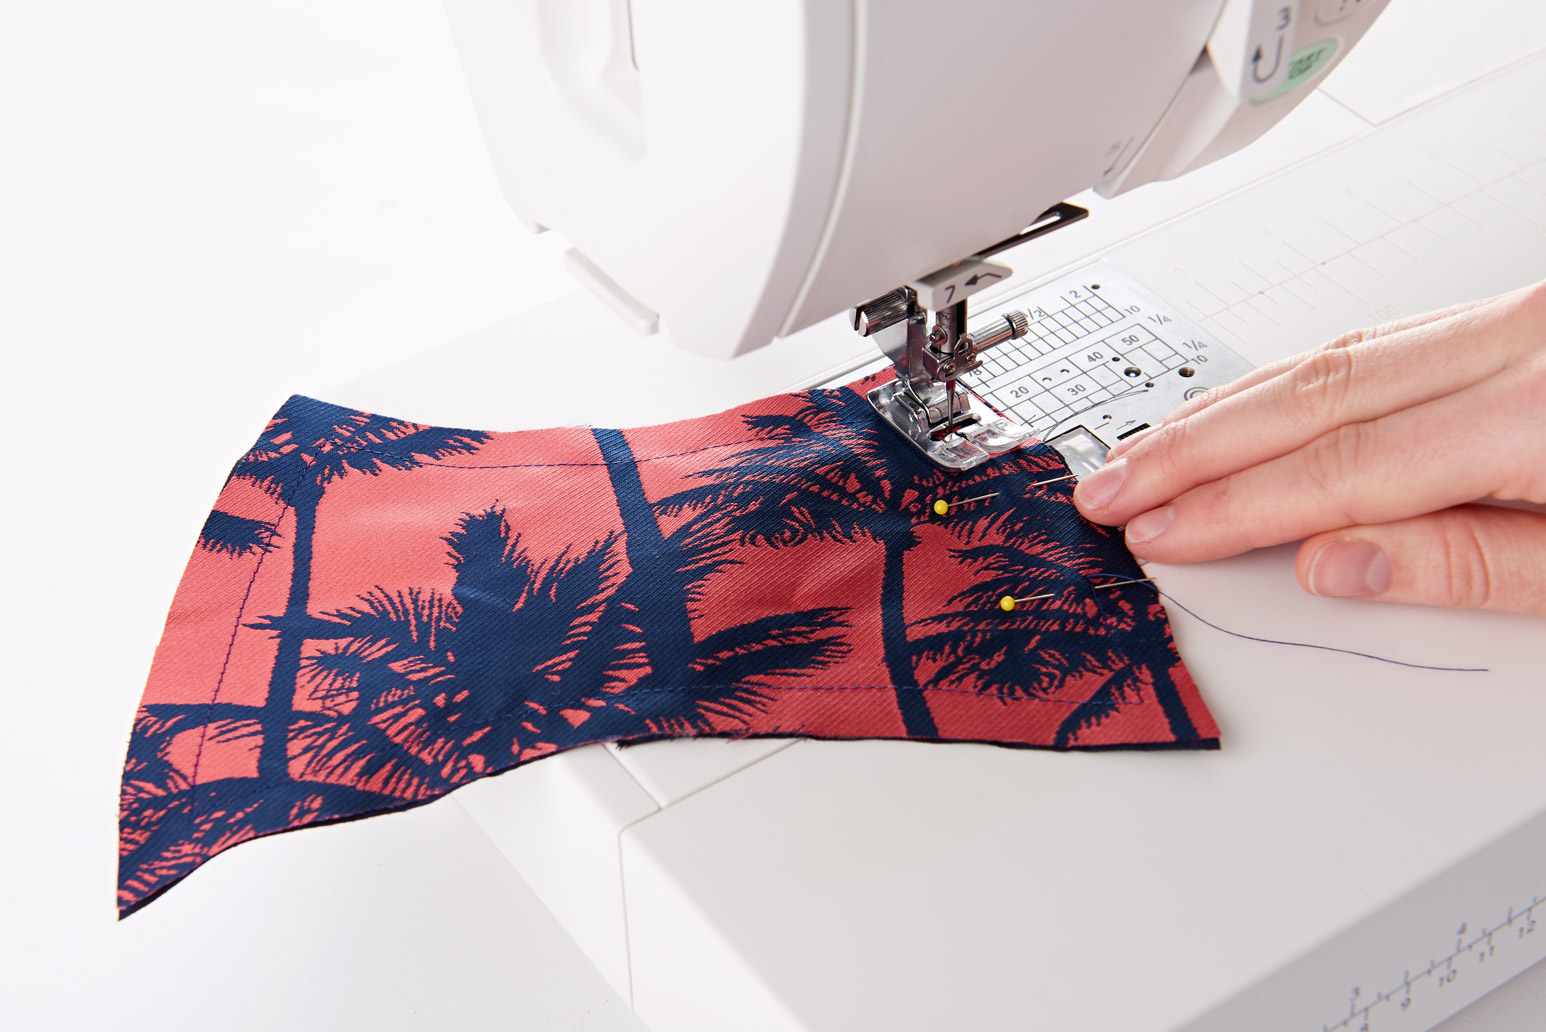
STEP 2
Pin each of the pattern pieces A, B and C with right sides facing and stitch around the 1 cm/ 3/8 in allowance leaving the opening for turning.
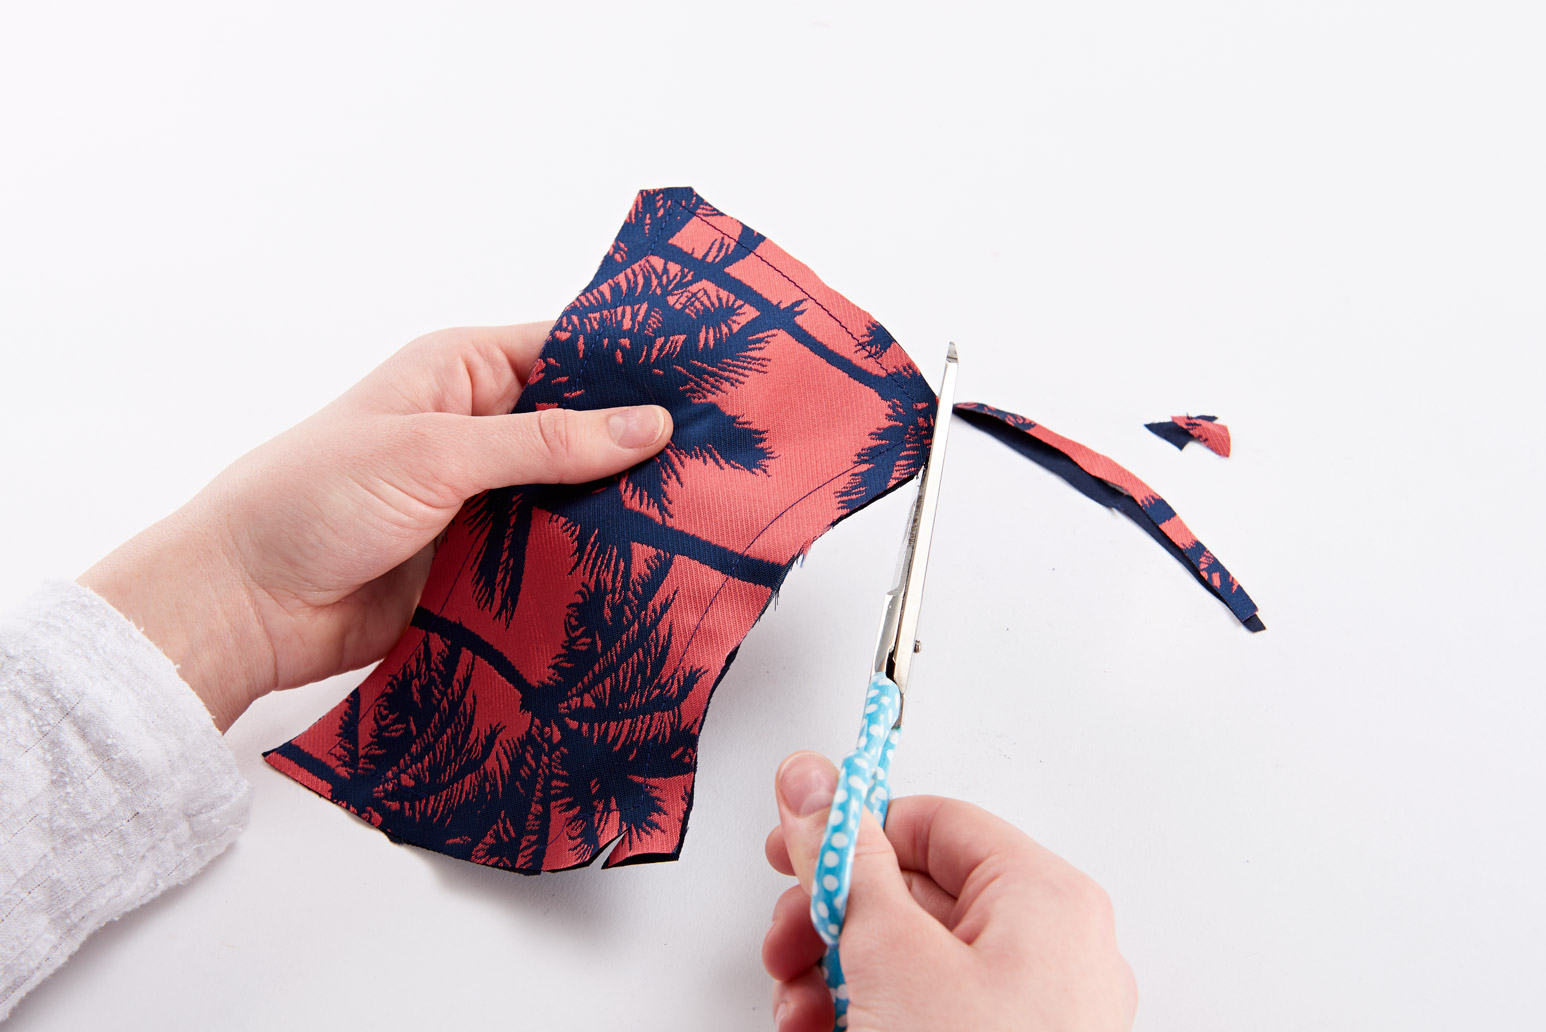
STEP 3
Cut all allowances back to 3 mm/ close to stitching and cut away the corners carefully.
Turn right sides facing out and use the corner tool to shape sharp corners.
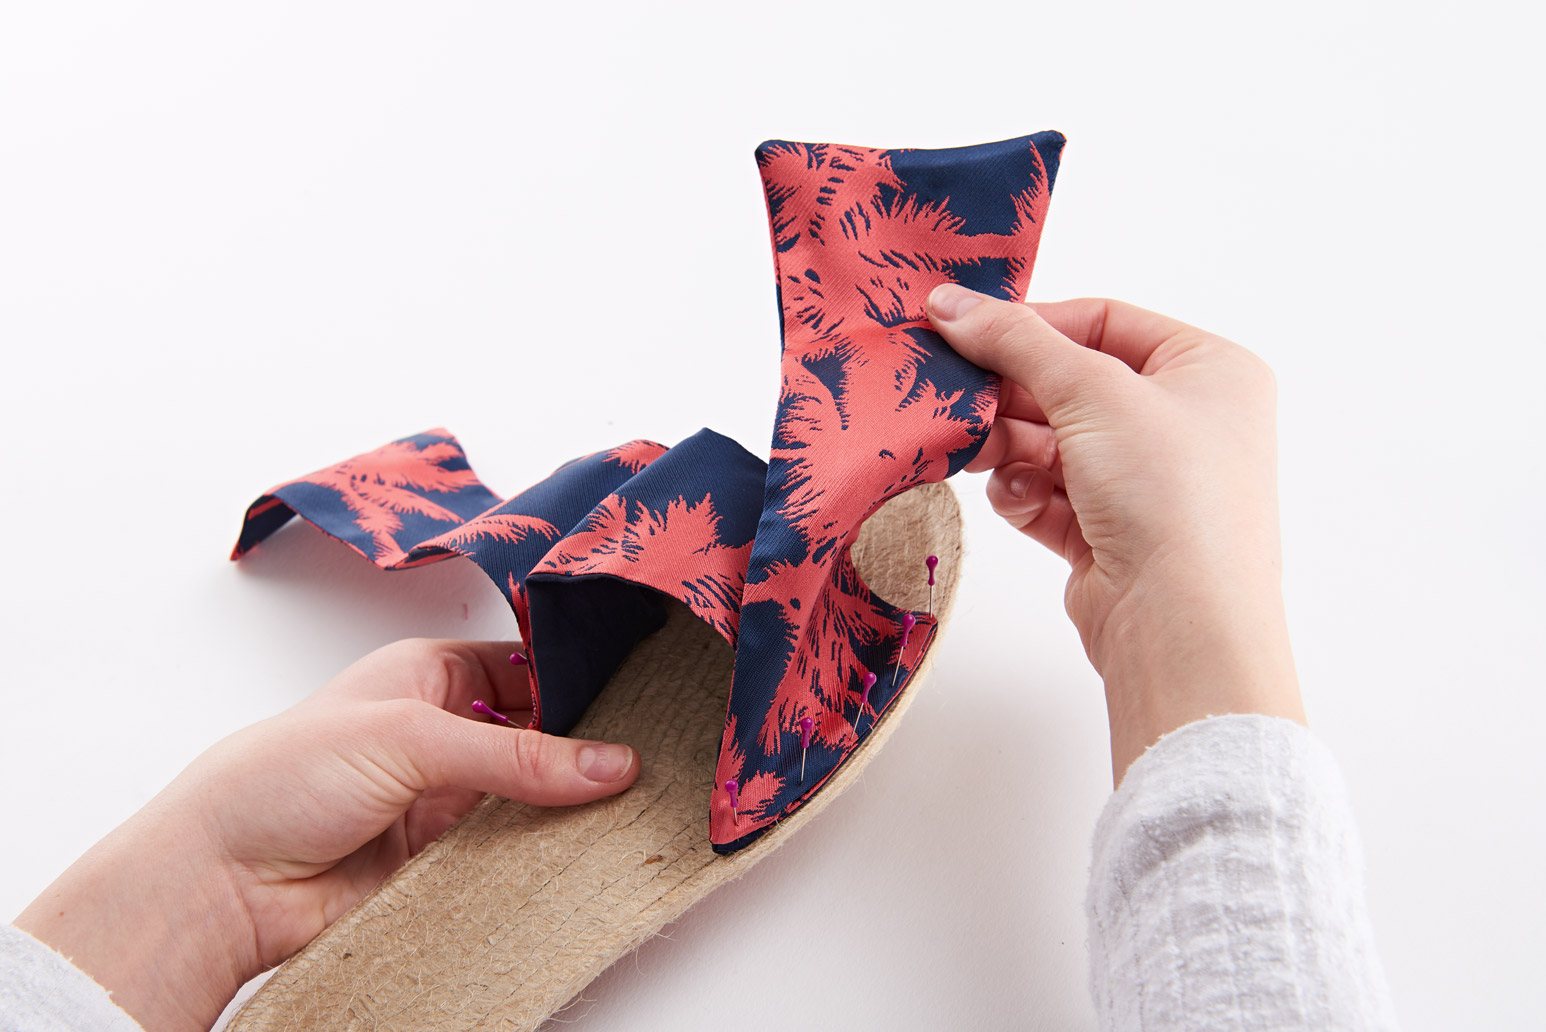
STEP 4
Pin the pattern piece A onto the sole in the most comfortable position (best to try on), pin the loops B and C.
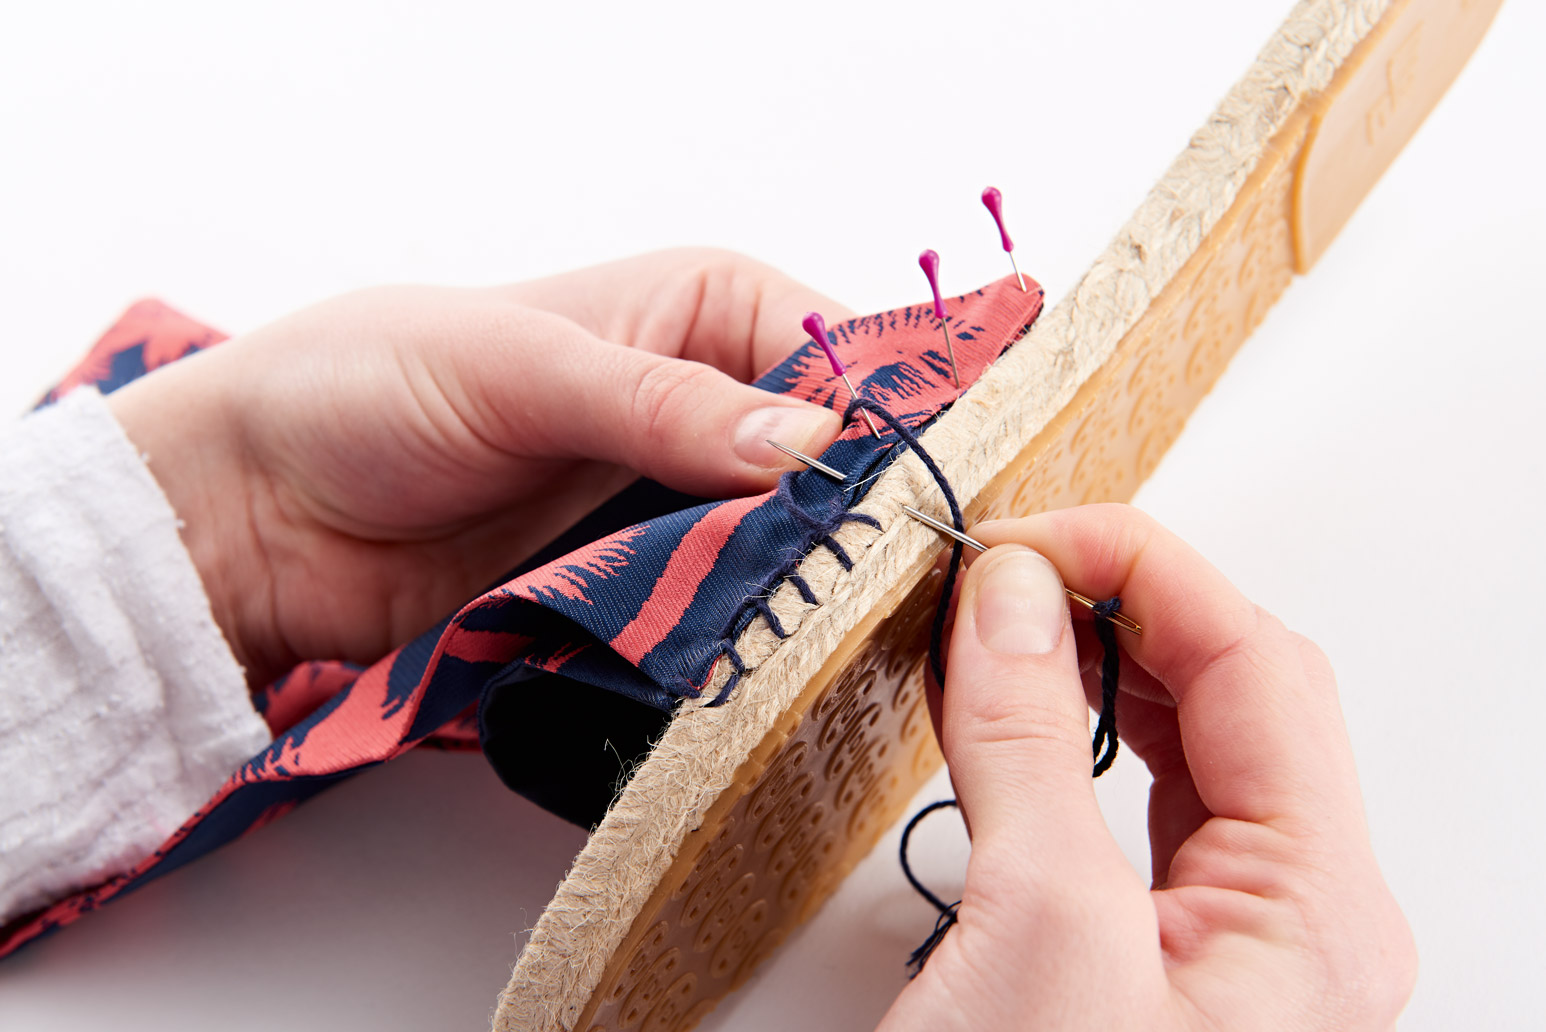
STEP 5
Secure the pieces with festoon stitching at an even spacing onto the soles.
Securely knot the beginning and ends of the threads.
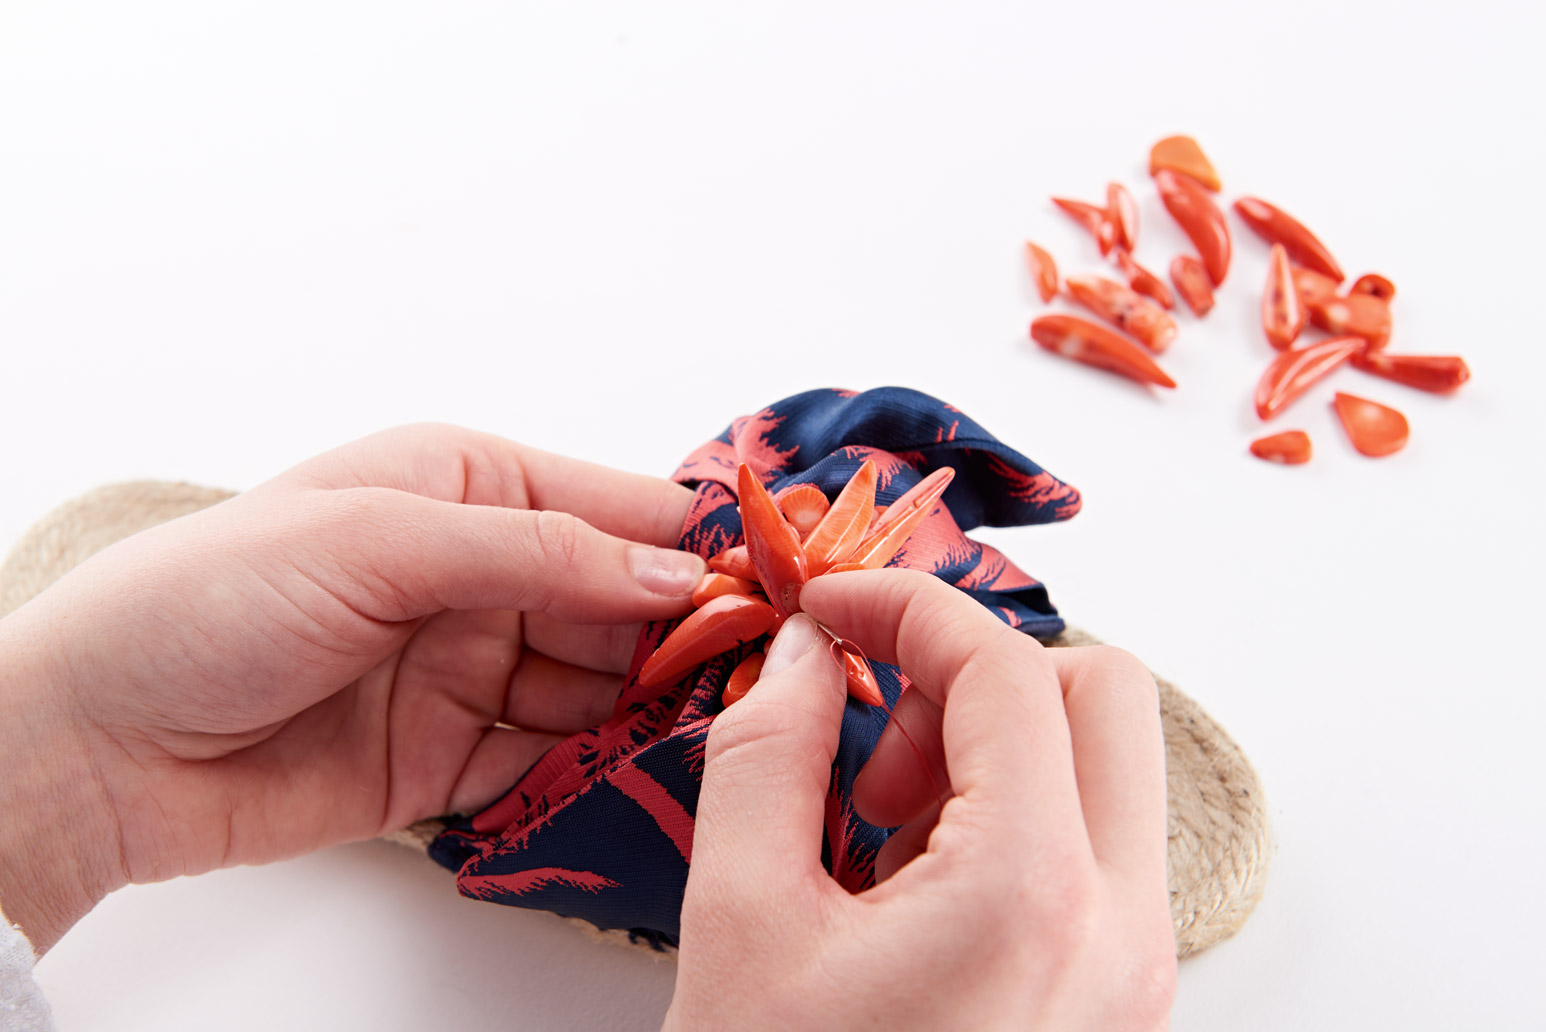
STEP 6
Securely stitch the loop knots by hand and sew the decorative beads in place to finish.
They're finished!
And there you have it! You now know how to make a pair of handmade sandals that capture the essence of summer and escape! Have fun mixing fabrics to create a unique pair, just like you.
And if you’d like to access the instructions for this DIY in PDF format or print it to complete later, feel free to download it for free by clicking the button below::
