There's nothing like a unique yoga bag to motivate you to get back into your exercise routine! This elegant and practical model is perfect for carrying your yoga mat and accessories. With a few pieces of fabric and a little creativity, you can create a bag that reflects your style and meets your needs.
In this article, we'll take you step-by-step through the process of sewing this trendy yoga bag, so that you can start the new year with a sense of well-being and a handmade touch!
Supplies
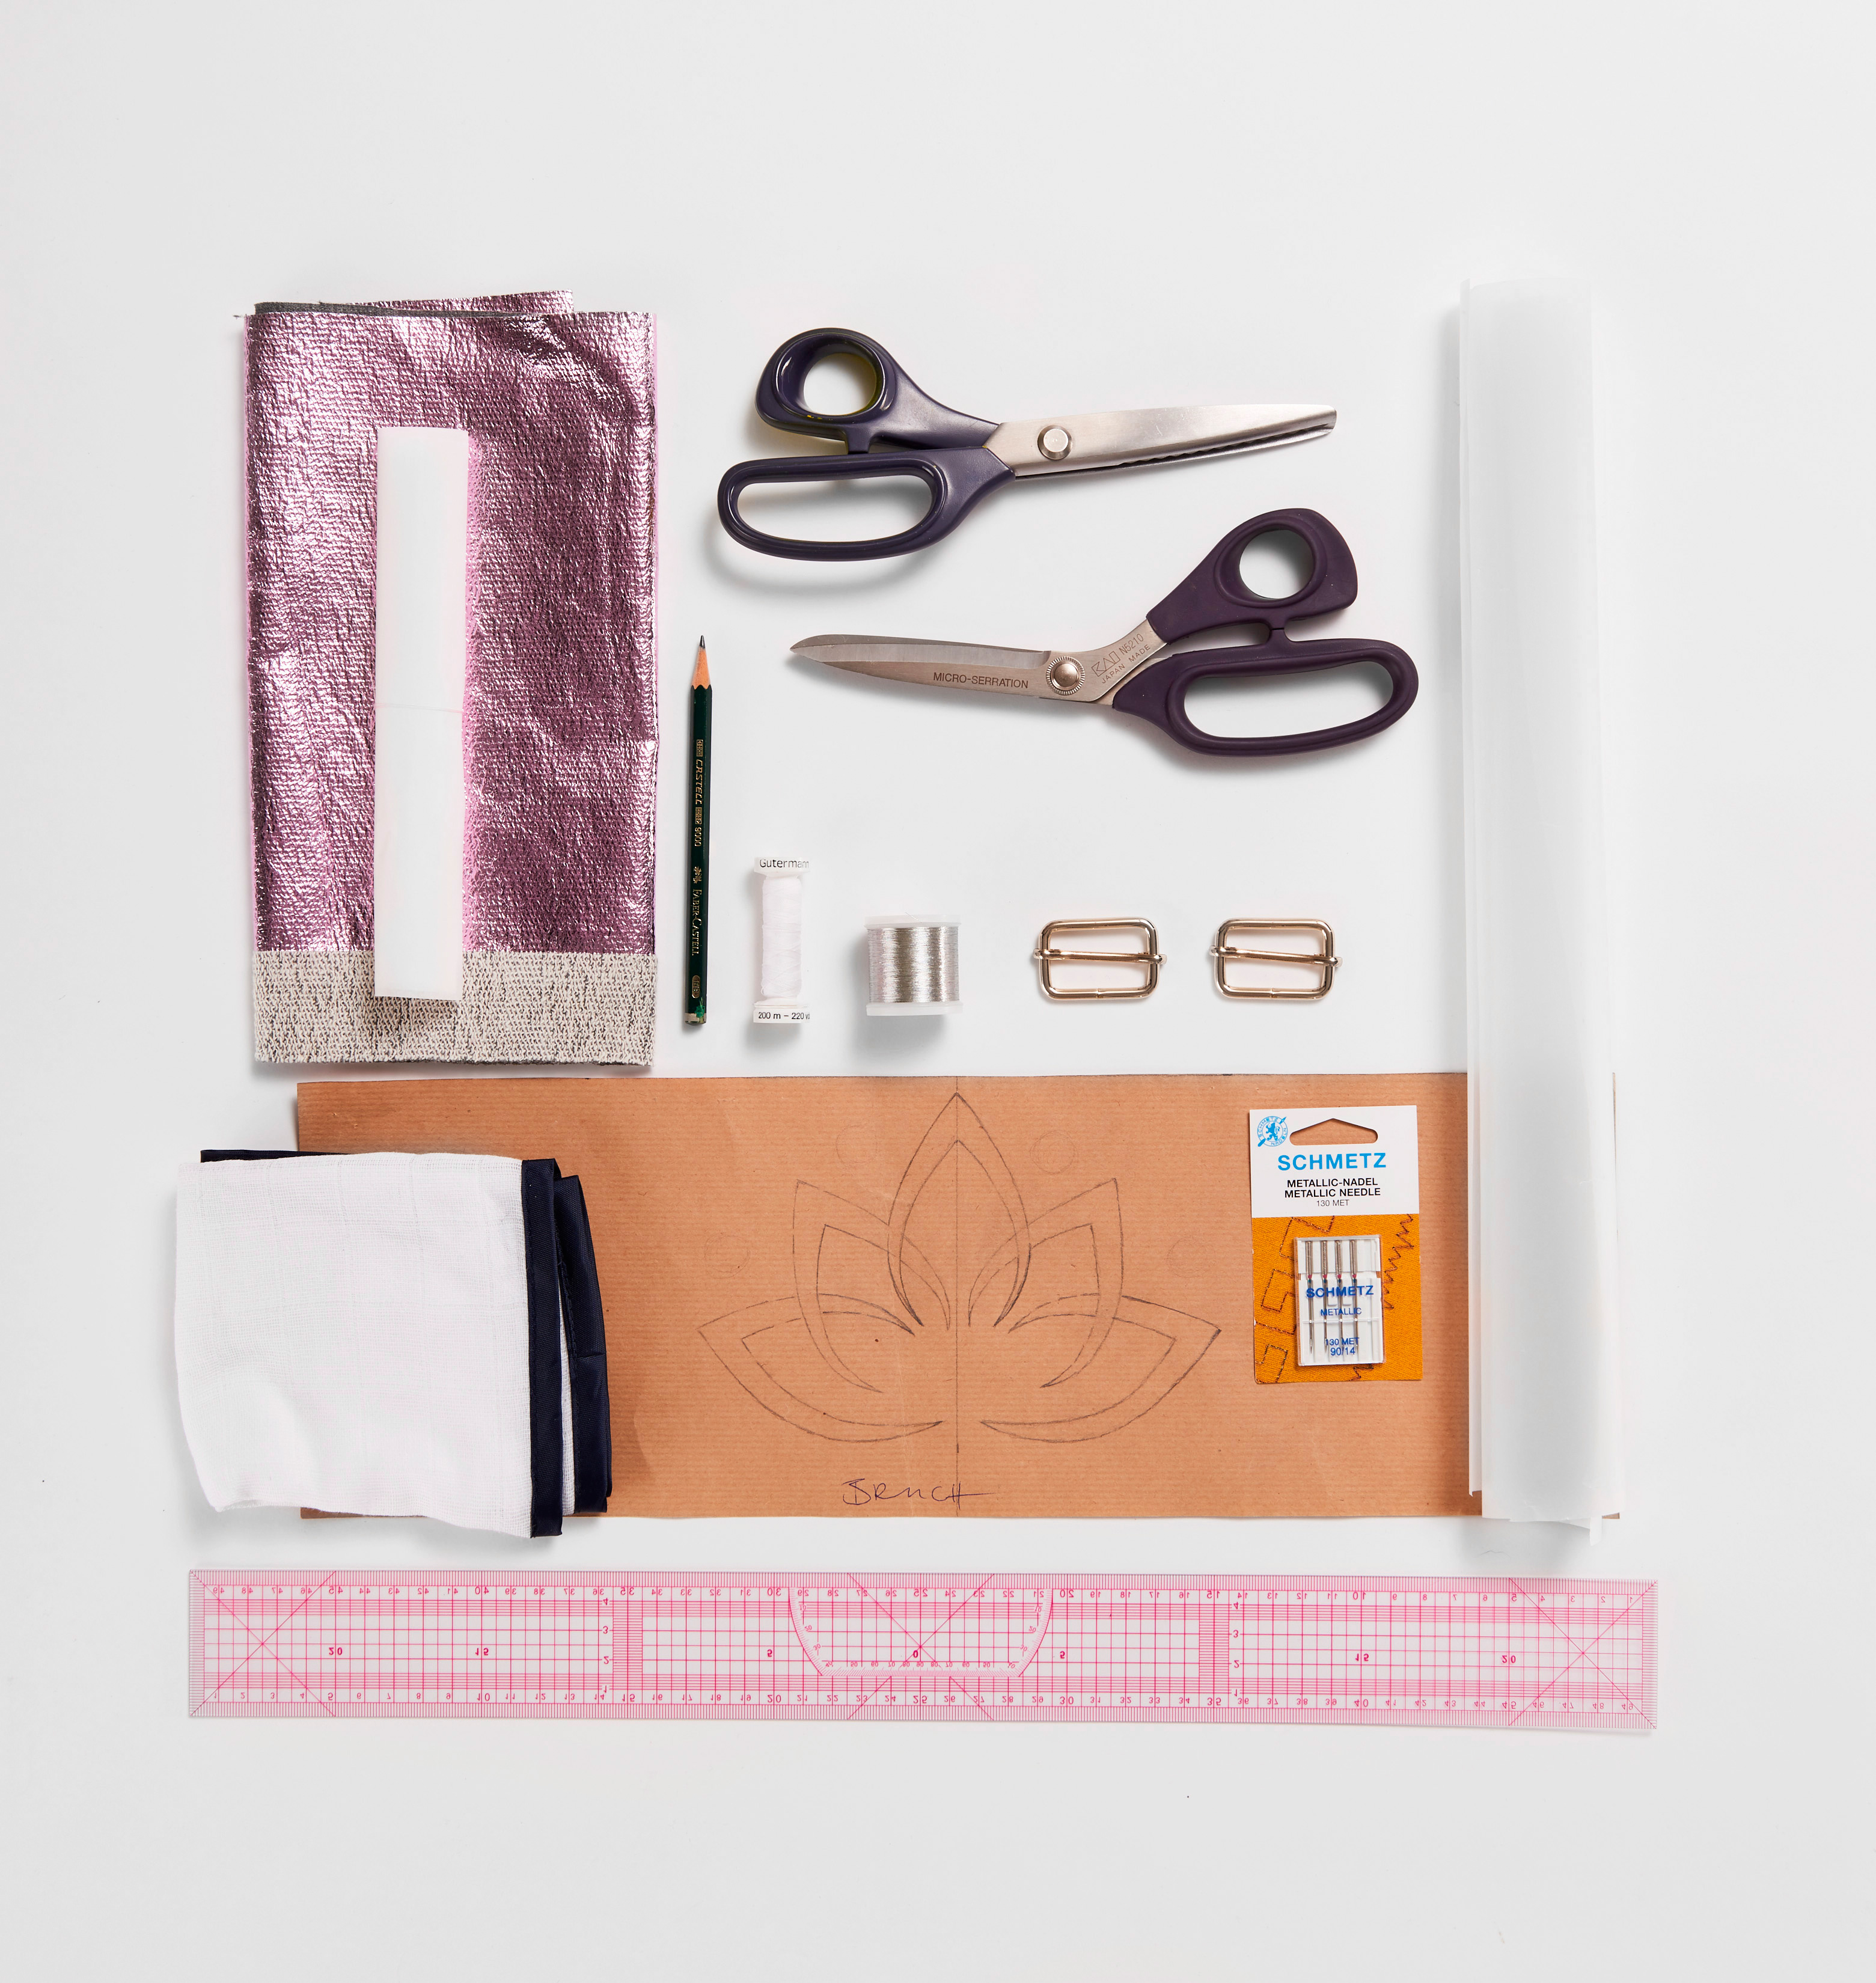
- Double-sided fabric
- Vliesofix
- Metallic thread
- A damp cloth
- Sewing scissors & regular scissors
- Pins
- Pencil
- Tracing paper
- Needle for metal wire
- Ruler
- Wire loops
- Stencil
Cutting Out
Cut out the pattern pieces as explained in step 1. You'll find the lotus flower stencil and instructions in PDF format for free to download at the end of this article.
Creation
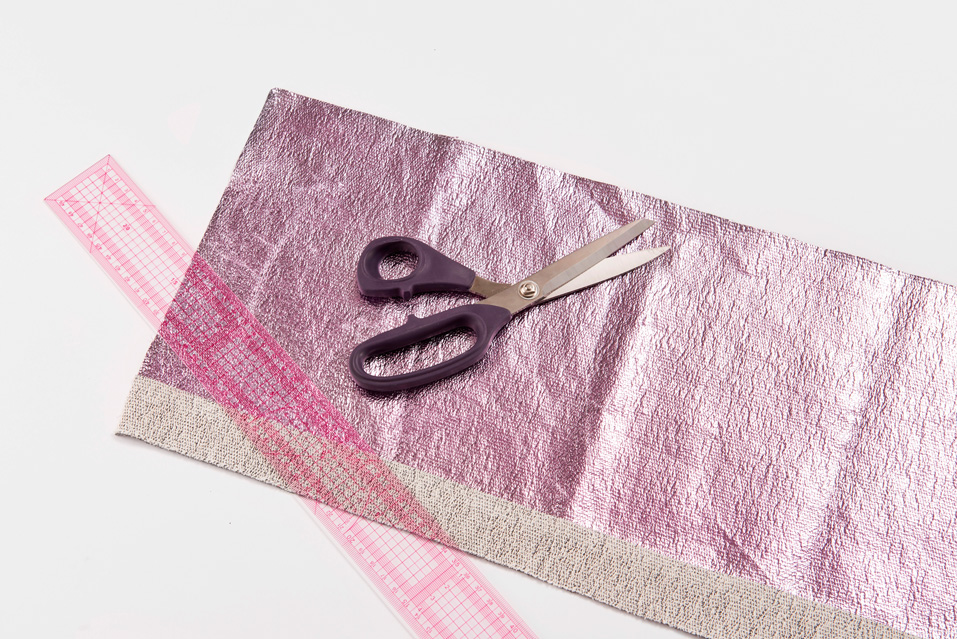
STEP 1
Cut the pattern pieces with the following measurements (1 cm seam allowances are included in the dimensions):
- Top of bag: 25 x 20 cm, 2x
- Lower part of bag: 30 x 45 cm, 1x
- Shoulder straps:
105 x 4 cm, 2x
14 x 4 cm, 4x
126 x 4 cm, 2x
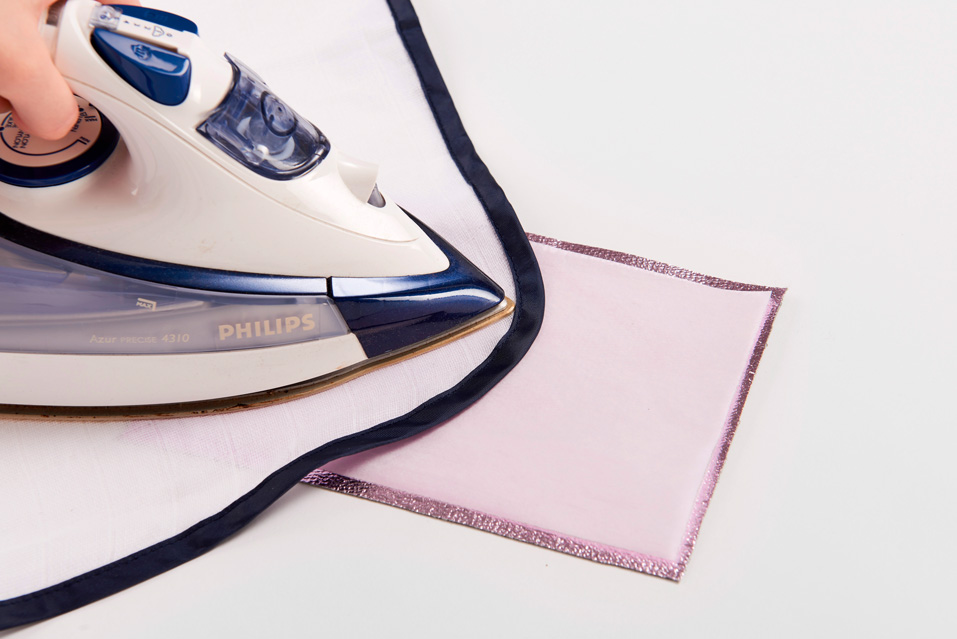
STEP 2
For the lotus flower, iron a piece of fabric (approx. 20 x 13 cm) on the wrong side of the fabric using Vliesofix (for delicate fabrics like here, use a damp cloth as a protection layer).
STEP 3
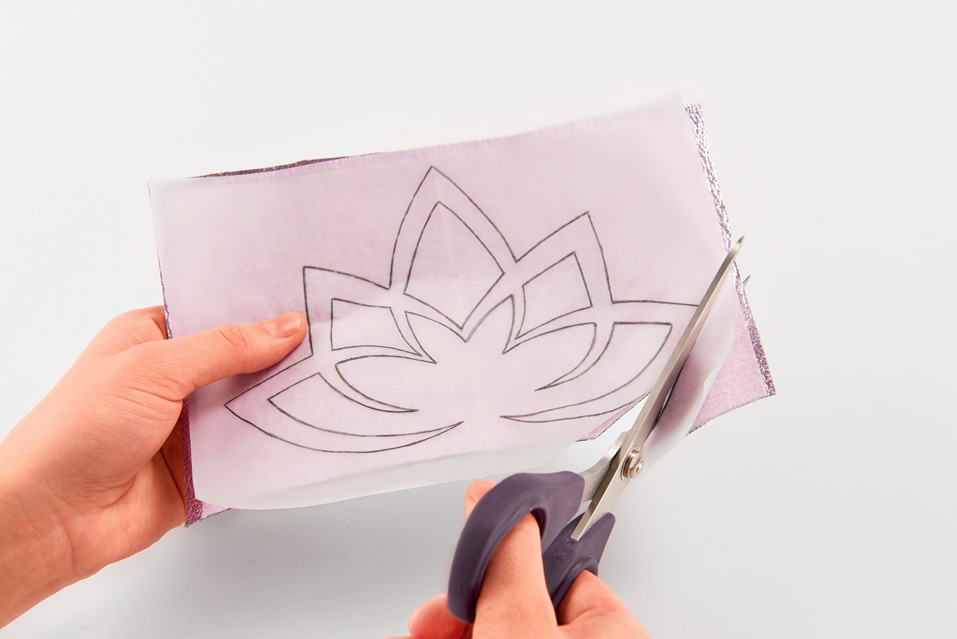
Trace the line of the flower on tracing paper, transfer it to Vliesofix, and cut out the motif.
ÉTAPE 4
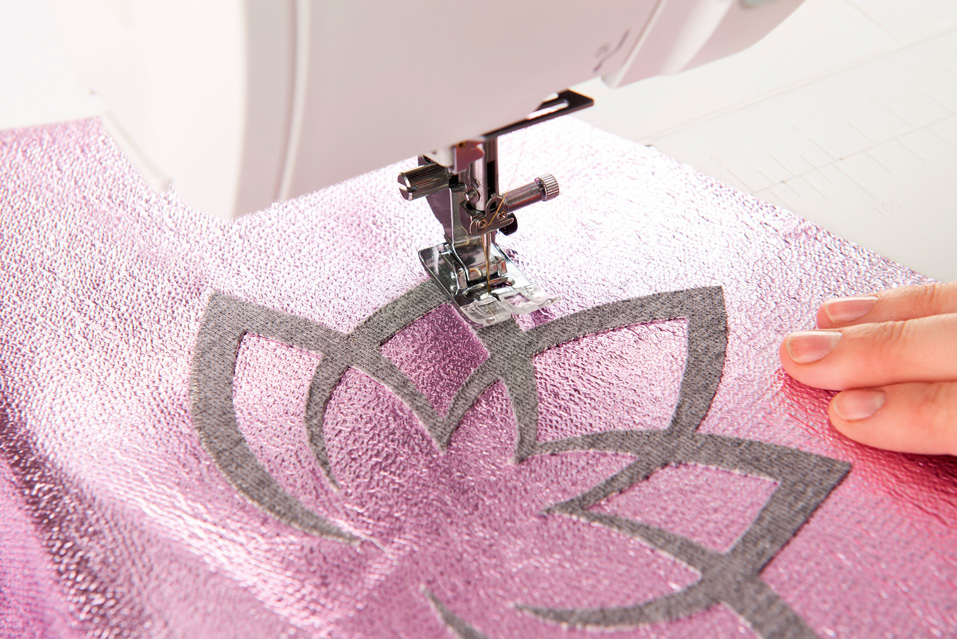
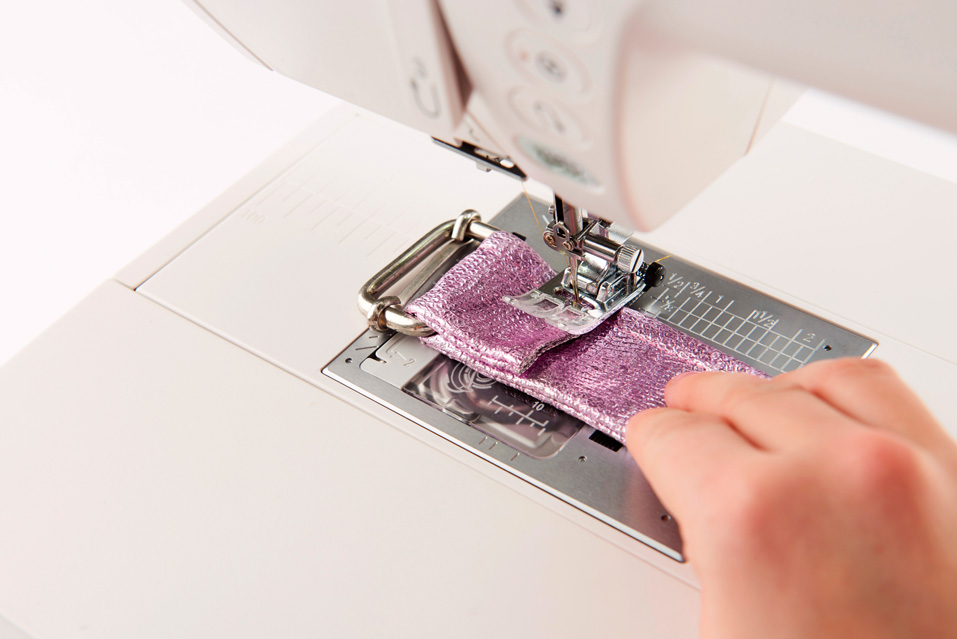
Place the flower on the bottom piece of the bag pattern, centering it well, and iron it in place.
Then stitch all around with metallic thread, using a tight zigzag stitch.
STEP 5
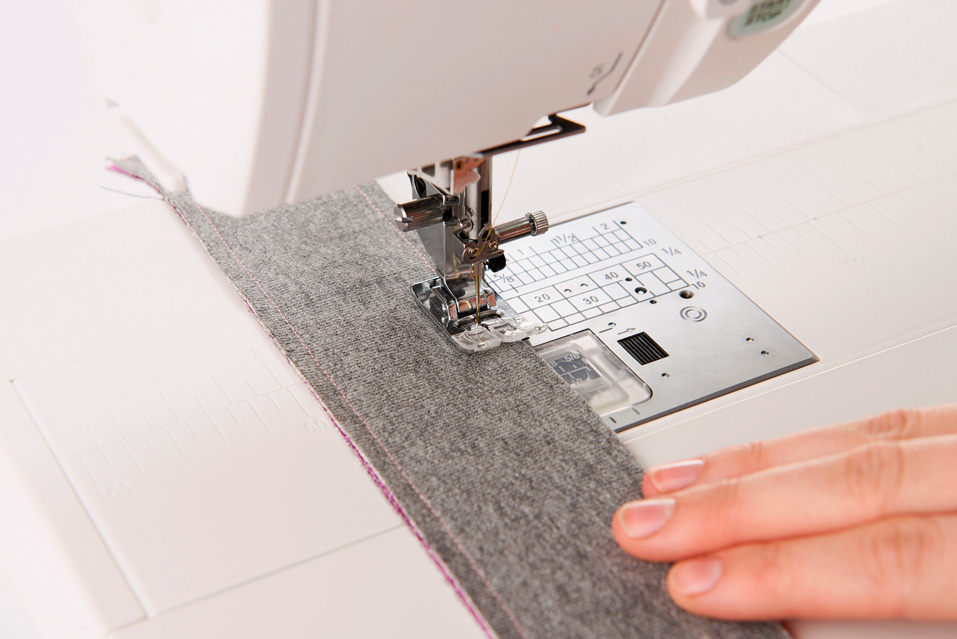
Straps: superimpose the strap pieces in pairs (wrong sides together), stitch at 1 cm along the long edges, then turn inside out.
STEP 6
Topstitch 0.5 cm from the long edges of each strap.
STEP 7
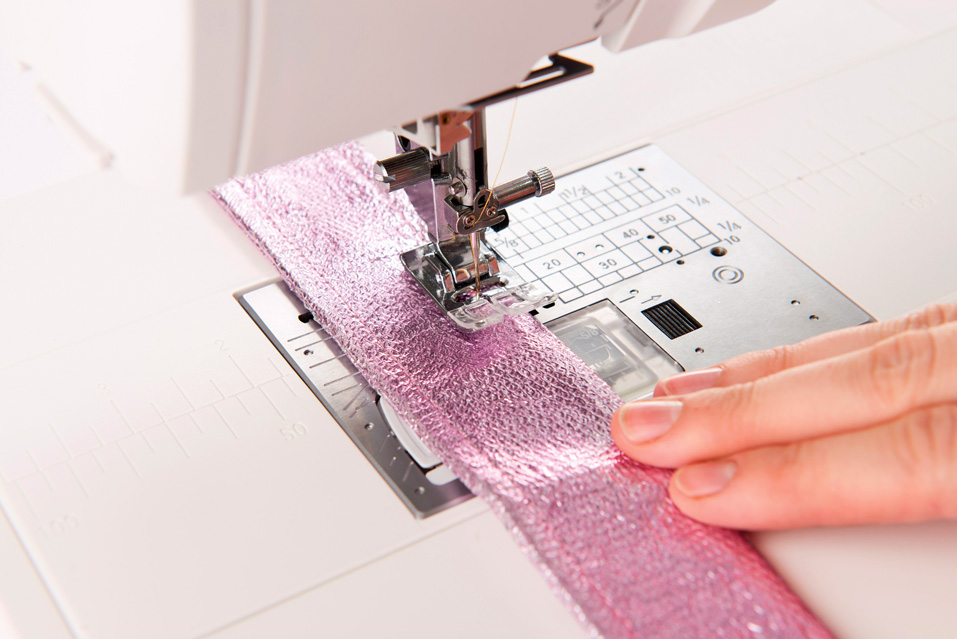
Thread a metal loop onto each of the two short straps, fold over the ends and stitch.
STEP 8
Sew the upper parts of the bag to the base of the bag, catching the straps in the seams (the two short straps with loops on the front and the 105 cm long strap on the back).
STEP 9
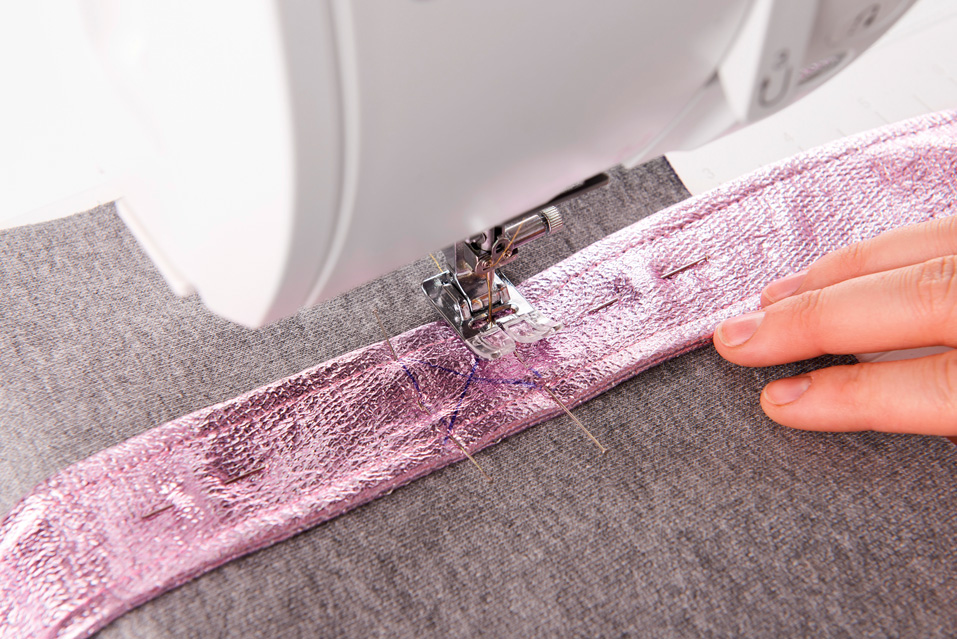
Fold the two ends of the long strap (126 cm) to the wrong side and stitch. Pass the ends through the loops. Place the strap on the bag. Stitch each half in place and close to the top edge of the bag, cross-stitching for added strength.
STEP 10
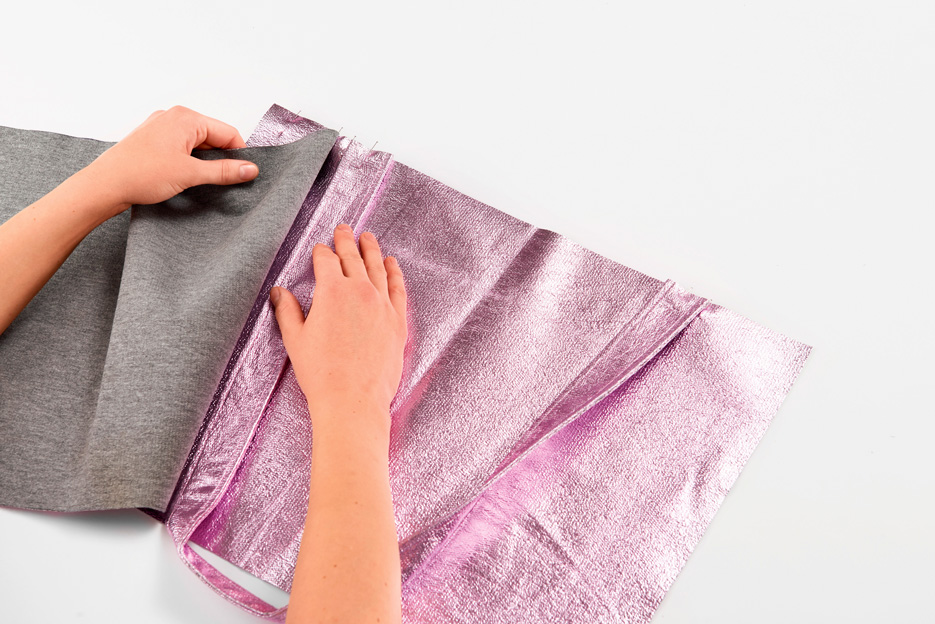
Sew the side seams of the bag.
Fold over the top edge by 6 cm and stitch along the perimeter, 0.5 cm from the edge.
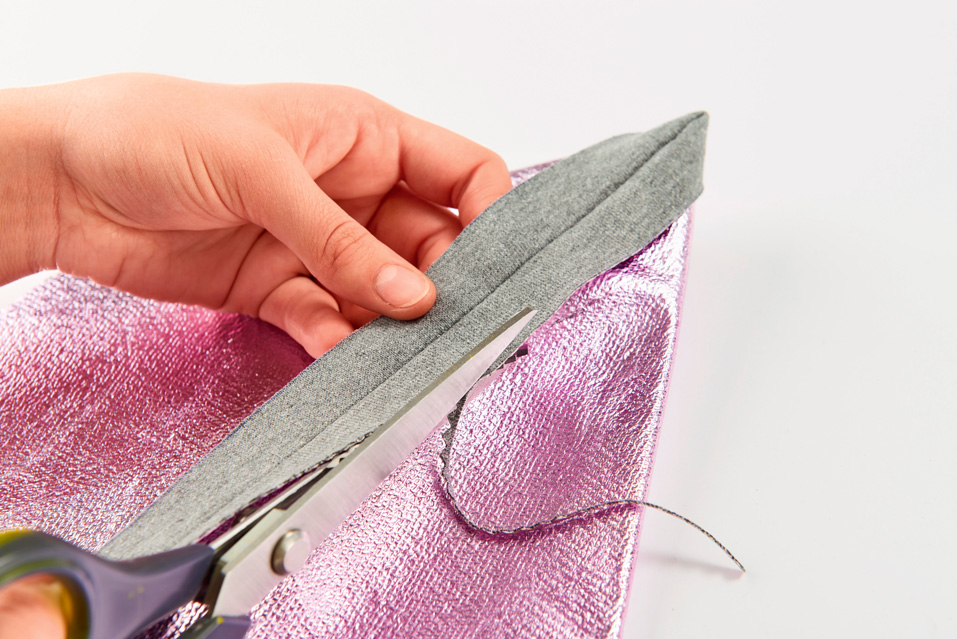
Finally, trim all seam allowances with the serrated scissors.
It's finished!
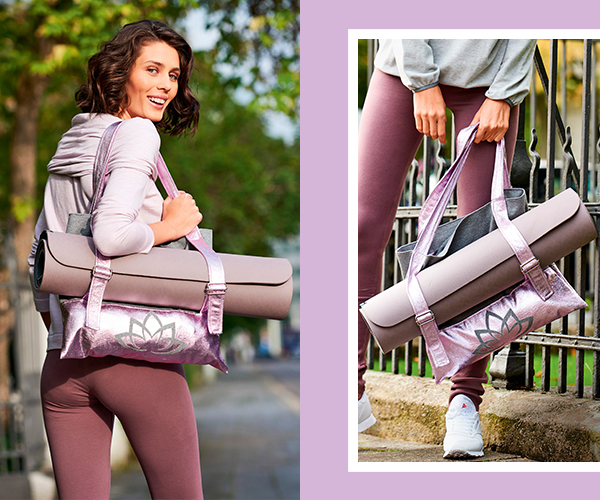
And now you know how to make this practical and stylish yoga bag! Your new bag is sure to become your favorite companion for yoga, pilates, and other wellness activities.
And if you would like to find the instructions of this DIY in PDF format, do not hesitate to download it for free by clicking on the button below:
