The ultimate fashion accessory to show off your style while staying protected from the sun? A hat, of course!
And what if we told you that you could sew your own in the fabrics and colors of your choice? This step-by-step DIY shows you how to create a trendy, reversible bucket hat that’s perfect for those sunny days. Whether you go for a bold print or a more subtle shade, this pattern adapts to every taste. This project is both stylish and practical—the perfect way to kick off your summer sewing with flair!
In this article, we’ll walk you through how to sew a bucket hat that’s as easy as it is quick to make.
Supplies
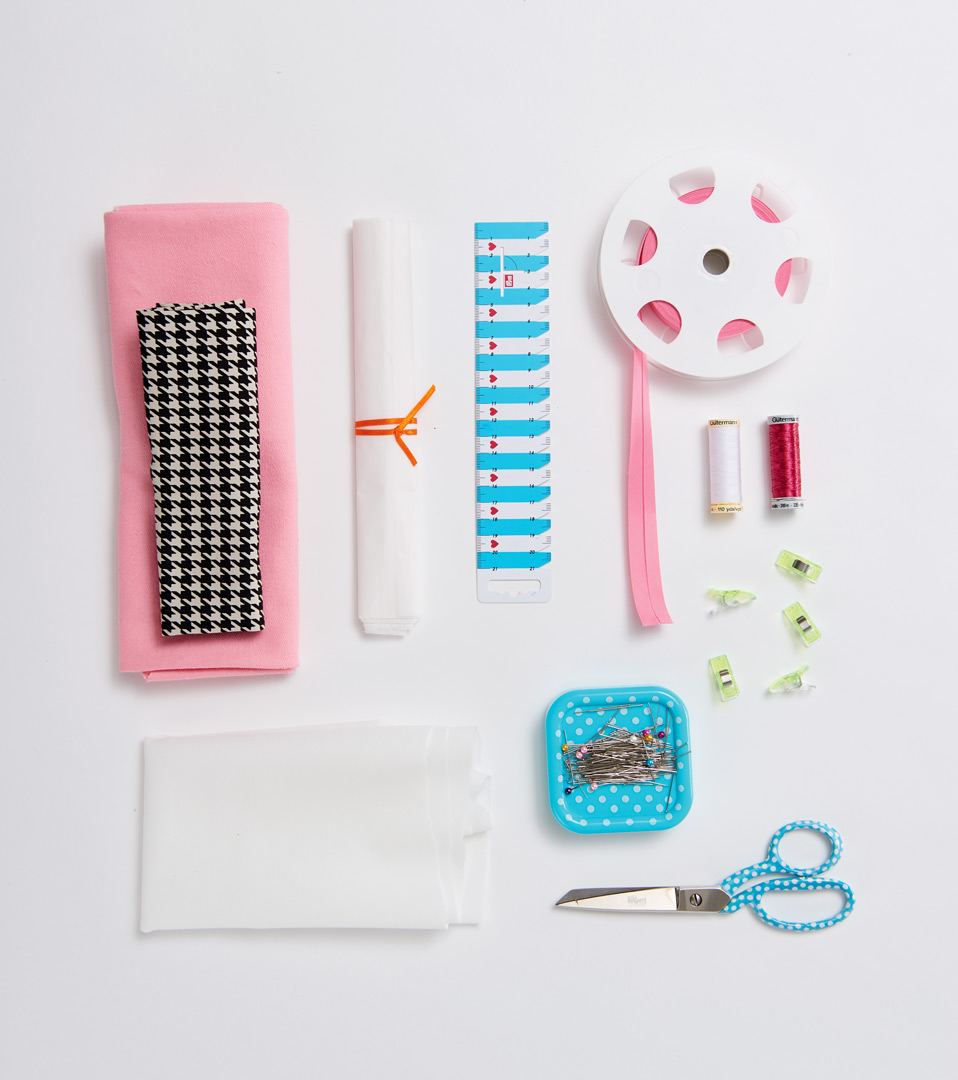
- Two sturdy cotton fabrics
- Fusible bondaweb/Vliesofix
- Fusible interlining G 770 (both Vlieseline Freudenberg)
- Cotton bias trim
- Thread (Gütermann)
- Sewing pins
- Scissors
- Ruler
- Sewing clips (all by Prym)
- Templates
Cutting Out
Print the pattern at 200%.
Seam allowances of 1 cm are not included in the template. You’ll find the instructions and the PDF pattern available to download for free at the end of this article.
Creation
STEP 1
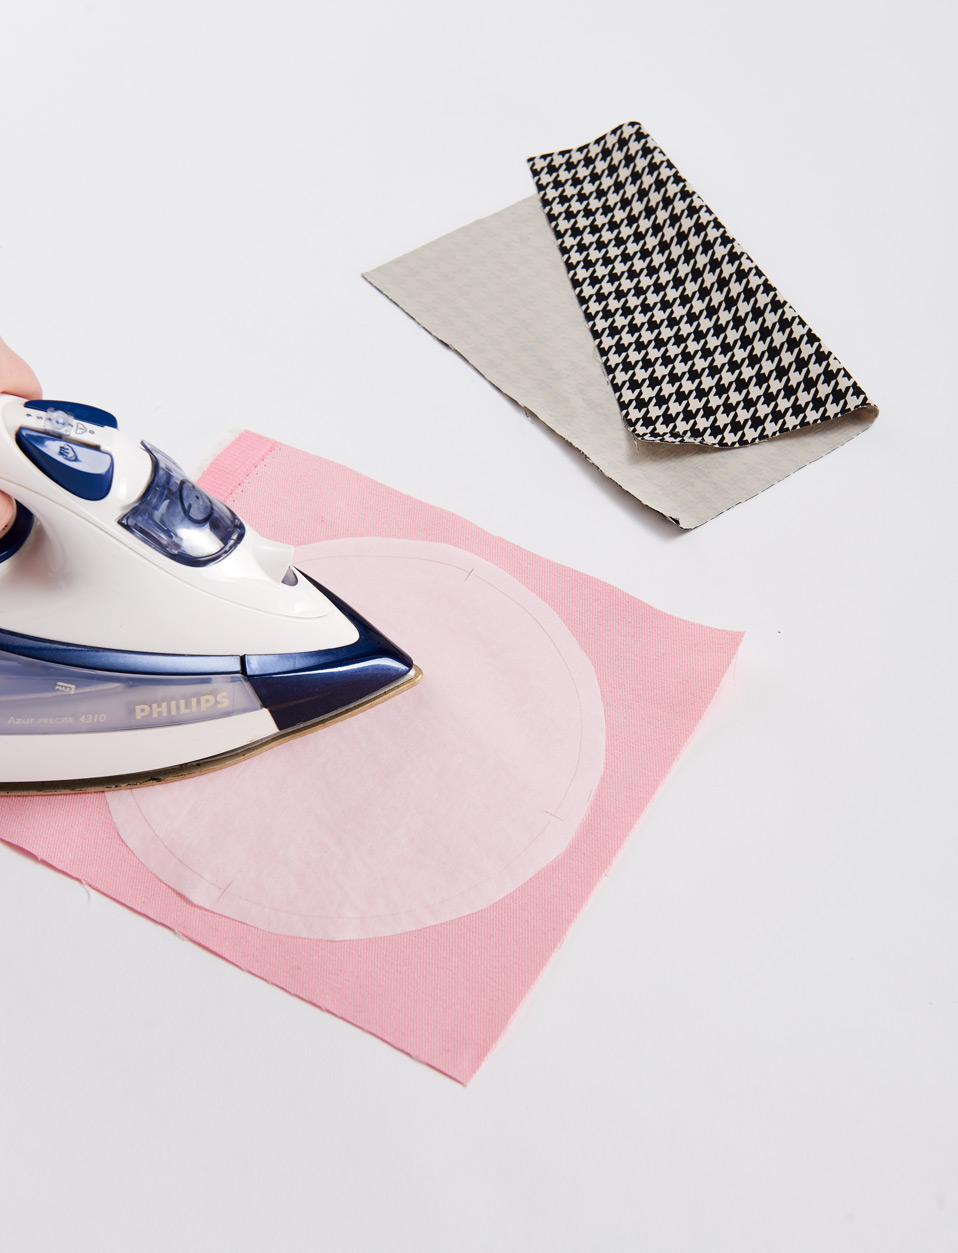
Cut the circle with a 1 cm / 3/8 in. seam allowance from the Vliesofix. Press onto the wrong side of the pink fabric and cut out. Remove the paper, press the circle onto the wrong side of the second fabric, and cut them to match.
STEP 2
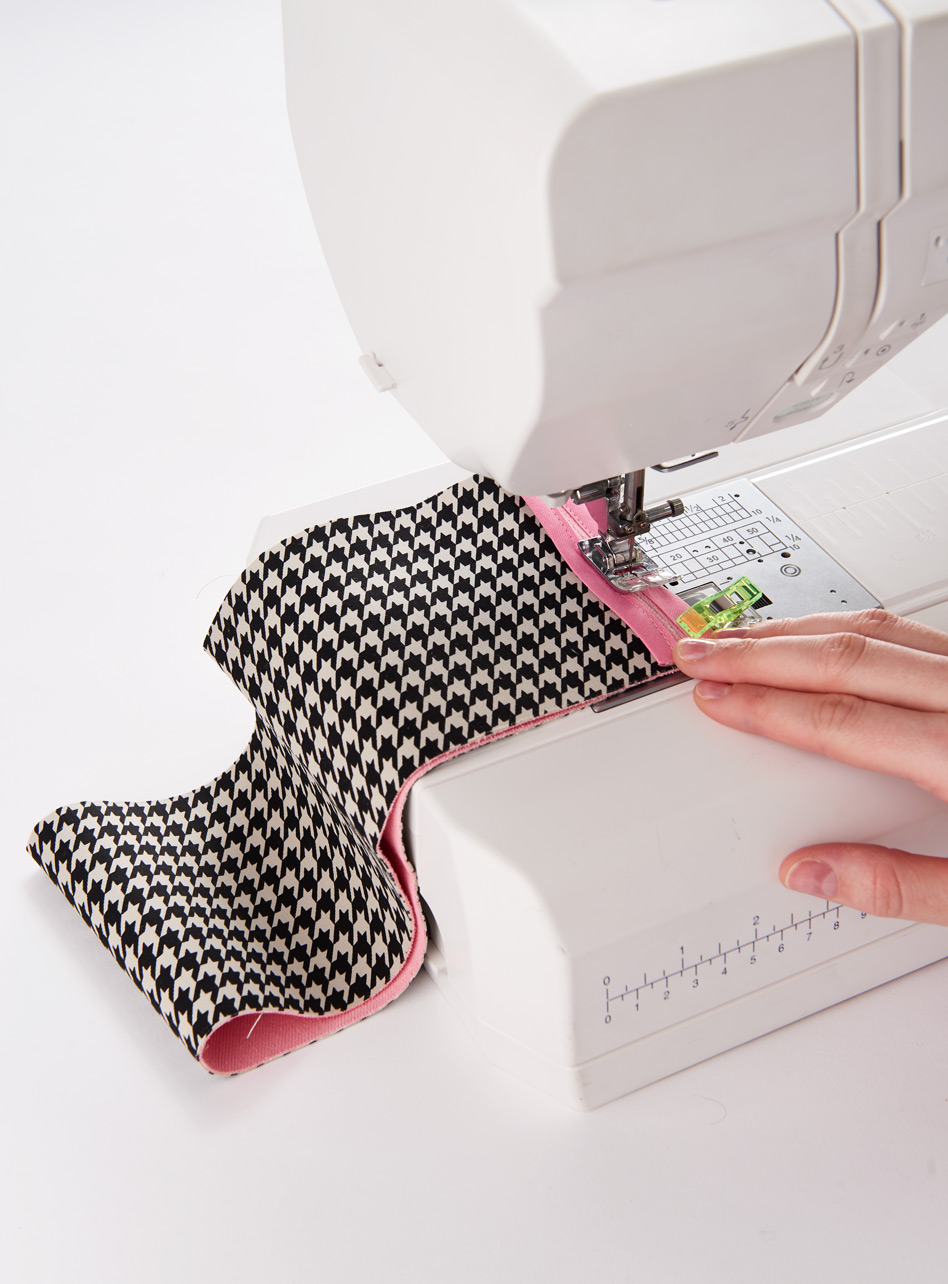
Follow the same directions from Step 1 for the hat rim. Pin right sides together and sew a 1 cm / 3/8 in. seam on the side. Cover and finish the side seam allowances with bias trim using clips, as shown.
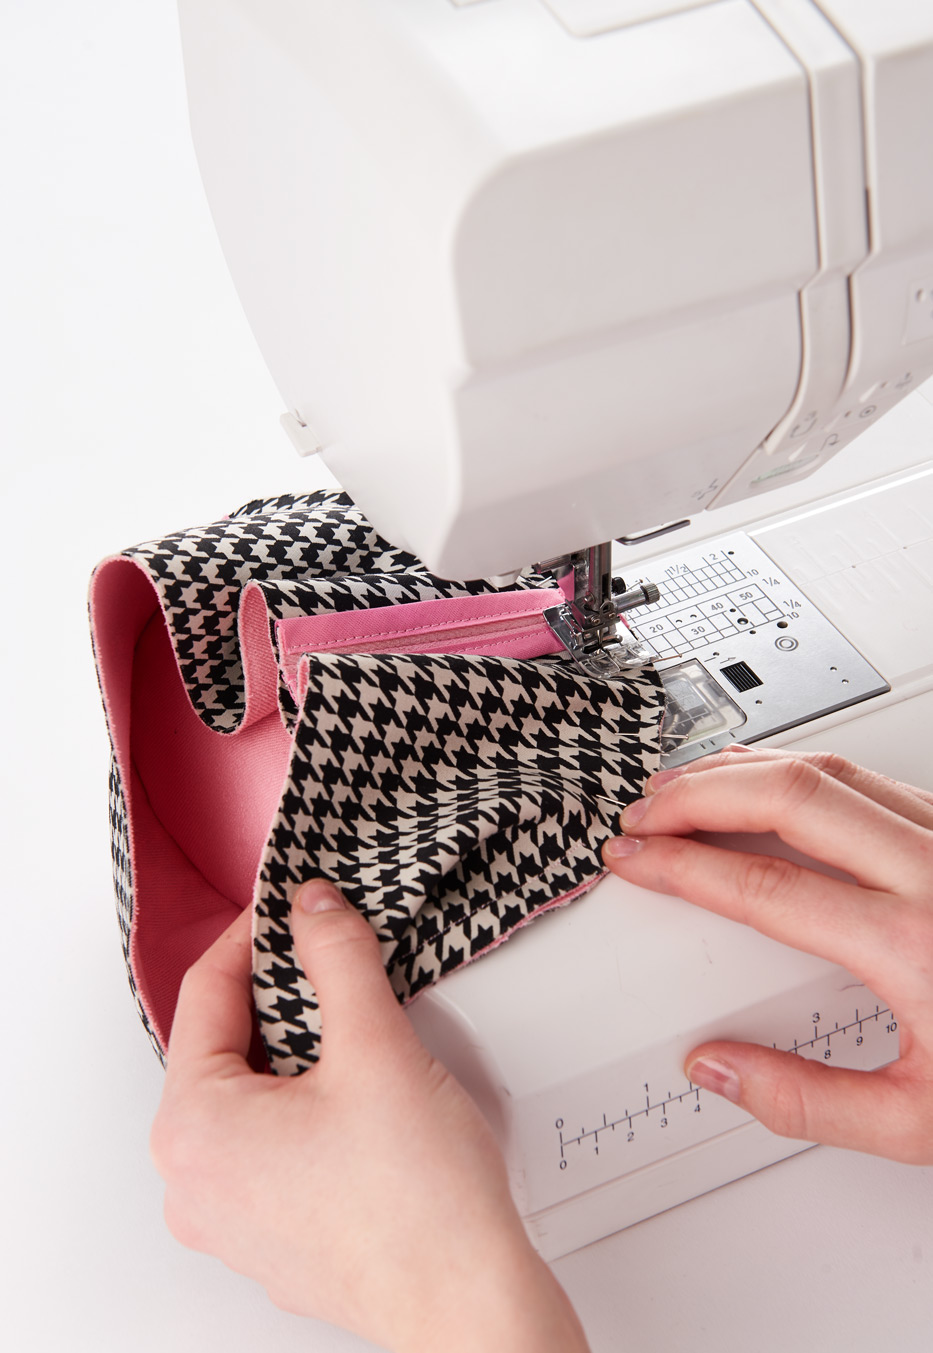
STEP 3
Pin the circle piece from Step 1 right sides together to match evenly with the side piece from Step 2 and stitch with a 1 cm / 3/8 in. seam.
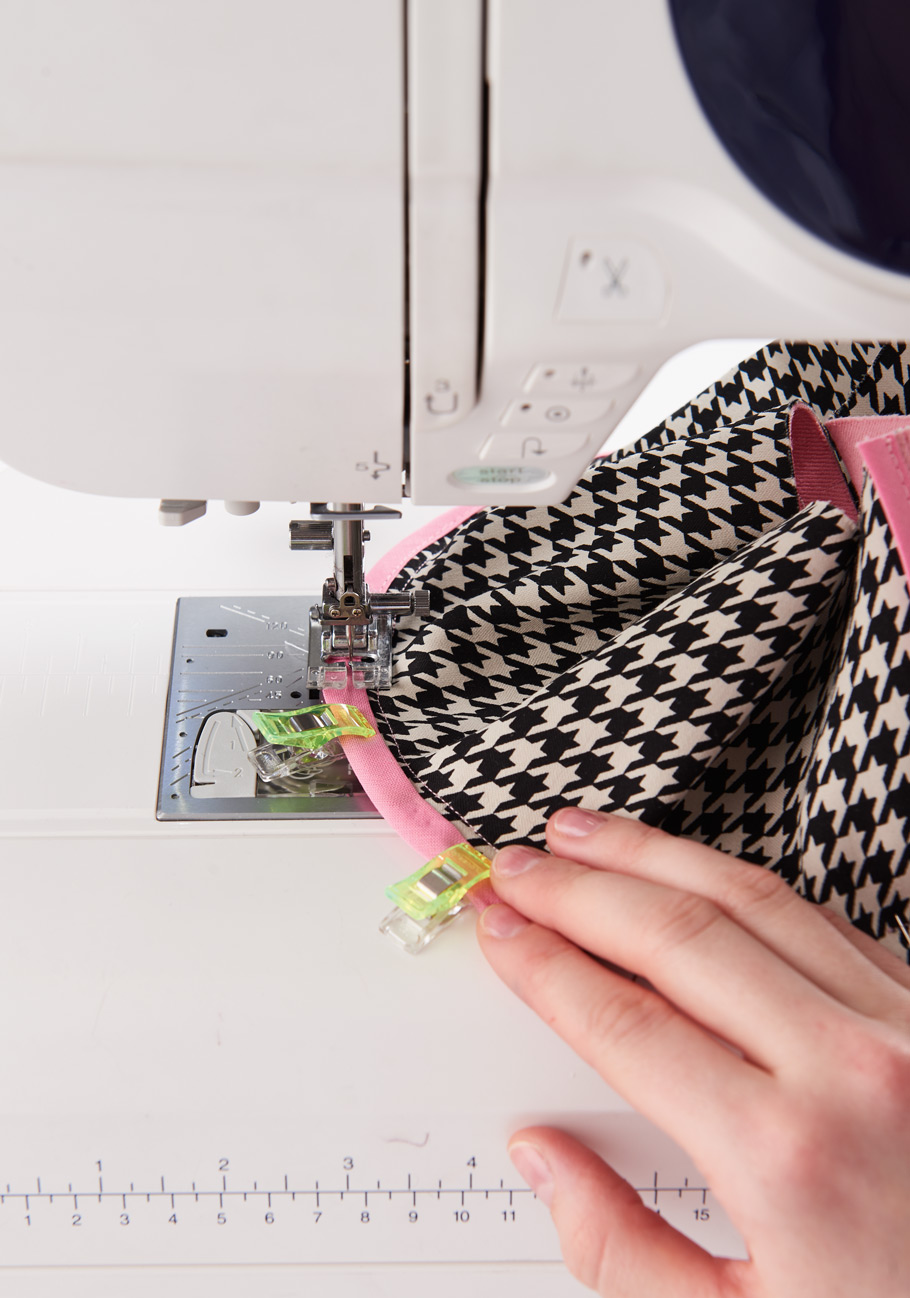
STEP 4
Finish the seam allowances around the circle with the bias trim using clips, as shown. Now the hat is finished on the inside.
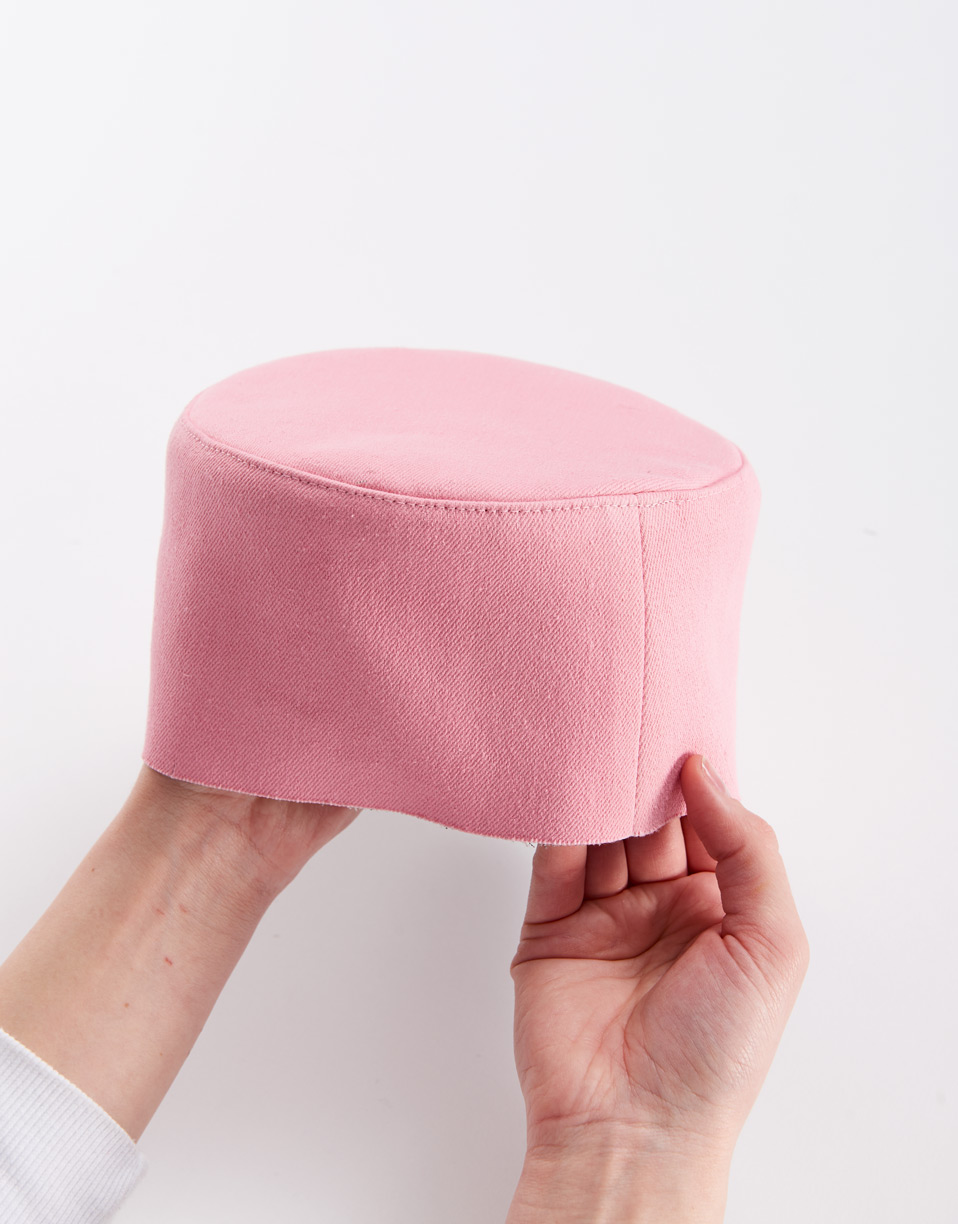
STEP 5
Turn the hat so that the right sides are facing out and topstitch close to the edges around the circle.
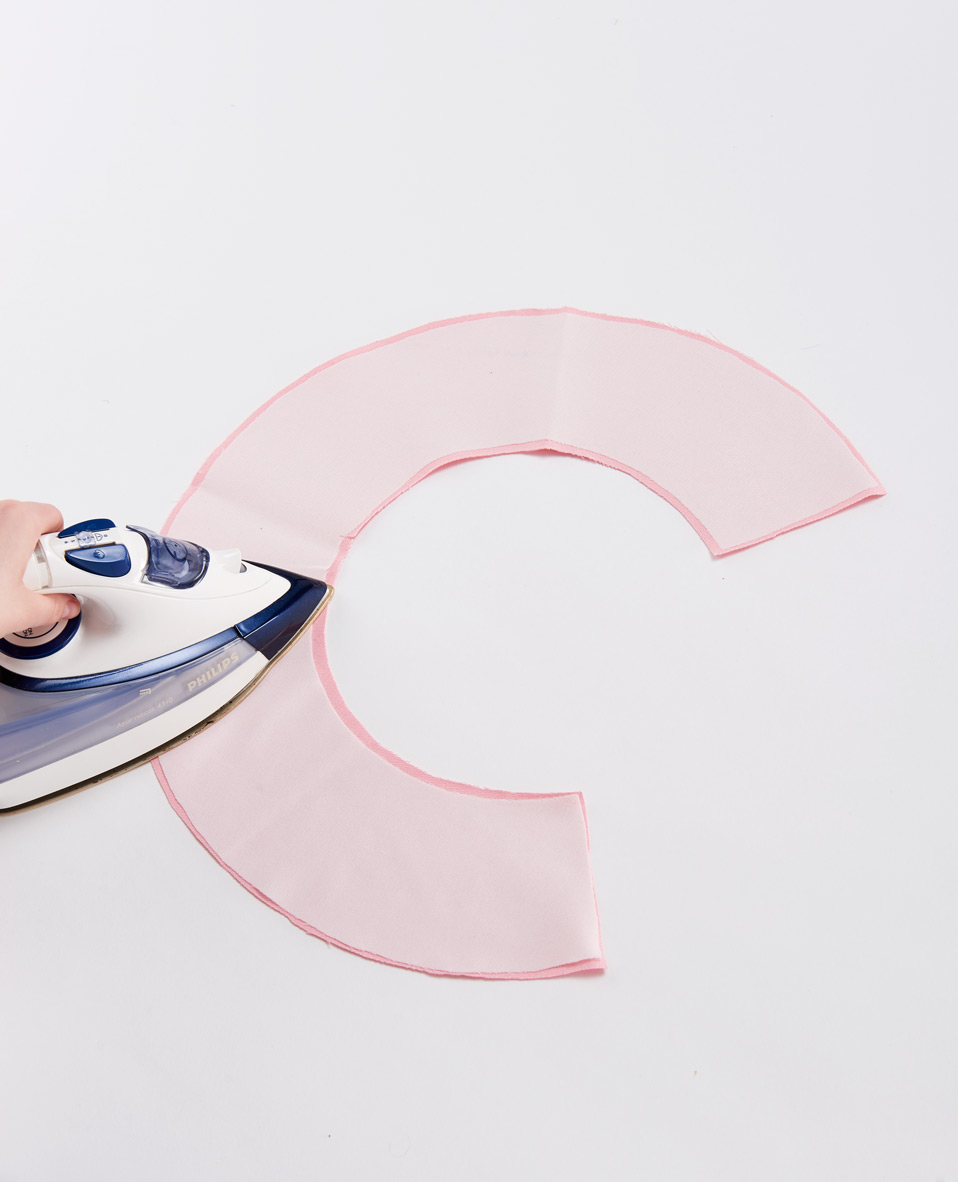
STEP 6
Cut the brim pieces with 1 cm seam allowances from each of the fabrics. Press the interfacing G 770 onto the wrong side of the pink fabric and close each of the pieces with a side seam of 1 cm / 3/8 in. with the right sides together.
STEP 7
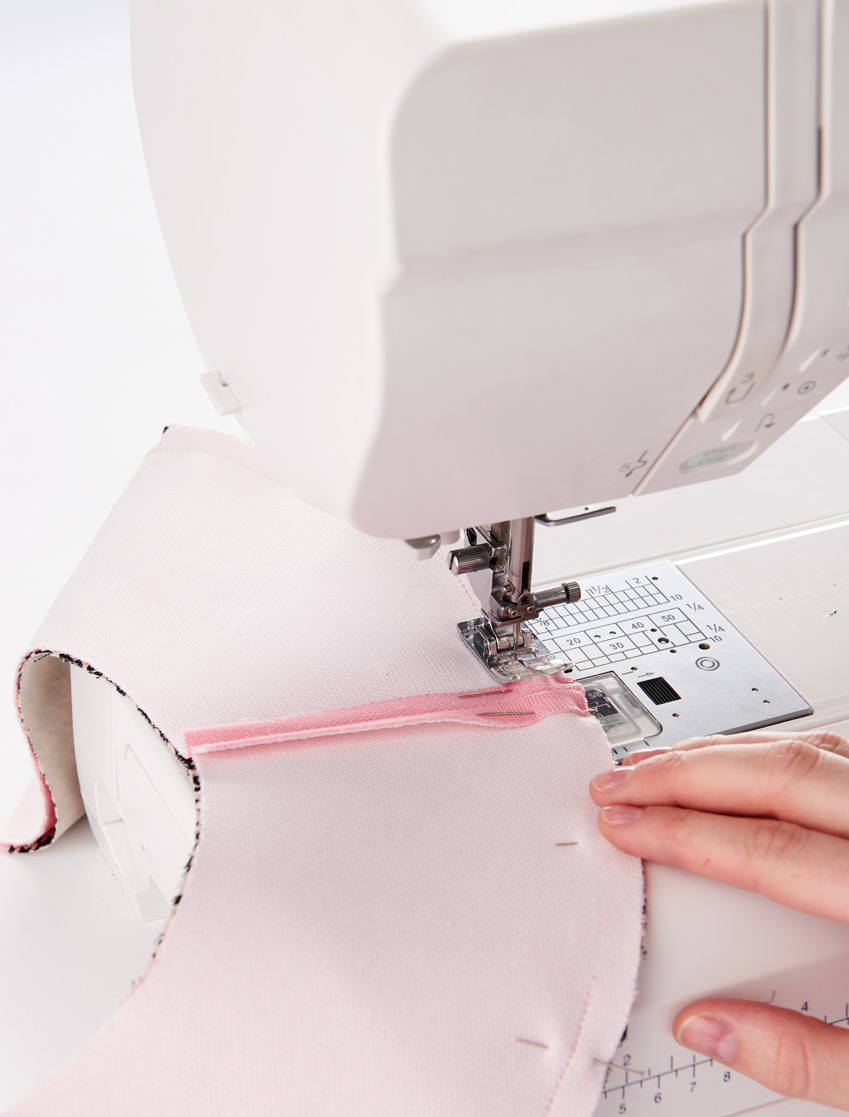
Pin the two brim pieces with right sides together and stitch around the outer edge with a 1 cm / 3/8 in. seam.
STEP 8
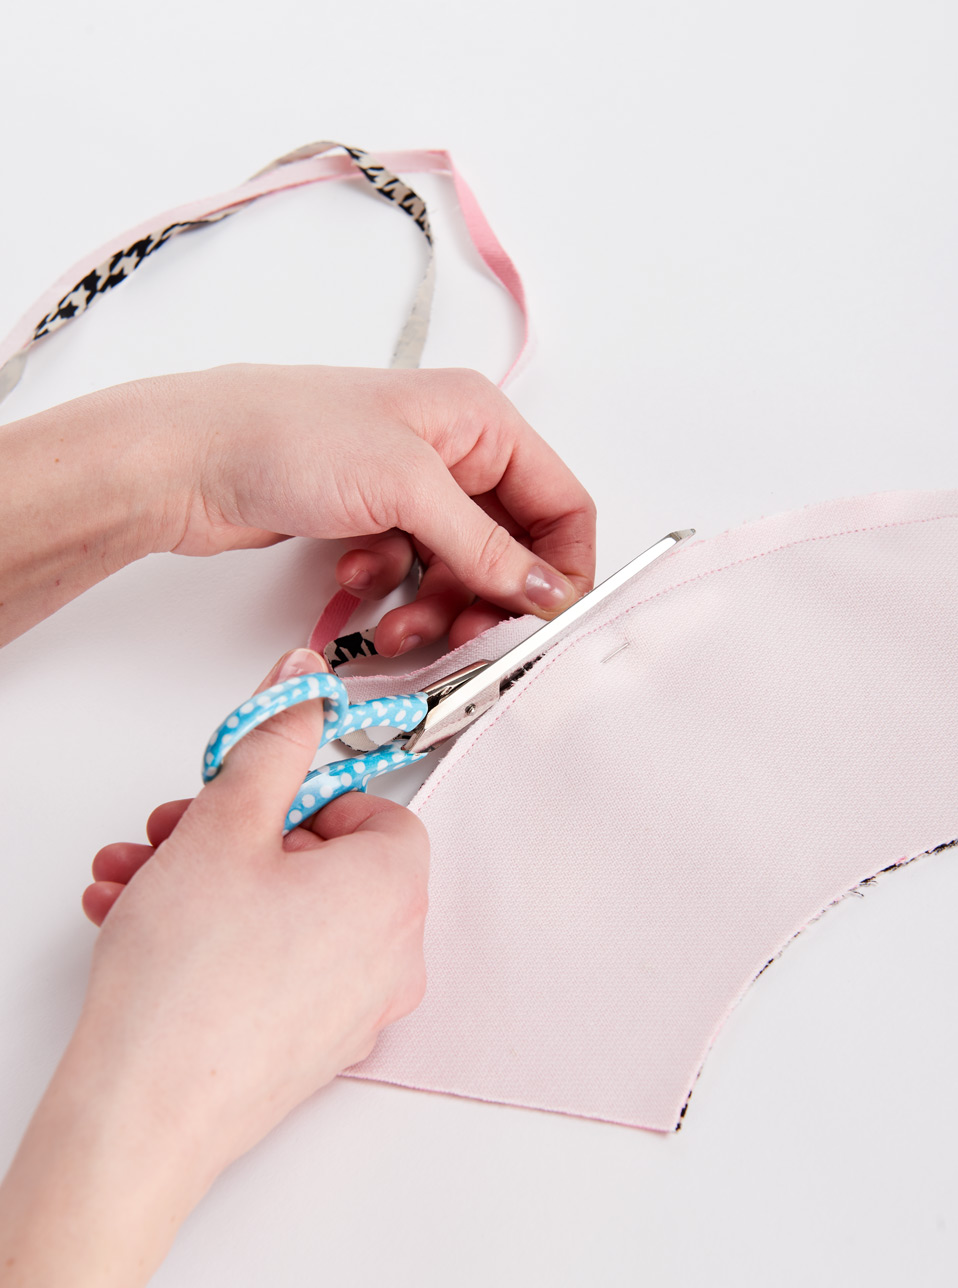
Cut away the seam allowances back to apx. 2 mm/remove bulk, turn the brim with the right sides of the fabric facing out and press.
STEP 9
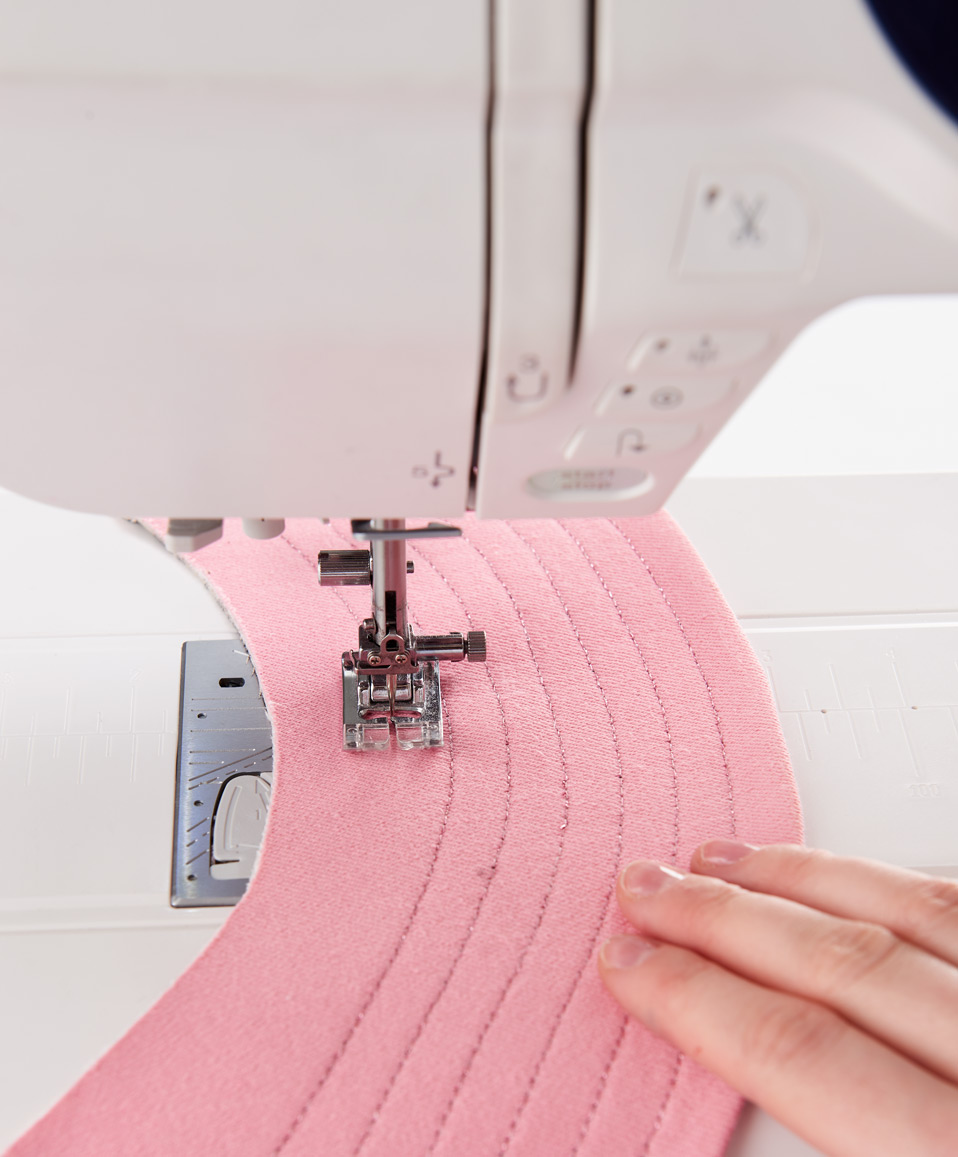
Use a decorative stitch to quilt the brim by stitching 7x around at a distance between rows of apx. 0.7 cm / 1/4 in. We used a metallic thread as an eyecatcher in our example.
STEP 10
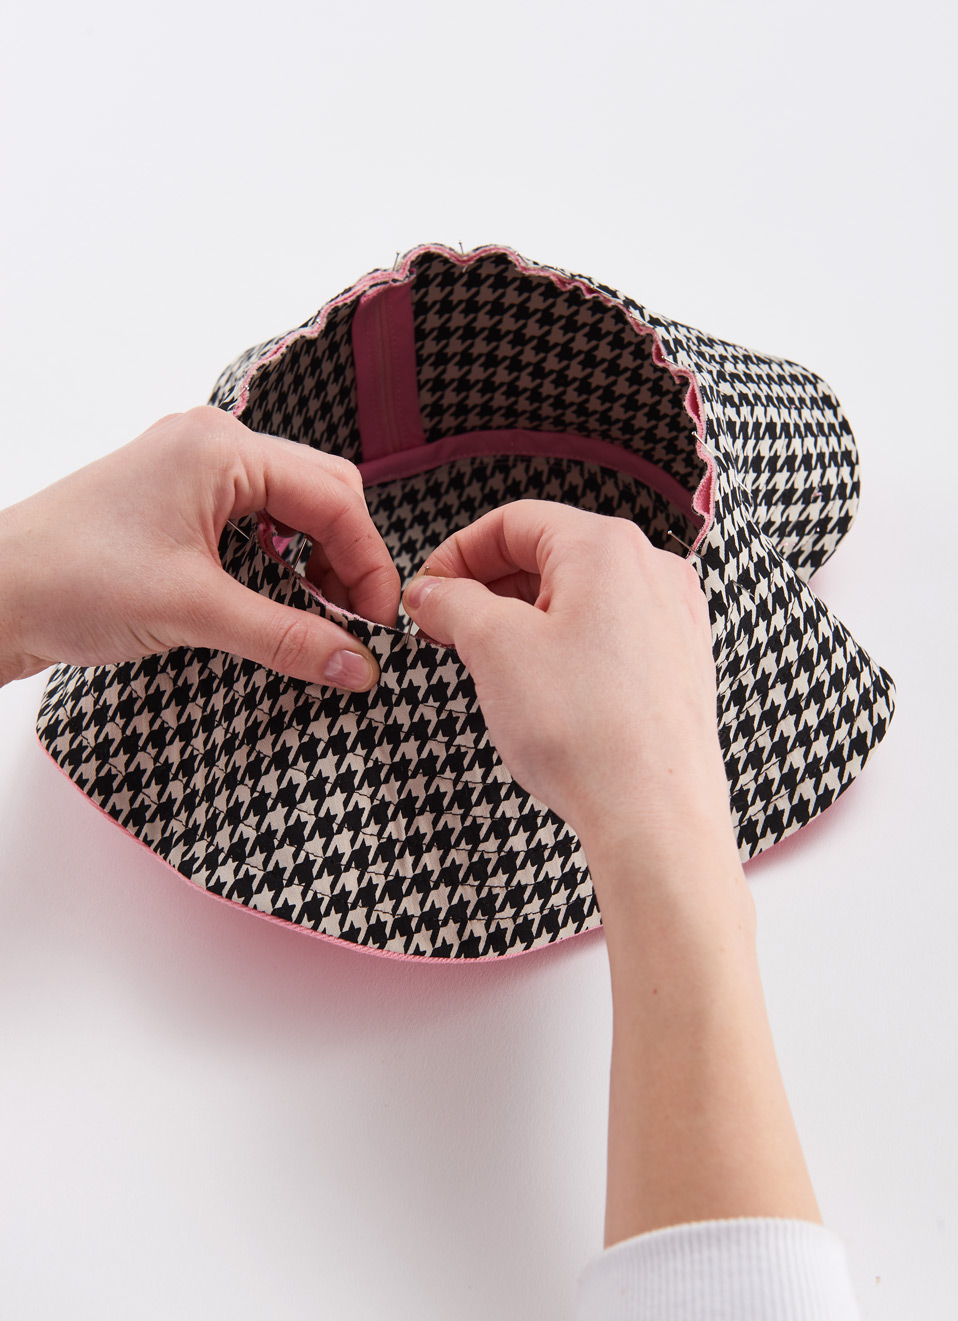
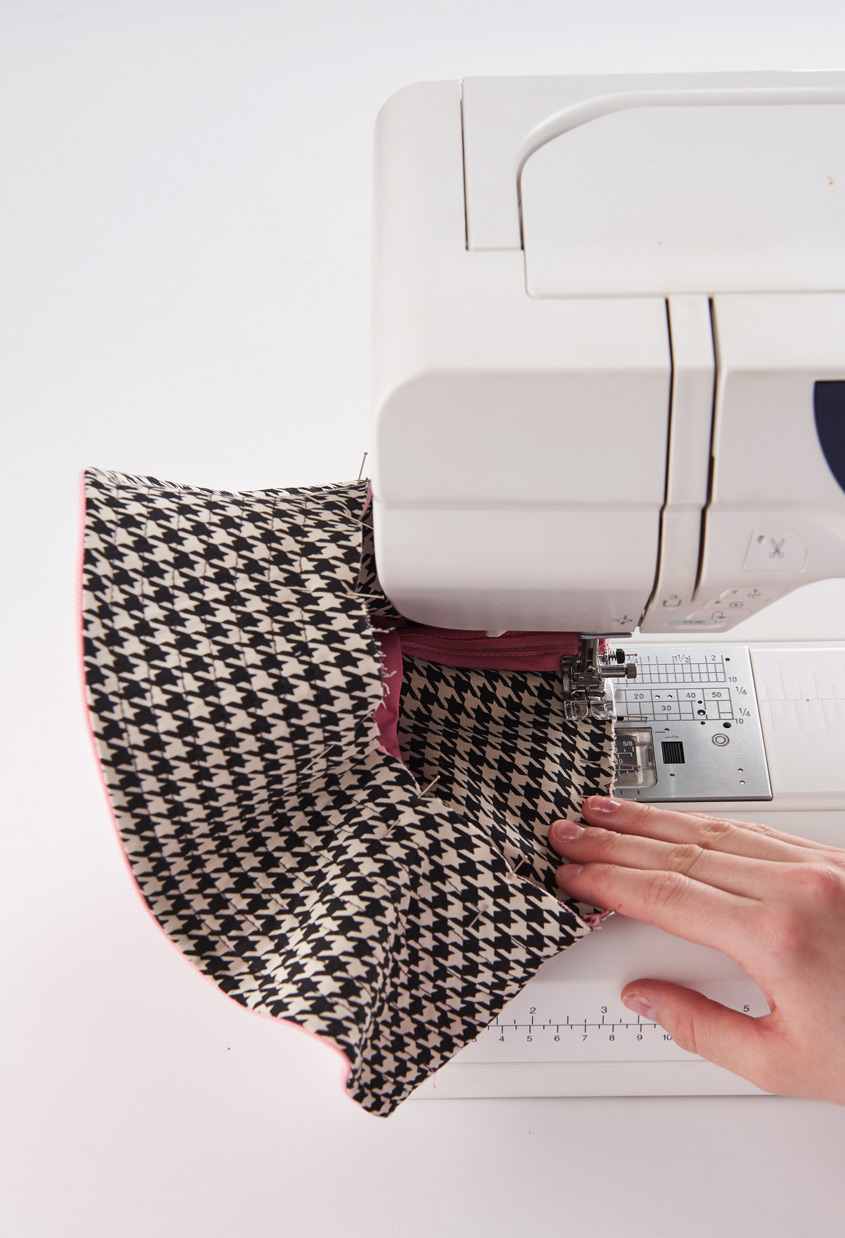
Pin the brim and hat right sides together, adjusting the ease as you pin.
STEP 11
Stitch the pieces together with a 1 cm / 3/8 in. seam allowance. Wrap the seam allowances with the bias trim to finish. Topstitch around the seam from the right side (same as Step 5).
It's finished!
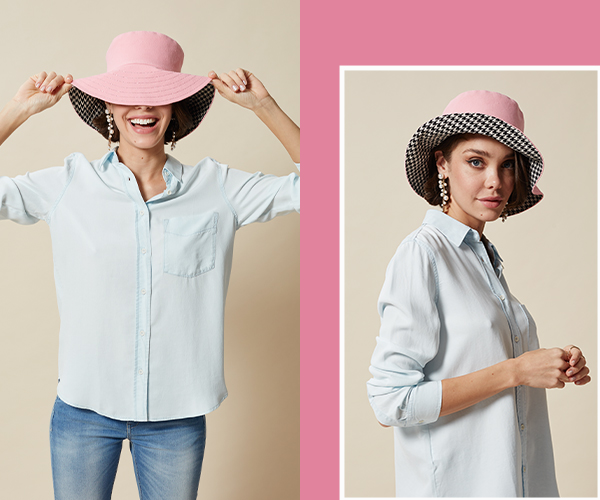
And there you have it! Now you know how to make this stylish and practical hat, perfect for pairing with your summer outfits or adding a fun twist to your everyday look. Whether you go for a solid color, a bold print, or even mix two different fabrics like we did, this sewing project is a great way to get creative, stand out, and most importantly… stay protected from the sun in style!
And if you'd like to save the instructions as a PDF or print this DIY to make it later, feel free to download it for free by clicking the button below: